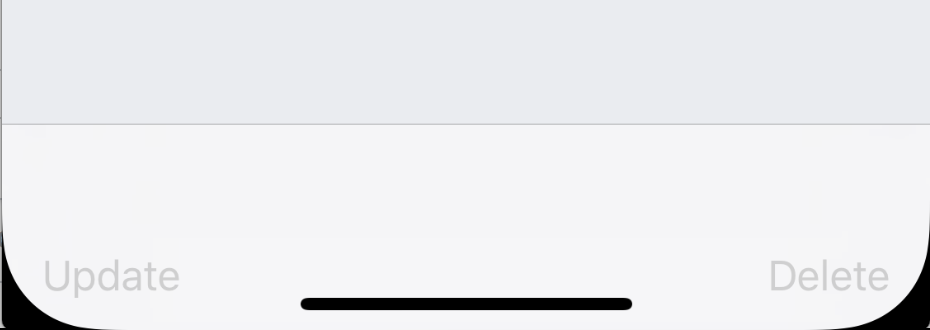
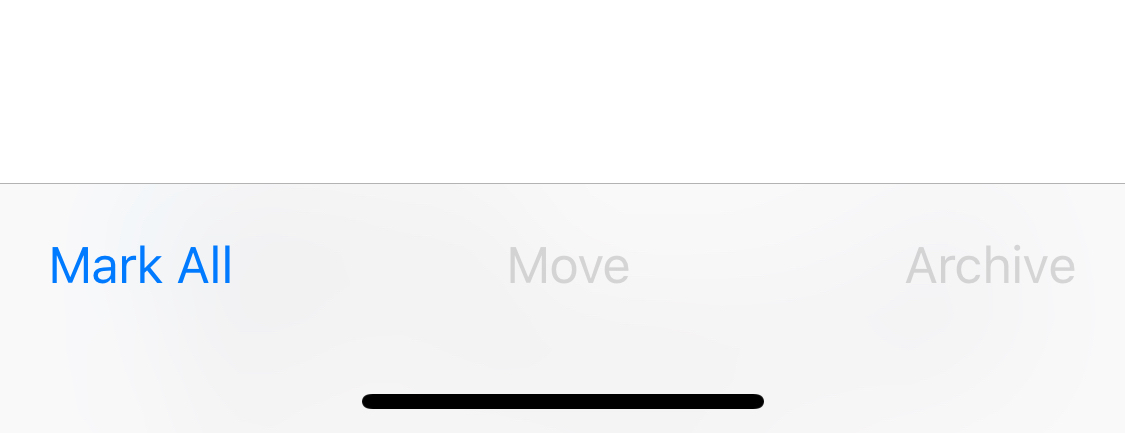
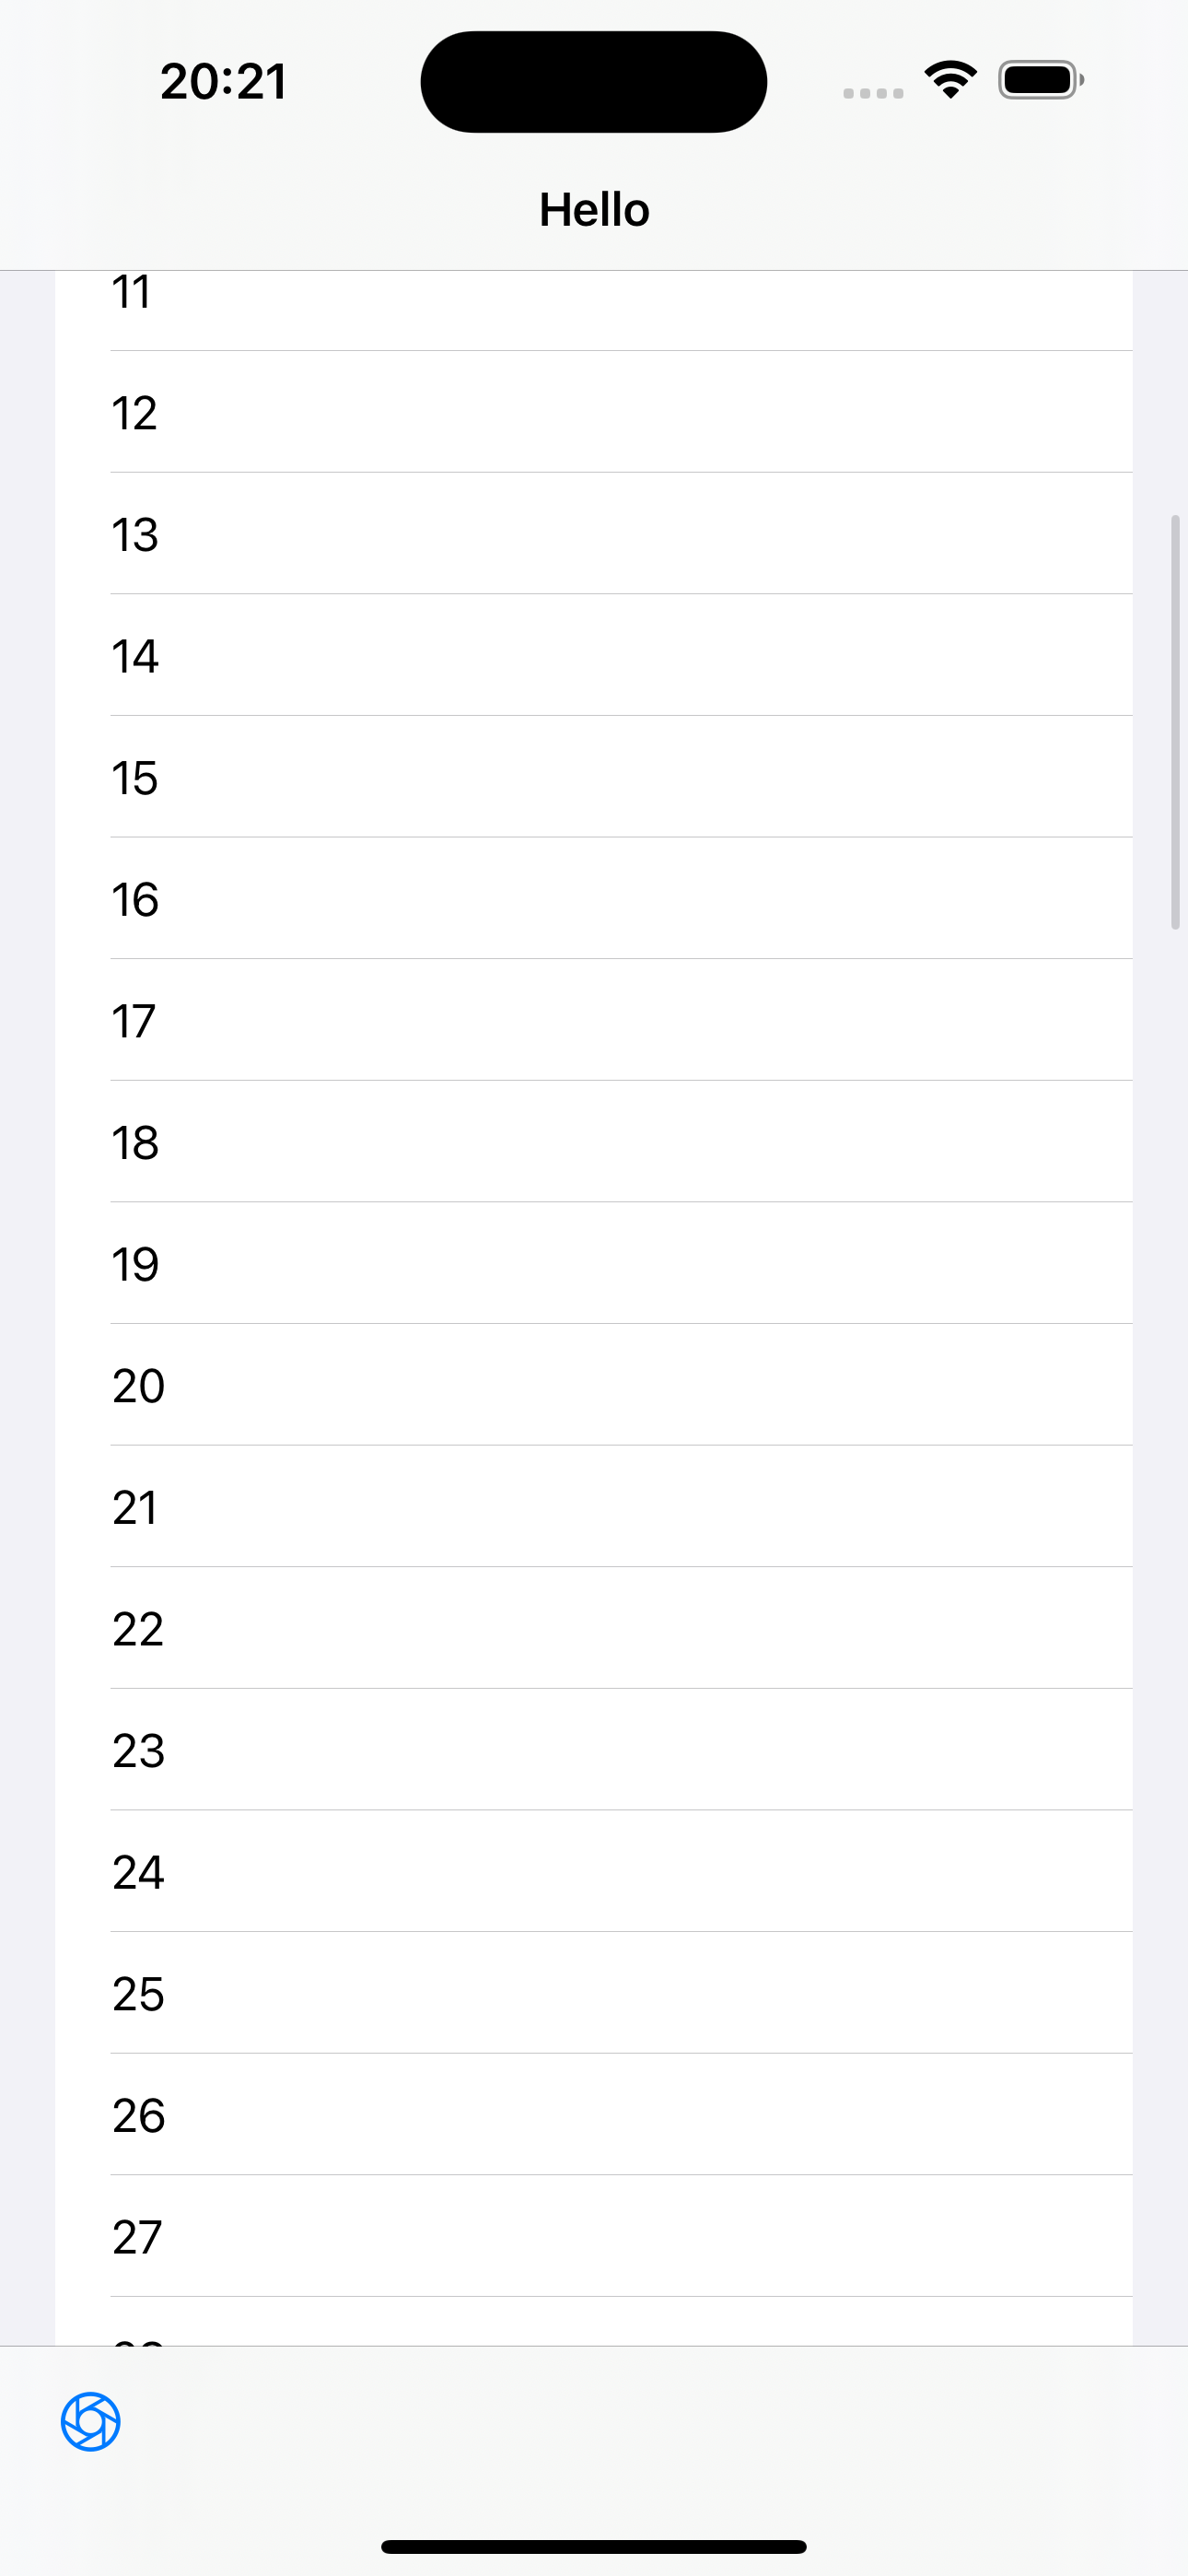
You shouldn't need to set an explicit height or size to get this to work, simply take advantage of the layoutMarginsGuide and the UIBarPositioningDelegate protocol, which is adopted by UIToolbarDelegate.
First, layout your toolbar so that it's pinned to the bottom of the view's layoutMarginsGuide.
let constraints = [
    toolbar.leadingAnchor.constraint(equalTo: view.leadingAnchor),
    toolbar.trailingAnchor.constraint(equalTo: view.trailingAnchor),
    toolbar.bottomAnchor.constraint(equalTo: view.layoutMarginsGuide.bottomAnchor)
]
NSLayoutConstraint.activate(constraints)
This will get the toolbar aligned to the safe area on iOS 11+ devices, but you'll need to do one last thing to get the toolbar to extend its background all the way to the bottom of the view. To get that simply conform to UIToolbarDelegate in your class, set yourself as the toolbar's delegate, implement the function position(for: UIBarPositioning) -> UIBarPosition, and return the value .bottom.
The default value for UIToolbar's barPosition is bottom, so this last step may not be necessary in most use cases.
After doing this, you should see your toolbar lay out its items relative to the safe area while extending the background all the way to the bottom of the view, just like you see in Mail and Safari.
The beauty of using layoutMarginsGuide over safeAreaLayoutGuide in this case is that the layoutMarginsGuide insets the layout margins by the safe area by default. Because you don't directly refer to the safe area, your code is backwards compatible all the way to iOS 9 without having to use availability checks.


UIToolbar, I ended up creating my ownUIViewwith a horizontal stack view. – Languid