Can't seem to find a tutorial which does as the question title describes. I'd like to understand just where the UIToolbar needs to be declared and how to get it onto my view layer.
UIToolbar is a subclass of UIView, so the short answer to your question is: just like any other view.
Specifically, this is an example of how to programmatically create a toolbar. The context in this snippet is viewDidLoad of a view controller.
UIToolbar *toolbar = [[UIToolbar alloc] init];
toolbar.frame = CGRectMake(0, 0, self.view.frame.size.width, 44);
NSMutableArray *items = [[NSMutableArray alloc] init];
[items addObject:[[[UIBarButtonItem alloc] initWith....] autorelease]];
[toolbar setItems:items animated:NO];
[items release];
[self.view addSubview:toolbar];
[toolbar release];
See UIToolbar and UIBarButtonItem documentation for details.
UIBarButtonItem *flexibleSpace = [[UIBarButtonItem alloc] initWithBarButtonSystemItem:UIBarButtonSystemItemFlexibleSpace target:self action:nil]; –
Switzer navigationController property if you can. https://mcmap.net/q/346968/-how-to-add-a-uitoolbar-programmatically-to-an-ios-app –
Gopher If you're using UINavigationController then the toolbar comes with it by default.
You can add it using following line of code:
self.navigationController.toolbarHidden = NO;
And to add button to your Toolbar you can use following code:
UIBarButtonItem *flexibleItem = [[UIBarButtonItem alloc] initWithBarButtonSystemItem:UIBarButtonSystemItemFlexibleSpace target:self action:nil];
UIBarButtonItem *item1 = [[UIBarButtonItem alloc] initWithBarButtonSystemItem:UIBarButtonSystemItemAdd target:self action:nil];
UIBarButtonItem *item2 = [[UIBarButtonItem alloc] initWithBarButtonSystemItem:UIBarButtonSystemItemAction target:self action:nil];
flexibleItem is used to maintain proper distance between the two buttons that we have created above.
Now you can add these three items in order to make them visible on your view.
NSArray *items = [NSArray arrayWithObjects:item1, flexibleItem, item2, nil];
self.toolbarItems = items;
I hope it works for you.
[self.navigationController setToolbarHidden:NO animated:YES] Note that self.navigationController.toolbar.items = items does not work. :-) –
Vladikavkaz toolbarItems in init or viewDidLoad? We can do it in init since we don't need to access view to do it. But, iOS really shouldn't access toolbarItems until after viewDidLoad. If that's the case, then I'd rather defer and set toolbarItems in viewDidLoad. –
Gopher UIToolbar is a subclass of UIView, so the short answer to your question is: just like any other view.
Specifically, this is an example of how to programmatically create a toolbar. The context in this snippet is viewDidLoad of a view controller.
UIToolbar *toolbar = [[UIToolbar alloc] init];
toolbar.frame = CGRectMake(0, 0, self.view.frame.size.width, 44);
NSMutableArray *items = [[NSMutableArray alloc] init];
[items addObject:[[[UIBarButtonItem alloc] initWith....] autorelease]];
[toolbar setItems:items animated:NO];
[items release];
[self.view addSubview:toolbar];
[toolbar release];
See UIToolbar and UIBarButtonItem documentation for details.
UIBarButtonItem *flexibleSpace = [[UIBarButtonItem alloc] initWithBarButtonSystemItem:UIBarButtonSystemItemFlexibleSpace target:self action:nil]; –
Switzer navigationController property if you can. https://mcmap.net/q/346968/-how-to-add-a-uitoolbar-programmatically-to-an-ios-app –
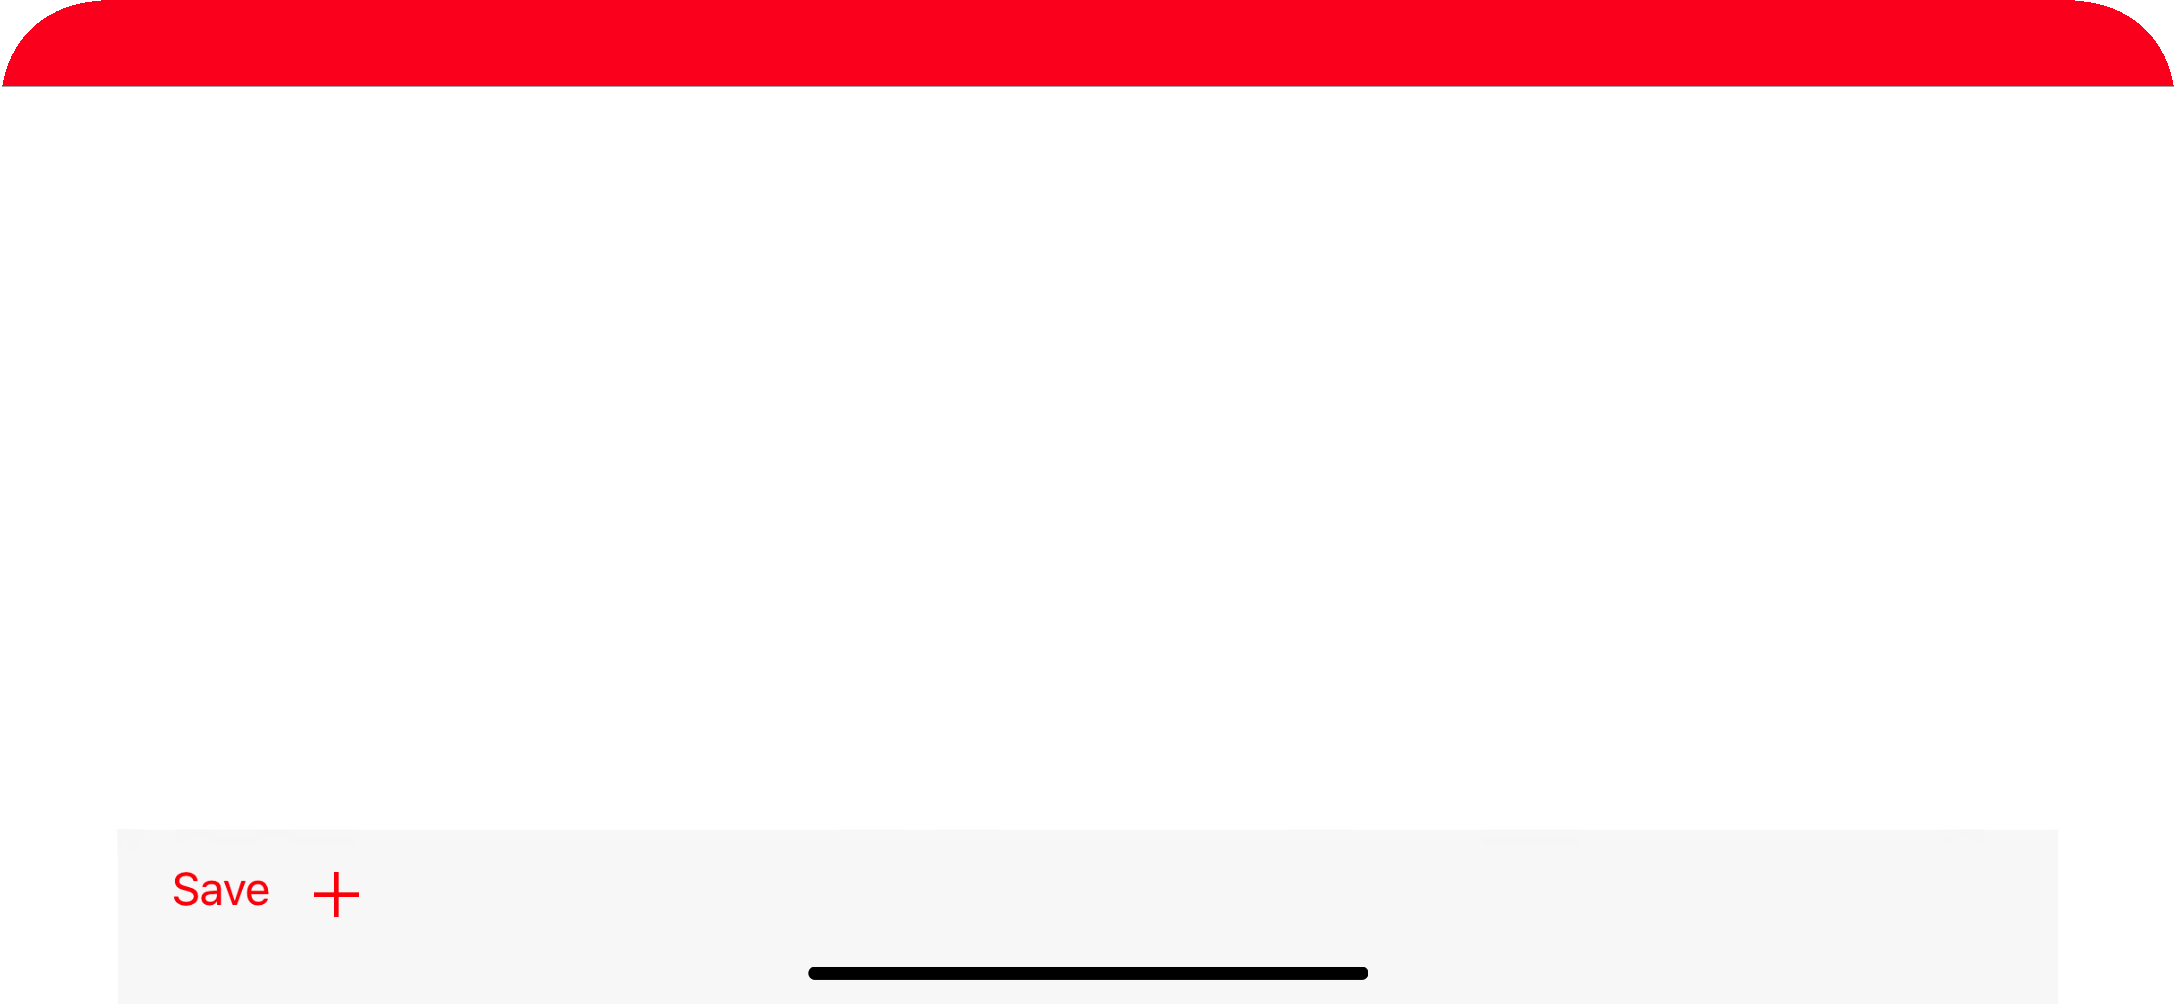
Gopher iOS 11+ SWIFT 4 + Xcode 9 + Constraints
Works for both landscape + Portrait

    override func viewDidLoad() {
        super.viewDidLoad()
        print(UIApplication.shared.statusBarFrame.height)//44 for iPhone x, 20 for other iPhones
        navigationController?.navigationBar.barTintColor = .red


        let toolBar = UIToolbar()
        var items = [UIBarButtonItem]()
        items.append(
            UIBarButtonItem(barButtonSystemItem: .save, target: nil, action: nil)
        )
        items.append(
            UIBarButtonItem(barButtonSystemItem: .add, target: self, action: #selector(tapsOnAdd))
        )
        toolBar.setItems(items, animated: true)
        toolBar.tintColor = .red
        view.addSubview(toolBar)

        toolBar.translatesAutoresizingMaskIntoConstraints = false


        if #available(iOS 11.0, *) {
            let guide = self.view.safeAreaLayoutGuide
            toolBar.trailingAnchor.constraint(equalTo: guide.trailingAnchor).isActive = true
            toolBar.leadingAnchor.constraint(equalTo: guide.leadingAnchor).isActive = true
            toolBar.bottomAnchor.constraint(equalTo: guide.bottomAnchor).isActive = true
            toolBar.heightAnchor.constraint(equalToConstant: 44).isActive = true

        }
        else {
            NSLayoutConstraint(item: toolBar, attribute: .bottom, relatedBy: .equal, toItem: view, attribute: .bottom, multiplier: 1.0, constant: 0).isActive = true
            NSLayoutConstraint(item: toolBar, attribute: .leading, relatedBy: .equal, toItem: view, attribute: .leading, multiplier: 1.0, constant: 0).isActive = true
            NSLayoutConstraint(item: toolBar, attribute: .trailing, relatedBy: .equal, toItem: view, attribute: .trailing, multiplier: 1.0, constant: 0).isActive = true

            toolBar.heightAnchor.constraint(equalToConstant: 44).isActive = true
        }

    }
view not guide –
Cubature To show the Toolbar at the bottom with space between two button on at Left Side , and another at Right side
-(void)showToolBar
{
    CGRect frame, remain;
    CGRectDivide(self.view.bounds, &frame, &remain, 44, CGRectMaxYEdge);
    UIToolbar *toolbar = [[UIToolbar alloc] initWithFrame:frame];
    UIBarButtonItem *button1 = [[UIBarButtonItem alloc] initWithTitle:@"Send" style:UIBarButtonItemStyleDone target:self action:nil];
    UIBarButtonItem *spacer = [[UIBarButtonItem alloc] initWithBarButtonSystemItem:UIBarButtonSystemItemFlexibleSpace target:self action:nil];
    UIBarButtonItem *button2=[[UIBarButtonItem alloc]initWithTitle:@"Cancel" style:UIBarButtonItemStyleDone target:self action:nil];
    [toolbar setItems:[[NSArray alloc] initWithObjects:button1,spacer,button2,nil]];
    [toolbar setAutoresizingMask:UIViewAutoresizingFlexibleWidth | UIViewAutoresizingFlexibleTopMargin];
    [self.view addSubview:toolbar];
}
Note: To Give space between to Button we add line as below
UIBarButtonItem *spacer = [[UIBarButtonItem alloc] initWithBarButtonSystemItem:UIBarButtonSystemItemFlexibleSpace target:self action:nil];
and add spacer to the
[toolbar setItems:[[NSArray alloc] initWithObjects:button1,spacer,button2,nil]];
This is how you implement a UIToolbar in your app.
// declare frame of uitoolbar
UIToolBar *lotoolbar = [[UIToolbar alloc] initWithFrame:CGRectMake(0, 170, 320, 30)];
[lotoolbar setTintColor:[UIColor blackColor]];

UIBarButtonItem *button1 = [[UIBarButtonItem alloc] initWithTitle:@"DATE" style:UIBarButtonItemStyleDone target:self action:@selector(dateToolbardoneButtonAction)];

UIBarButtonItem *button2=[[UIBarButtonItem alloc]initWithTitle:@"TIME" style:UIBarButtonItemStyleDone target:self action:@selector(timeToolbarbuttonAction)];

[lotoolbar setItems:[[NSArray alloc] initWithObjects:button1, nil];
[lotoolbar setItems:[[NSArray alloc] initWithObjects:button2, nil];
[mainUIview addSubview:lotoolbar];
You should also have to implement the following delegate methods:
- (BOOL)textView:(UITextView *)textView shouldChangeTextInRange:(NSRange)range replacementText:(NSString *)text
{
}
- (void)textViewDidChange:(UITextView *)textView{
    NSLog(@"textViewDidChange:");
}

- (void)textViewDidChangeSelection:(UITextView *)textView{
    NSLog(@"textViewDidChangeSelection:");
}

- (BOOL)textViewShouldBeginEditing:(UITextView *)textView
{
    [lotextview setText:@""];
    NSLog(@"textViewShouldBeginEditing:");
    return YES;
}
Try this simple Method:
    UIToolbar *toolbar = [[UIToolbar alloc] init];
    toolbar.frame = CGRectMake(0, 0, 300, 44);
    UIBarButtonItem *button1 = [[UIBarButtonItem alloc] initWithTitle:@"Send" style:UIBarButtonItemStyleDone target:self action:@selector(sendAction)];

    UIBarButtonItem *button2=[[UIBarButtonItem alloc]initWithTitle:@"Cancel" style:UIBarButtonItemStyleDone target:self action:@selector(cancelAction)];

    [toolbar setItems:[[NSArray alloc] initWithObjects:button1,button2, nil]];
    [self.view addSubview:toolbar];
Swift 5:
Code:
override func viewDidLoad() {

    super.viewDidLoad()

    self.view.backgroundColor = .systemBackground

    self.navigationController?.isToolbarHidden = false

    let toolBarItems = ["Tab1","Tab2"]
    segmentedControl = UISegmentedControl(items: toolBarItems)
    segmentedControl.selectedSegmentIndex = 0

    let space = UIBarButtonItem(barButtonSystemItem: .flexibleSpace, target: self, action: nil)
    let cameraBarButtonItem = UIBarButtonItem(barButtonSystemItem: .camera, target: self, action: nil)
    let segmentedControlBarButtonItem = UIBarButtonItem(customView: segmentedControl)
    let addBarButtonItem = UIBarButtonItem(barButtonSystemItem: .add, target: self, action: #selector(addAction))
    self.toolbarItems = [cameraBarButtonItem, space, segmentedControlBarButtonItem, space, addBarButtonItem]

}

@objc func addAction() {
    print("Add")
}
© 2022 - 2024 — McMap. All rights reserved.


