How to crop a UIImageView to a new UIImage in 'aspect fill' mode?
Asked Answered
Q

2

14

I'm trying to crop a sub-image of a image view using an overlay UIView that can be positioned anywhere in the UIImageView. I'm borrowing a solution from a similar post on how to solve this when the UIImageView content mode is 'Aspect Fit'. That proposed solution is:

  func computeCropRect(for sourceFrame : CGRect) -> CGRect {

        let widthScale = bounds.size.width / image!.size.width
        let heightScale = bounds.size.height / image!.size.height

        var x : CGFloat = 0
        var y : CGFloat = 0
        var width : CGFloat = 0
        var height : CGFloat = 0
        var offSet : CGFloat = 0

        if widthScale < heightScale {
            offSet = (bounds.size.height - (image!.size.height * widthScale))/2
            x = sourceFrame.origin.x / widthScale
            y = (sourceFrame.origin.y - offSet) / widthScale
            width = sourceFrame.size.width / widthScale
            height = sourceFrame.size.height / widthScale
        } else {
            offSet = (bounds.size.width - (image!.size.width * heightScale))/2
            x = (sourceFrame.origin.x - offSet) / heightScale
            y = sourceFrame.origin.y / heightScale
            width = sourceFrame.size.width / heightScale
            height = sourceFrame.size.height / heightScale
        }

        return CGRect(x: x, y: y, width: width, height: height)
    }

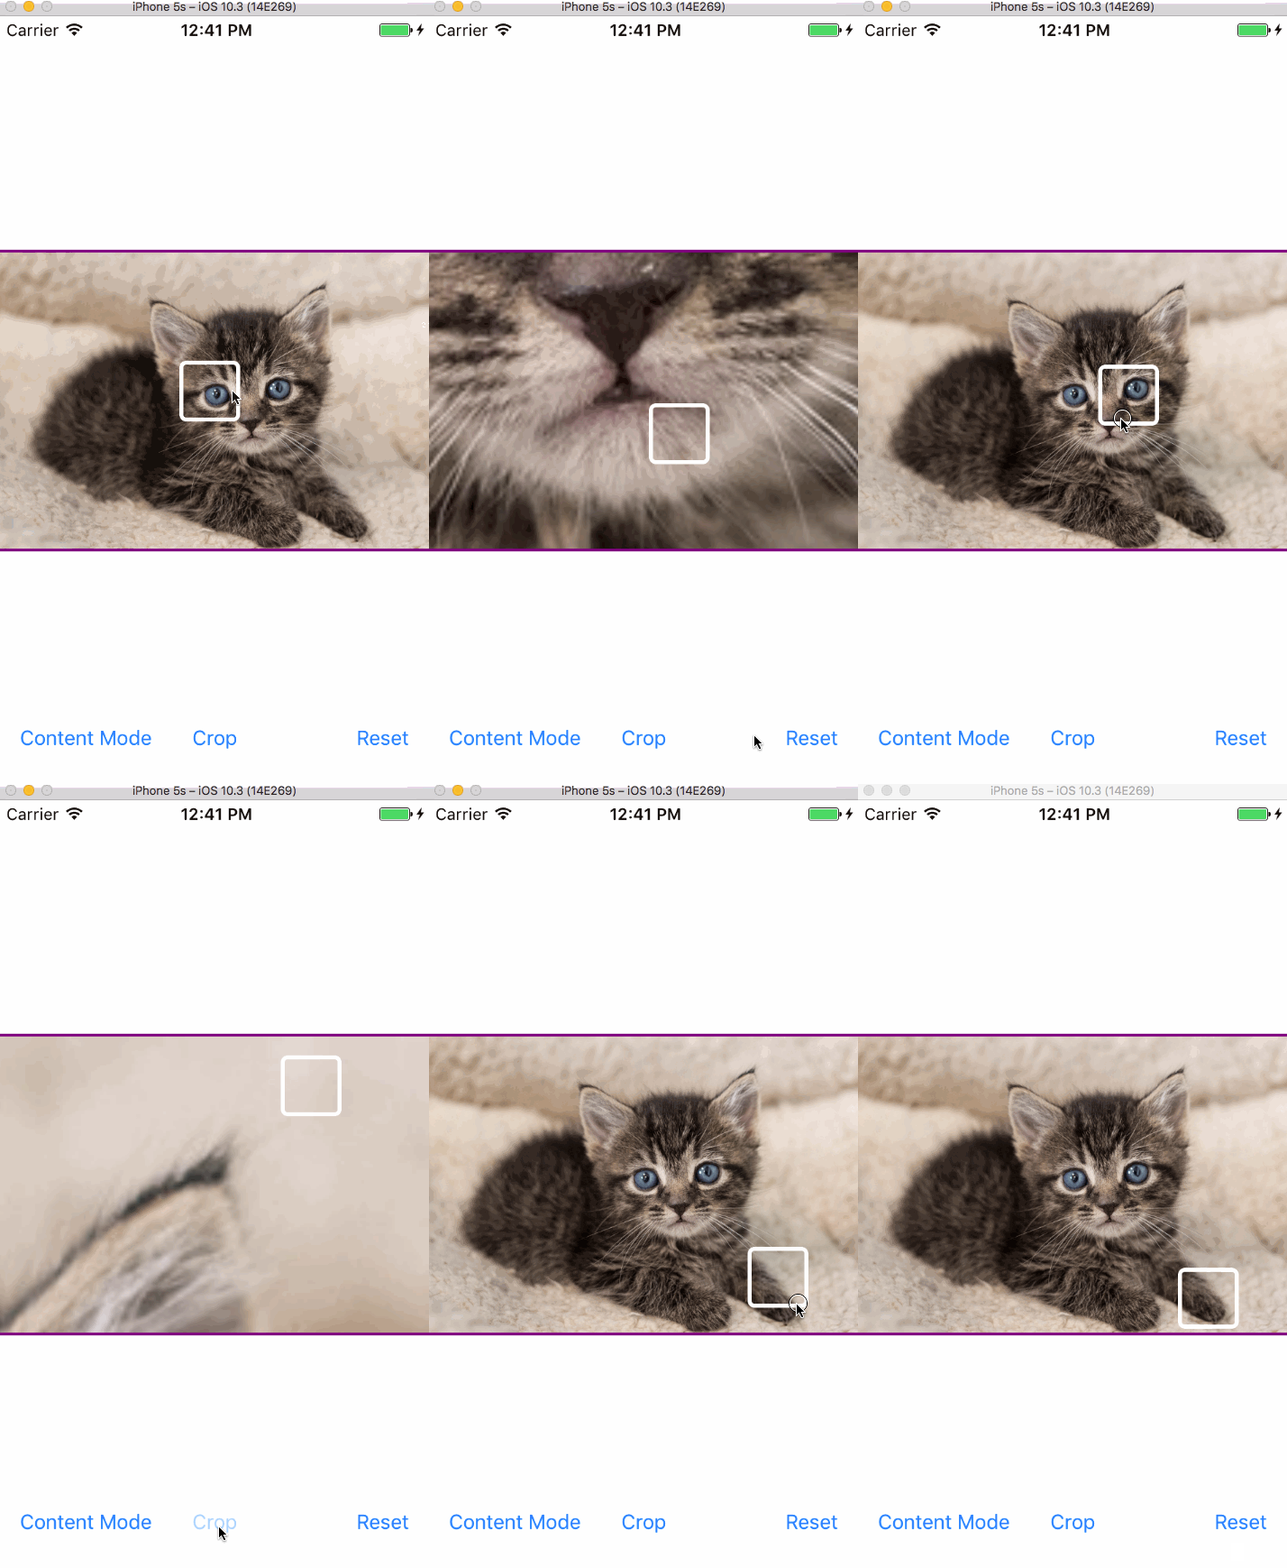
The problem is that using this solution when the image view is aspect fill causes the cropped segment to not line up exactly with where the overlay UIView was positioned. I'm not quite sure how to adapt this code to accommodate for Aspect Fill or reposition my overlay UIView so that it lines up 1:1 with the segment I'm trying to crop.

UPDATE Solved using Matt's answer below

class ViewController: UIViewController {

    @IBOutlet weak var catImageView: UIImageView!
    private var cropView : CropView!

    override func viewDidLoad() {
        super.viewDidLoad()

        cropView = CropView(frame: CGRect(x: 0, y: 0, width: 45, height: 45))

        catImageView.image = UIImage(named: "cat")
        catImageView.clipsToBounds = true

        catImageView.layer.borderColor = UIColor.purple.cgColor
        catImageView.layer.borderWidth = 2.0
        catImageView.backgroundColor = UIColor.yellow

        catImageView.addSubview(cropView)

        let imageSize = catImageView.image!.size
        let imageViewSize = catImageView.bounds.size

        var scale : CGFloat = imageViewSize.width / imageSize.width

        if imageSize.height * scale < imageViewSize.height {
            scale = imageViewSize.height / imageSize.height
        }

        let croppedImageSize = CGSize(width: imageViewSize.width/scale, height: imageViewSize.height/scale)

        let croppedImrect =
            CGRect(origin: CGPoint(x: (imageSize.width-croppedImageSize.width)/2.0,
                                   y: (imageSize.height-croppedImageSize.height)/2.0),
                   size: croppedImageSize)

        let renderer = UIGraphicsImageRenderer(size:croppedImageSize)

        let _ = renderer.image { _ in
            catImageView.image!.draw(at: CGPoint(x:-croppedImrect.origin.x, y:-croppedImrect.origin.y))
        }
    }


    @IBAction func performCrop(_ sender: Any) {
        let cropFrame = catImageView.computeCropRect(for: cropView.frame)
        if let imageRef = catImageView.image?.cgImage?.cropping(to: cropFrame) {
            catImageView.image = UIImage(cgImage: imageRef)
        }
    }

    @IBAction func resetCrop(_ sender: Any) {
        catImageView.image = UIImage(named: "cat")
    }
}

The Final Result enter image description here

Quintessence answered 1/5, 2017 at 14:26 Comment(7)
But your new material shows a screen shot where the original image is not affected by aspectFill or aspectFit; the entire image is being displayed! I don't think your image view is configured the way you think it is.Virtue
I double checked and both of my image views are set to aspectFill. It might be because I'm assigning the aspectCroppedImage to the destinationImageView directly?Quintessence
Going to update my implementation and screenshots real quick for clarity.Quintessence
Well then you're creating aspectCroppedImage at totally the wrong time.Virtue
When should the code to compute this actually be called?Quintessence
If you don't understand my answer, unaccept it and I'll delete it.Virtue
I had a few bugs in my implementation that were causing your solution to misbehave. I posted a gif and it looks like it's working as expected. Thanks for all your help!Quintessence
V
24

Let's divide the problem into two parts:

  1. Given the size of a UIImageView and the size of its UIImage, if the UIImageView's content mode is Aspect Fill, what is the part of the UIImage that fits into the UIImageView? We need, in effect, to crop the original image to match what the UIImageView is actually displaying.

  2. Given an arbitrary rect within the UIImageView, what part of the cropped image (derived in part 1) does it correspond to?

The first part is the interesting part, so let's try it. (The second part will then turn out to be trivial.)

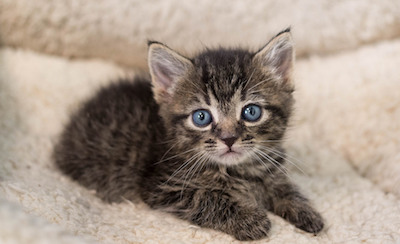
Here's the original image I'll use:

https://static1.squarespace.com/static/54e8ba93e4b07c3f655b452e/t/56c2a04520c64707756f4267/1455596221531/

That image is 1000x611. Here's what it looks like scaled down (but keep in mind that I'm going to be using the original image throughout):

enter image description here

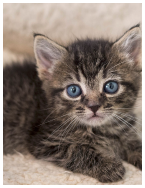
My image view, however, will be 139x182, and is set to Aspect Fill. When it displays the image, it looks like this:

enter image description here

The problem we want to solve is: what part of the original image is being displayed in my image view, if my image view is set to Aspect Fill?

Here we go. Assume that iv is the image view:

let imsize = iv.image!.size
let ivsize = iv.bounds.size

var scale : CGFloat = ivsize.width / imsize.width
if imsize.height * scale < ivsize.height {
    scale = ivsize.height / imsize.height
}

let croppedImsize = CGSize(width:ivsize.width/scale, height:ivsize.height/scale)
let croppedImrect =
    CGRect(origin: CGPoint(x: (imsize.width-croppedImsize.width)/2.0,
                           y: (imsize.height-croppedImsize.height)/2.0),
           size: croppedImsize)

So now we have solved the problem: croppedImrect is the region of the original image that is showing in the image view. Let's proceed to use our knowledge, by actually cropping the image to a new image matching what is shown in the image view:

let r = UIGraphicsImageRenderer(size:croppedImsize)
let croppedIm = r.image { _ in
    iv.image!.draw(at: CGPoint(x:-croppedImrect.origin.x, y:-croppedImrect.origin.y))
}

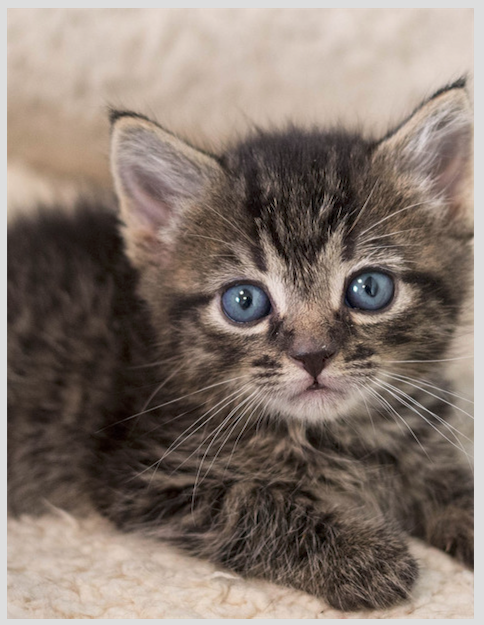
The result is this image (ignore the gray border):

enter image description here

But lo and behold, that is the correct answer! I have extracted from the original image exactly the region portrayed in the interior of the image view.

So now you have all the information you need. croppedIm is the UIImage actually displayed in the clipped area of the image view. scale is the scale between the image view and that image. Therefore, you can easily solve the problem you originally proposed! Given any rectangle imposed upon the image view, in the image view's bounds coordinates, you simply apply the scale (i.e. divide all four of its attributes by scale) — and now you have the same rectangle as a portion of croppedIm.

(Observe that we didn't really need to crop the original image to get croppedIm; it was sufficient, in reality, to know how to perform that crop. The important information is the scale along with the origin of croppedImRect; given that information, you can take the rectangle imposed upon the image view, scale it, and offset it to get the desired rectangle of the original image.)


EDIT I added a little screencast just to show that my approach works as a proof of concept:

enter image description here

EDIT Also created a downloadable example project here:

https://github.com/mattneub/Programming-iOS-Book-Examples/blob/39cc800d18aa484d17c26ffcbab8bbe51c614573/bk2ch02p058cropImageView/Cropper/ViewController.swift

But note that I can't guarantee that URL will last forever, so please read the discussion above to understand the approach used.

Virtue answered 1/5, 2017 at 14:30 Comment(13)
I understand what you have posted but could you elaborate on what you meant by "simply apply the scale and now you have the same rectangle as a portion of croppedIm". My crop view is dynamic in size and position and even using the croppedIm and using my function I supplied above the crop is still off and I'm not quite sure why.Quintessence
If your code works for aspect fit, it will work if you substitute croppedIm and use aspect fit. So why not just do that? That is what I meant by reducing it to a previously solved problem.Virtue
Yeah I understand what you are saying. I'm going to update my original question with the code including your solution for context.Quintessence
I added a little screencast to show that my approach works correctly for actually cropping the image to a designated rect.Virtue
Updated my post with workable solution and a gif demonstrating functionality.Quintessence
@Virtue just curious why you had to negate the values on the draw command.Flowerless
@JuanBoero Try not negating them and see.Virtue
This example doesn't work properly when your image view is placed inside scroll view and translated/scaled. I took code from here raywenderlich.com/5758454-uiscrollview-tutorial-getting-started and tried to use your code to get image from a visible rect. The result is I get a cropped image but the original image view "jumps" at this momentNuts
can we use UIGraphisBeginImageContext to crop instead of UIGraphicsImageRenderer, the latter seems block main thread.Mignon
@Mignon And UIGraphicsBeginImageContext doesn't block the main thread? Drawing in a graphics context is drawing in a graphics context.Virtue
@Virtue yes, I did run both approach from a background thread, UIGraphicsImageRenderer somehow still blocks main thread, maybe it runs in main thread internally.Mignon
@Mignon well UIGraphicsBeginImageContext is fine to use.Virtue
@Virtue yeah agreed, both way work, just in my case, I choose to work with graphic context .Mignon
P
1

Matt answered the question perfectly. I was creating a full-screen camera and had a need to make the final output match the full-screen preview. Offering here a compact extension of Matt's overall answer in Swift 5 for easy use by others. Recommend reading Matt's answer as it explains things very well.

extension UIImage {
    func cropToRect(rect: CGRect) -> UIImage? {
        var scale = rect.width / self.size.width
        scale = self.size.height * scale < rect.height ? rect.height/self.size.height : scale

        let croppedImsize = CGSize(width:rect.width/scale, height:rect.height/scale)
        let croppedImrect = CGRect(origin: CGPoint(x: (self.size.width-croppedImsize.width)/2.0,
                                                   y: (self.size.height-croppedImsize.height)/2.0),
                                                   size: croppedImsize)
        UIGraphicsBeginImageContextWithOptions(croppedImsize, true, 0)
        self.draw(at: CGPoint(x:-croppedImrect.origin.x, y:-croppedImrect.origin.y))
        let croppedImage = UIGraphicsGetImageFromCurrentImageContext()
        UIGraphicsEndImageContext()
        return croppedImage
    }
}
Path answered 30/7, 2020 at 3:36 Comment(3)
it seems it doesn't work at all - I always get the same rect. No matter you pass other origin or other size - the result is always the sameNuts
I would look to answer your question, but instead of you just asking it, you choose to downvote a viable solution that works because it may not fit your specific use case or errors. Good luck to you.Path
Yes, maybe my code contains errors/bugs but anyways the confirmed answer works, your one dosn't.Nuts

© 2022 - 2024 — McMap. All rights reserved.