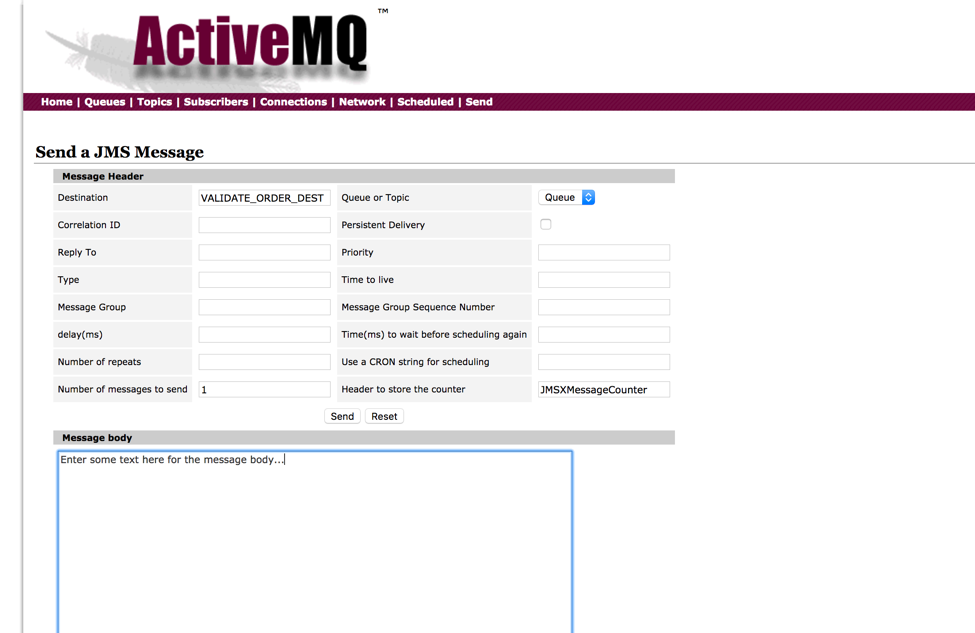
I searched a lot in web, couldn't find any answers.
Activemq console can not be used in this case but you can use the curl command to send messages with header which exposes the api's of web console. Please refer below link:
For example, using below command , uses the proerties "key=2dffvdfbfd"
curl -XPOST -d "body=Test message" -d "key=2dffvdfbfd" http://admin:admin@<brokerIp>:8161
http://admin:admin@<brokerIp>:8161/api/message?destination=<queue:topic>://<destination-name>. This indeed allows to provide additional JMS properties. –
Pastypat destinationJMS property can be provided in the URI or as form data (your choice), but the trailing /api/message in the URI is mandatory. –
Pastypat Web console does not allow to send custom jms header or properties.
So, you need to use the rest api:
http://activemq.apache.org/rest.html
The following curl worked for me:
- activemq 5.14.x
- queue name = avenger_tasks
- body message =
{'a': 'b'} - jms header name = JMSCorrelationID
- jms header value = 9999
    curl -H 'Authorization: Basic YWabcdefg==' \
    -d "body={'a': 'b'}"  \
    -d "JMSCorrelationID=9999" \
    -d "JMSReplyTo=NickFury"   \
    -d "SomeProperty=SomeValue"   \
    http://localhost:8161/api/message/avenger_tasks?type=queue
Or with user and password
    curl -u admin:admin \
    -d "body={'a': 'b'}"  \
    -d "JMSCorrelationID=9999" \
    -d "JMSReplyTo=NickFury"   \
    -d "SomeProperty=SomeValue"   \
    http://localhost:8161/api/message/avenger_tasks?type=queue
You cannot, the console provides very limited message send facilities. If you want to send full blown messages then use a JMS client.
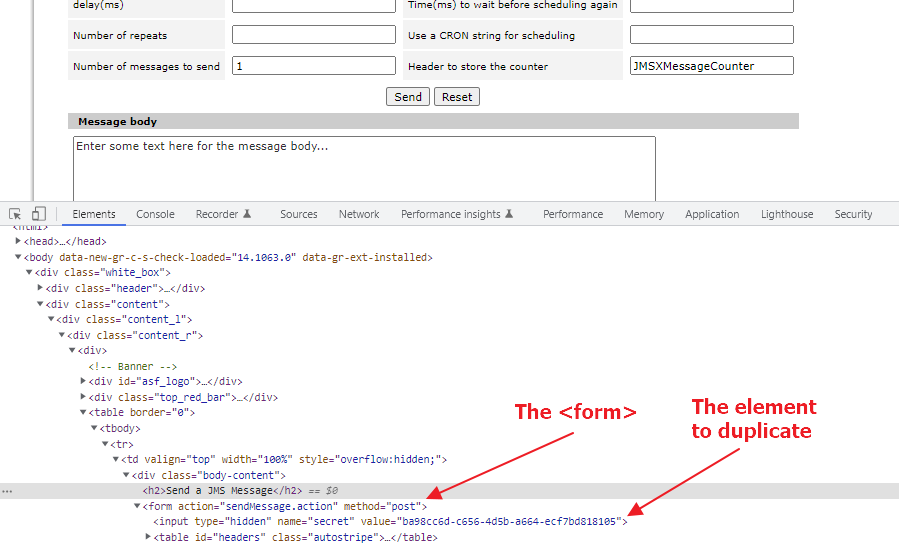
A "hacky way" is to use your browser's developer tools to insert a hidden field in the "sendMessage.action". The name of the new hidden field should be the name of the custom header that you want to send.
For example, in Chrome,
- Right-click the section header named "Send a JMS Message" and select "Inspect" for the menu that pops up
- You will see the
<form>element right below the selected element - Click on the 3 dots to the left of the first
<input type="hidden".../>element and duplicate it
- On the duplicate
<input type="hidden".../>change the name to contain the value of your customer header name and in thevalueattribute set the desired value of the header
- Now when you click the "Send" button, the custom header will be part of the message
© 2022 - 2024 — McMap. All rights reserved.


