How to change the Windows Application's default icon with other one in C# desktop application. I am trying to change it in Setup Project but it is not. I want to show my own icon with Application's shortcut rather then windows default icon
It is truly odd that when you are creating a deployment (set up) project, and you create a shortcut to the "Primary output" (an .exe), the shortcut does not automatically get the .exe's icon. Instead it gets a generic document shortcut icon. Some of the answers here suggest adding an .ico file to the installer, but that certainly feels wrong. You can get the desired icon into the shortcut without adding an .ico file.
Assuming you have already given your program the desired icon,
- In the solution explorer, right click on the installation project and go to "View -> File System".
- in the File System window, find the shortuct whose icon you want to change (for example, under "Users's Programs Menu")
- go to the shortcut Properties (right-click and pick "Properties Window")
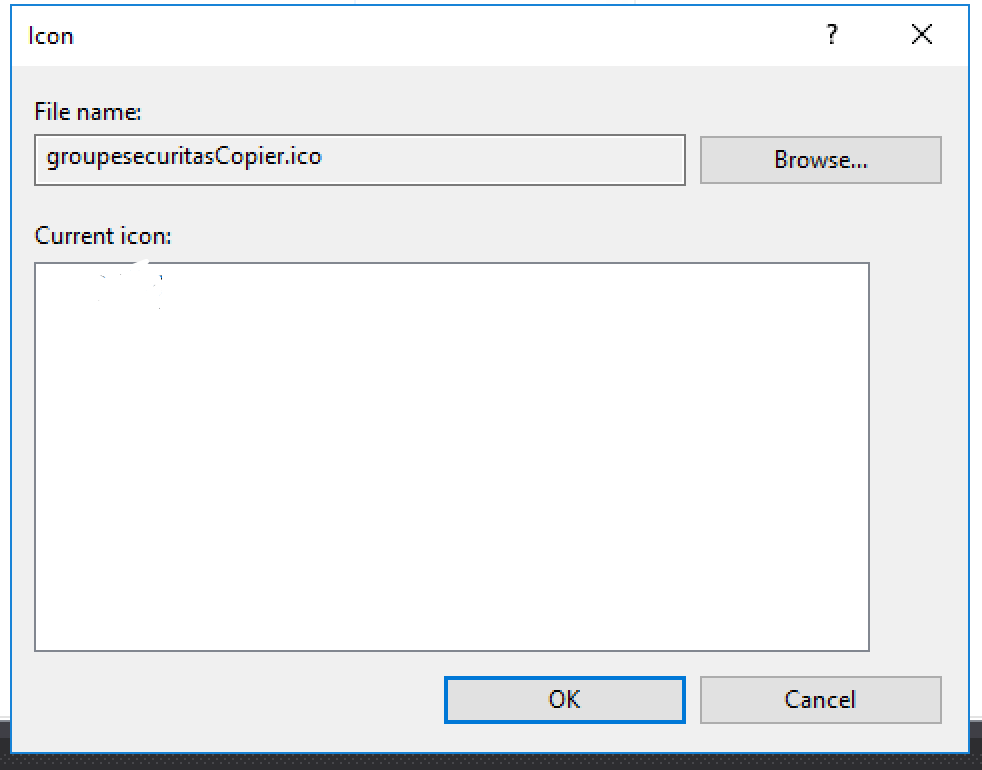
- go to Icon
- Browse...
- change "Files of type" to *.exe
- browse to and select your "primary output"
- OK, OK
And as serhio pointed out, a similar process can set the icon for the Control Panel's "Add or Remove Programs" list.
You can also change the Icon in the Add & Remove Programs list.
For this select the Setup1 project and select the property AddRemoveProgramsIcon.
You can select an .ico file or leave the main .exe output as file for the icon.
Make sure you .ico is not to big. Had this issue for hours just to find 256x256 is to big. 48x48 is perfect but I think 128x128 might also work.
Right click on you windows application project, select properties. In the properties window, select the application tab. In the application tab, there is a radio button saying Icon and manifest. Select that and browse and select your custom icon for the application in the Icon drop down menu.
Thnks
You can change the icon of the application inside the Windows Application itself. And put that application in the setup project.
Right click the WinApp Project and inside the Application section you can choose and Icon which will be an ico file. Browse for the icon file and select it. Build the project and attach it to the setup project.
Right click on Primary Output of Your Project and Select Create Shortcut. Give it a name and then click on its properties and set the icon.
In the setup project you cannot change the primary output's icons. You can create new shortcuts on the desktop etc and apply custom icons on those.
© 2022 - 2024 — McMap. All rights reserved.

