Try this OPTION
1.) Open Hyper-V
2.) Shutdown any existing configured Windows Phone emulators.
3.) Delete the existing Phone emulators you see in the list
3.) Click on “Virtual Switch Manager”
4.) Click on the “Windows Phone Emulator Internal Switch”
5.) Delete the existing “Windows Phone Emulator Internal Switch” by clicking “Remove”
6.) Click “Apply” and “OK”
This should work.
If this does not, then do this:
Now, open “Network Connections”
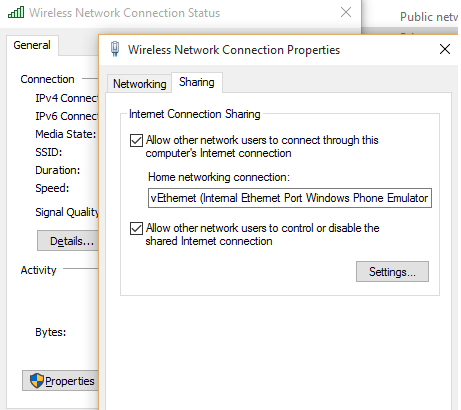
You will see there “vEthernet (Internal Ethernet Port Windows Phone Emulator Internal Switch)”
But hey, you deleted this same switch in OPTION 1, but still it shows in the Network Connections page.
Now open Device Manager, Expand “Network Adapters”
You will see the names appearing under Network Adapter match the same as “Device Name” mentioned in “Network Connections” window
Find out the correct “Hyper-V Virtual Ethernet Adapter” to be removed.
Now, in Device Manager, right click the correct Network Adapter and choose “Uninstall”.
This should disappear from the list.
Open “Network Connections” and see that “vEthernet (Internal Ethernet Port Windows Phone Emulator Internal Switch)” will no longer be present there.
Open Visual Studio, run the project in your desired emulator.
This time everything will work fine and the Emulator will boot up Windows 10 or Windows 8.


