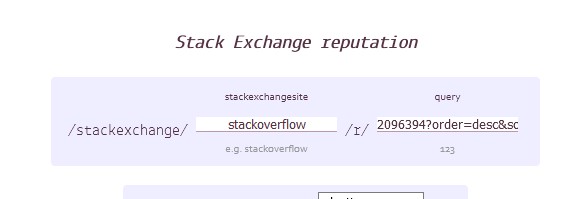
First using stack exchange's user api here, you are able to attain your stack overflow account information in JSON format via an endpoint url. All you have to do is to specify your stack overflow user id in the id field and click run to generate the endpoint path. You can attain your stack overflow user id by clicking on your profile picture, it will then appear in the search bar.
![enter image description here]()
Append the path generated to https://api.stackexchange.com to form the endpoint url.
My stack exchange endpoint url: https://api.stackexchange.com/2.2/users/9133459?order=desc&sort=reputation&site=stackoverflow
Now that we have our stack overflow information in JSON format, we can proceed to parse it and create a new endpoint which meets shields requirements. To do that you would have to create an account with RunKit. Publish this piece of code on RunKit and make sure the node version is v4.9.1 (replace the url in the code with your own endpoint url generated previously):
// variables
var endpoint = require("@runkit/runkit/json-endpoint/1.0.0");
var fetch = require("node-fetch");
var url = "https://api.stackexchange.com/2.2/users/9133459?order=desc&sort=reputation&site=stackoverflow";
let settings = { method: "Get" };

// main function
endpoint(module.exports, async function()
{
    try {
       await fetch(url, settings)
            .then(res => res.json())
            .then((json) => {
                reputation = json["items"][0].reputation;
                if (reputation >= 1000) {
                    reputation = reputation / 1000;
                    reputation = Math.floor(reputation * 10) / 10;
                    // if first decimal place is 0
                    if ((reputation * 10) % 10 == 0) {
                        // round to int
                        reputation = Math.round(reputation);
                    }
                    reputation = reputation.toString();
                    reputation += "K";
                }
        });
    } catch(e) {
        return {
            "schemaVersion": 1,
            "label": "STACKOVERFLOW REPUTATION",
            "message": "API ERROR",
            "color": "FF0000",
            "labelColor": "black",
            "style": "for-the-badge"
        }
    }
    return {
        "schemaVersion": 1,
        "label": "STACKOVERFLOW REPUTATION",
        "message": reputation,
        "color": "FE7A16",
        "labelColor": "black",
        "style": "for-the-badge"
    }
})
After publishing, click on the endpoint hyperlink at the top of the RunKit page to view the endpoint url which you are going to pass to shields in order to create the badge.
Here is my runkit endpoint url: https://stack-overflow-reputation-ciqil1ej93hq.runkit.sh
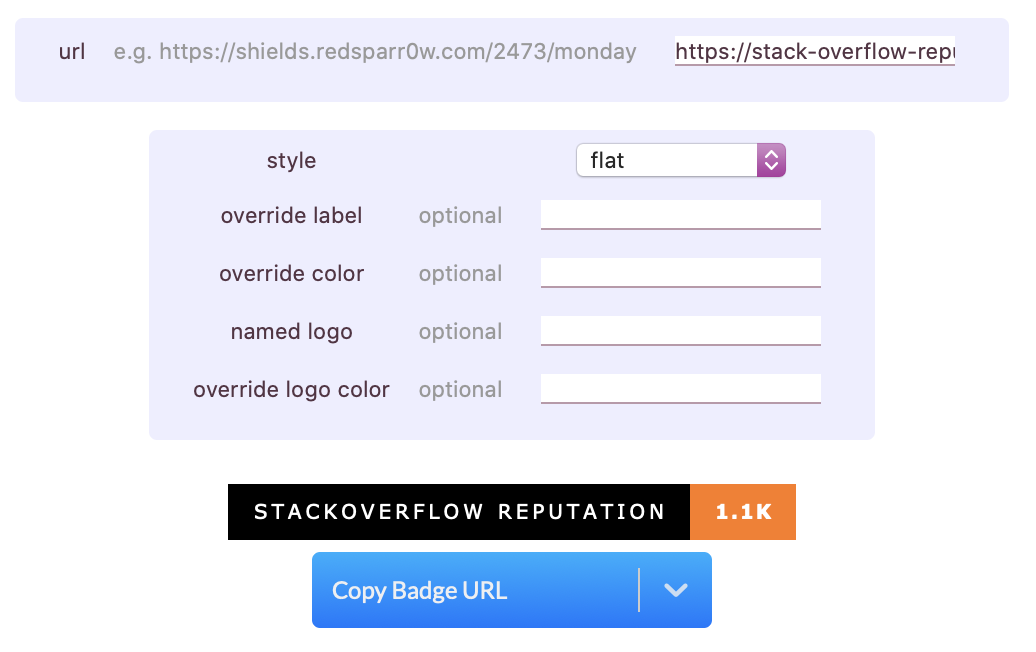
Now, all that is left is to go to shields.io's JSON endpoint badge page here and paste the url as such:
![enter image description here]()
Besides copying the badge url option, you are also given the option to copy the markdown version, copy it and paste it in your GitHub profile README.
Markdown Outcome:
![Custom badge]()
Note: You can change the design of the badge by changing the JSON return statements in the RunKit code or overriding what you want to change in the JSON endpoint badge page. The attributes you can change are listed on the same page.


