Option 1 - Returning RedirectResponse
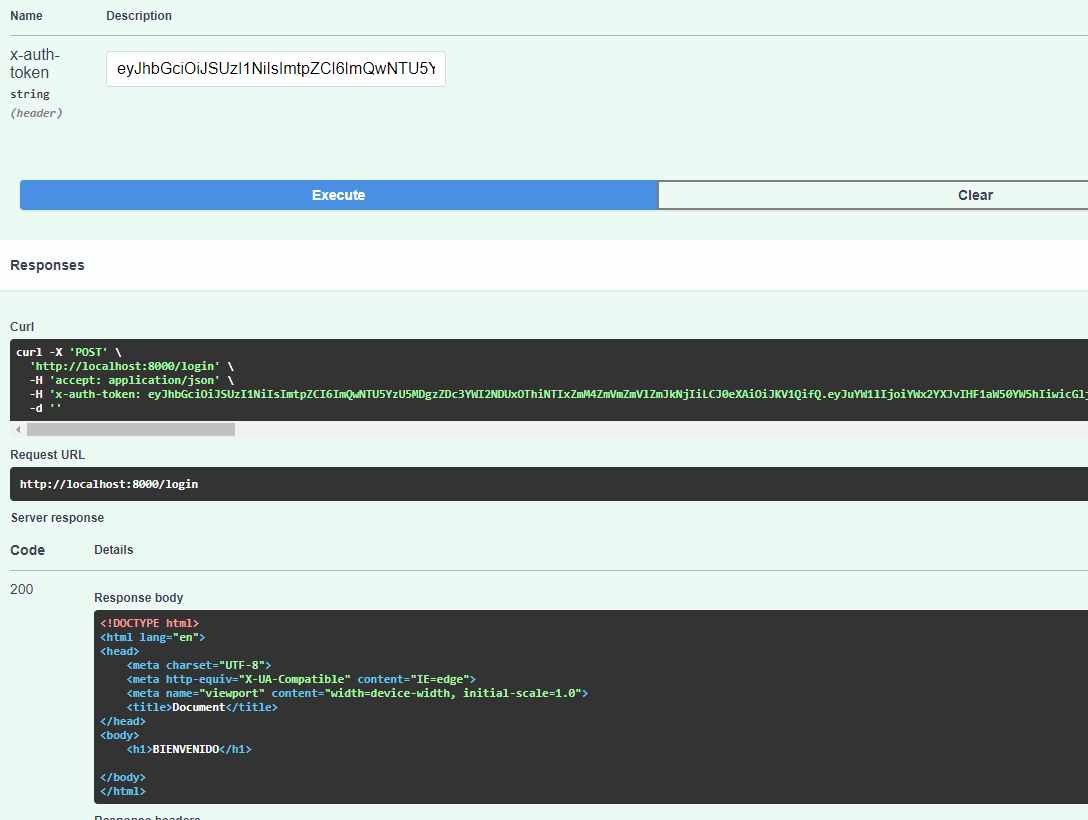
When using the fetch() function to make an HTTP request to a server that responds with a RedirectResponse, the redirect response will be automatically followed on client side (as explained here), as the redirect mode is set to follow in the fetch() function by default. This means that the user won't be redirected to the new URL, but rather fetch() will follow that redirection behind the scenes and return the response from the redirect URL. You might expected that setting redirect to manual instead would allow you to get the redirect URL (contained in the Location response header) and manually navigate to the new page, but this is not the case, as described here.
However, you could still use the default redirect mode in the fetch() request, i.e., follow (no need to manually specify it, as it is already set by default—in the example below, it is manually defined for clarity purposes only), and then use Response.redirected to check whether or not the response is the result of a request that you made which was redirected. If so, you can use Response.url, which will return the "final URL obtained after any redirects", and using JavaScript's window.location.href, you can redirect the user to the target URL (i.e., the redirect page).
Instead of window.location.href, one can also use window.location.replace(). The difference from setting the href property value is that when using the location.replace() method, after navigating to the given URL, the current page will not be saved in session history—meaning the user won't be able to use the back button to navigate to it.
Working Example
app.py
from fastapi import FastAPI, Request, status, Depends
from fastapi.templating import Jinja2Templates
from fastapi.responses import RedirectResponse
from fastapi.security import OAuth2PasswordRequestForm

app = FastAPI()
templates = Jinja2Templates(directory='templates')


@app.get('/')
async def index(request: Request):
    return templates.TemplateResponse('index.html', {'request': request})


@app.post('/login')
async def login(data: OAuth2PasswordRequestForm = Depends()):
    # perform some validation, using data.username and data.password
    credentials_valid = True

    if credentials_valid:
        return RedirectResponse(url='/welcome',status_code=status.HTTP_302_FOUND)
    else:
        return 'Validation failed'


@app.get('/welcome')
async def welcome():
    return 'You have been successfully redirected'
templates/index.html
<!DOCTYPE html>
<html>
   <head>
      <script>
         document.addEventListener("DOMContentLoaded", (event) => {
            document.getElementById("myForm").addEventListener("submit", function (e) {
              e.preventDefault(); // Cancel the default action
              var formElement = document.getElementById('myForm');
              var data = new FormData(formElement);
              fetch('/login', {
                    method: 'POST',
                    redirect: 'follow',
                    body: data,
                 })
                 .then(res => {
                    if (res.redirected) {
                       window.location.href = res.url;  // or, location.replace(res.url);
                       return;
                    }
                    else
                       return res.text();
                 })
                 .then(data => {
                    document.getElementById("response").innerHTML = data;
                 })
                 .catch(error => {
                    console.error(error);
                 });
            });
         });

      </script>
   </head>
   <body>
      <form id="myForm">
         <label for="username">Username:</label><br>
         <input type="text" id="username" name="username" value="[email protected]"><br>
         <label for="password">Password:</label><br>
         <input type="password" id="password" name="password" value="pa55w0rd"><br><br>
         <input type="submit" value="Submit" class="submit">
      </form>
      <div id="response"></div>
   </body>
</html>
Option 2 - Returning JSON response containing the redirect URL
Instead of returning a RedirectResponse from the server, you could have the server returning a normal JSON response with the URL included in the JSON object. On client side, you could check whether the JSON object returned from the server—as a result of the fetch() request—includes the url key, and if so, retrieve its value and redirect the user to the target URL, using JavaScript's window.location.href or window.location.replace().
Alternatively, one could add the redirect URL to a custom response header on server side (see examples here and here on how to set a response header in FastAPI), and access it on client side, after posting the request using fetch(), as shown here (Note that if you were doing a cross-origin request, you would have to set the Access-Control-Expose-Headers response header on server side (see examples here and here, as well as FastAPI's CORSMiddleware documentation on how to use the expose_headers argument), indicating that your custom response header, which includes the redirect URL, should be made available to JS scripts running in the browser, since only the CORS-safelisted response headers are exposed by default).
Working Example
app.py
from fastapi import FastAPI, Request, status, Depends
from fastapi.templating import Jinja2Templates
from fastapi.security import OAuth2PasswordRequestForm

app = FastAPI()
templates = Jinja2Templates(directory='templates')


@app.get('/')
async def index(request: Request):
    return templates.TemplateResponse('index.html', {'request': request})


@app.post('/login')
async def login(data: OAuth2PasswordRequestForm = Depends()):
    # perform some validation, using data.username and data.password
    credentials_valid = True

    if credentials_valid:
        return {'url': '/welcome'}
    else:
        return 'Validation failed'


@app.get('/welcome')
async def welcome():
    return 'You have been successfully redirected'
templates/index.html
<!DOCTYPE html>
<html>
   <head>
      <script>
         document.addEventListener("DOMContentLoaded", (event) => {
            document.getElementById("myForm").addEventListener("submit", function (e) {
              e.preventDefault(); // Cancel the default action
              var formElement = document.getElementById('myForm');
              var data = new FormData(formElement);
              fetch('/login', {
                    method: 'POST',
                    body: data,
                 })
                 .then(res => res.json())
                 .then(data => {
                    if (data.url)
                       window.location.href = data.url; // or, location.replace(data.url);
                    else
                       document.getElementById("response").innerHTML = data;
                 })
                 .catch(error => {
                    console.error(error);
                 });
            });
         });
      </script>
   </head>
   <body>
      <form id="myForm">
         <label for="username">Username:</label><br>
         <input type="text" id="username" name="username" value="[email protected]"><br>
         <label for="password">Password:</label><br>
         <input type="password" id="password" name="password" value="pa55w0rd"><br><br>
         <input type="submit" value="Submit" class="submit">
      </form>
      <div id="response"></div>
   </body>
</html>
Option 3 - Using HTML <form> in the frontend
If using a fetch() request is not a requirement for your project, you could instead use a normal HTML <form> and have the user click on the submit button to send the POST request to the server. In this way, using a RedirectResponse on server side (as demonstrated in Option 1) would result in having the user on client side automatically be redirected to the target URL, without any further action.
Working examples can be found in this answer, as well as this answer and this answer.

