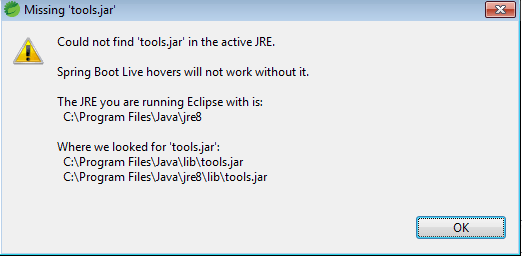
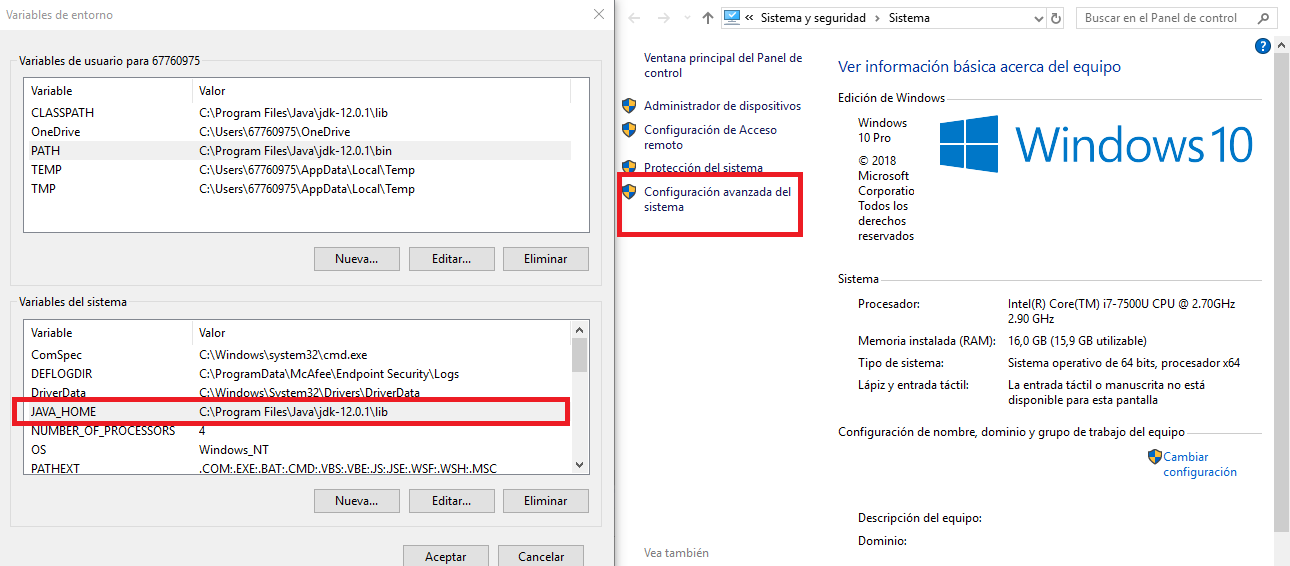
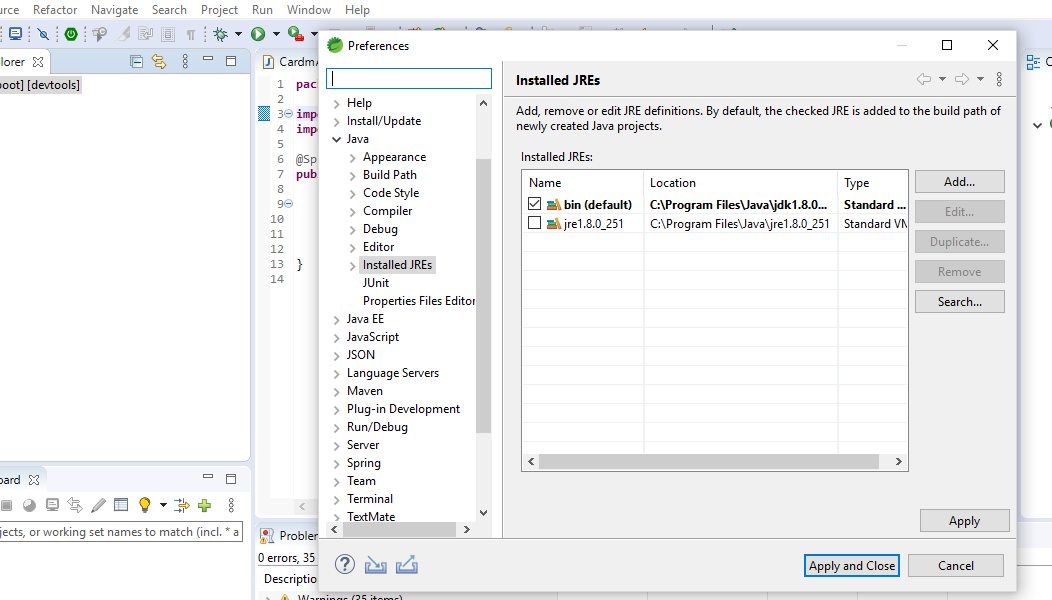
I solved this same problem by modifying the file "eclipse.ini". First I tried to solve it by modifying the file SpringToolSuite4.ini, but nothing happened, because I previusly had installed the eclipse ide, and the change in SpringToolSuite4.ini didn't work. then I modified the file eclipse.ini; and it worked.
The changes that I did in eclipse.ini are detailed below:
To check with what Java version (JRE or JDK) Eclipse is running, do the following:
- Open the menu item Help > About Eclipse. (On the Mac, it’s in the Eclipse-menu, not the Help-menu)
- Click on Installation Details.
- Switch to the tab Configuration
- Search for a line that starts with -vm. The line following it shows which Java binary is used.
Depending on the name and location of the used Java binary one can figure out if a JRE or a JDK is used:
- If the path contains “jre” (e.g. as in C:\Program Files\Java\jre6\bin\client\jvm.dll) it is a JRE
- If the path contains “jdk” (e.g. as in C:\Program Files\Java\jdk1.6.0_31\bin\javaw.exe) it is a JDK.
If no JDK is used for Eclipse, change it:
- Quit Eclipse if it is running
- Go to the Eclipse installation directory and open the file eclipse.ini in a text editor.
- Search for the line -vmargs
Before the line -vmargs, add two lines:
On the first line, write -vm
On the second line, write the path to your JDK installation (usually something like: C:\Program Files\Java\jdk1.6.0_31\bin\javaw.exe on Windows)*
source: https://matsim.org/docs/devguide/eclipse/jdk


.inifile, check that there is only one-vmoption (preferably as the first entry), that the path is correct and the option has the right form (-vmin one line, the path in the next line). – Pry