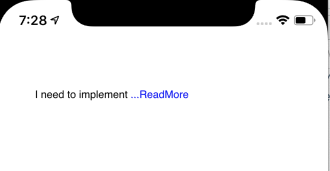
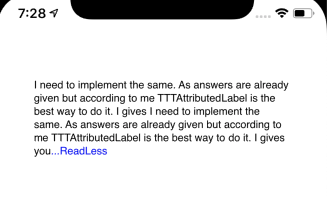
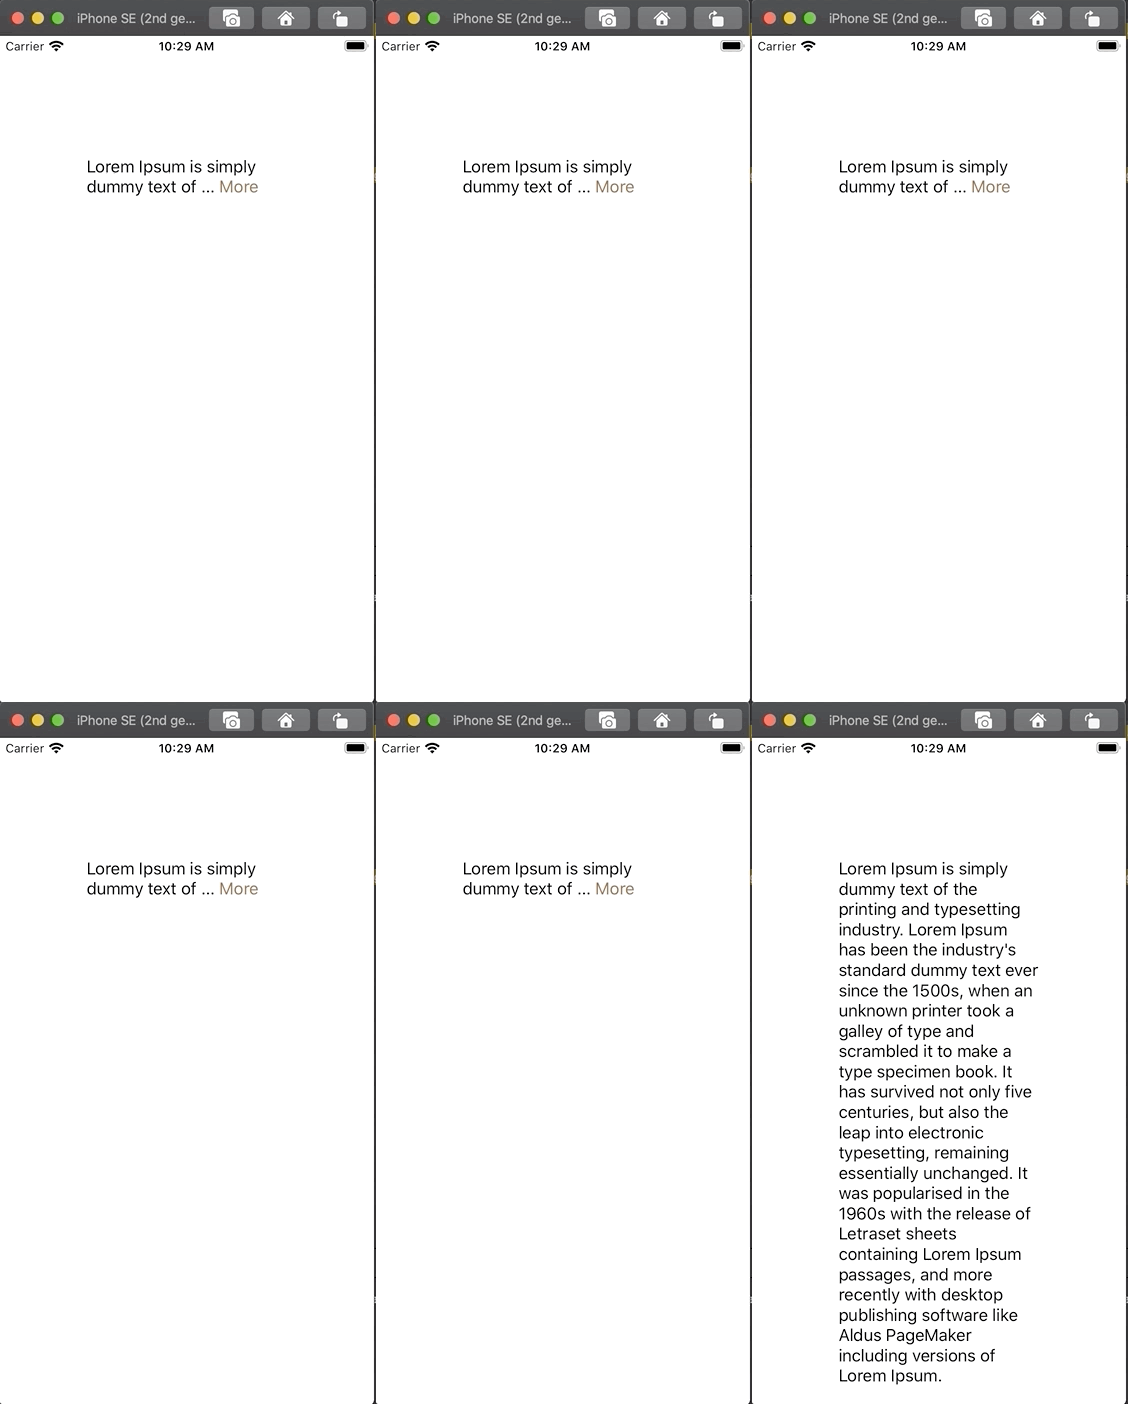
I had the need for similar functionality, and came up with an approach I didn't see documented anywhere. I wrote it up as a blog post, but I'll copy the salient parts here.
Note that I'm doing custom TextKit drawing already -- that is, I have a TextKit stack, and am rendering it into a custom view by using the drawGlyphs(forGlyphRange:, at:) method.
Cache the vertical position of the last line fragment rect
I was already doing an initial layout pass (with a larger height) during the height calculation code for my view. My view had a target height, and then it would find the last line that would fit completely into that target height, and set the view’s actual height to the bottom edge of that line. (This ensured no half-cut-off lines.)
I just added caching of the position of that last line, so that I could refer to it during TextKit layout.
public class MyCustomTextKitView: UIView {

  ...

  @objc public func setTextContainerSize(forWidth width: CGFloat, targetHeight: CGFloat) {
    // 1. set text container to the size with maximum height
    textContainer.size = CGSize(width: width - textContainerInsets.left - textContainerInsets.right, height: 1000000)

    // 2. get line fragment that contains the target height
    var previousLineFragmentRect: CGRect = CGRect.zero
    let targetTextContainerHeight = targetHeight - textContainerInsets.top - textContainerInsets.bottom

    layoutManager.ensureLayout(for: textContainer)
    layoutManager.enumerateLineFragments(forGlyphRange: layoutManager.glyphRange(for: textContainer)) { currentLineFragmentRect, usedRect, inTextContainer, glyphRange, stopPointer in
      // Check if target height was inside this line
      if currentLineFragmentRect.maxY > targetHeight {
        stopPointer.initialize(to: true)
        return
      }
      previousLineFragmentRect = currentLineFragmentRect
    }

    let prevLineFragmentMaxY = previousLineFragmentRect.maxY
    var targetTextContainerSize = CGSize.zero

    // 3. set text container size and cache the height of last line fragment rect
    targetTextContainerSize = CGSize(width: width - textContainerInsets.left - textContainerInsets.right, height: prevLineFragmentMaxY + textContainerInsets.top + textContainerInsets.bottom)

    textContainer.size = targetTextContainerSize
    layoutManager.activeTruncationMode = .truncateLine(previousLineFragmentRect) // this variable is in my custom subclass of NSLayoutManager
  }
}
Subclass NSTextContainer to modify the size of the last line fragment rect
public class TextContainer: NSTextContainer {

  override public func lineFragmentRect(
    forProposedRect proposedRect: CGRect,
    at characterIndex: Int,
    writingDirection baseWritingDirection: NSWritingDirection,
    remaining remainingRect: UnsafeMutablePointer<CGRect>?
  ) -> CGRect {
    var lineFragmentRect = super.lineFragmentRect(forProposedRect: proposedRect,
                                      at: characterIndex,
                                      writingDirection: baseWritingDirection,
                                      remaining: remainingRect)

    guard let layoutManager = layoutManager as? LayoutManager,
          case let .truncateLine(desiredTruncationLine) = layoutManager.activeTruncationMode,
          let truncationString = layoutManager.customTruncationString
    else {
      return lineFragmentRect
    }

    // check if we're looking at the last line
    guard lineFragmentRect.minX == desiredTruncationLine.minX else {
      return lineFragmentRect
    }

    // we have a match, and should truncate. Shrink the line by enough room to display our truncation string.
    let truncationAttributes = layoutManager.editor?.getTheme().truncationIndicatorAttributes ?? [:]
    let truncationAttributedString = NSAttributedString(string: truncationString, attributes: truncationAttributes)

    // assuming we don't make the line fragment rect bigger in order to fit the truncation string
    let requiredRect = truncationAttributedString.boundingRect(with: lineFragmentRect.size, options: .usesLineFragmentOrigin, context: nil)

    let spacing = 6.0 // TODO: derive this somehow

    // make the change
    lineFragmentRect.size.width = min(lineFragmentRect.width, size.width - (requiredRect.width + spacing))

    return lineFragmentRect
  }

}
Calculate the location to draw the string in the NSLayoutManagerDelegate
It turned out I had to use both the NSTextContainer method and this one. In the NSTextContainer method above, we shortened the line fragment rect for the last line, to the largest possible size it could be while still accommodating our custom truncation string. But we don’t yet know how much of that line has been used. For example, if it’s the last line of a paragraph, and only one word is on the line, then only a small amount of this possible horizontal width will have been used. (But we’d still need truncation because there may be subsequent paragraphs.)
Enter NSLayoutManagerDelegate. Here we find a method that gives us the data we need. So in this method, we position where we are going to draw our string, and cache the calculated value, ready to draw it later.
class LayoutManagerDelegate: NSObject, NSLayoutManagerDelegate {

  func layoutManager(
    _ layoutManager: NSLayoutManager,
    shouldSetLineFragmentRect lineFragmentRectPointer: UnsafeMutablePointer<CGRect>,
    lineFragmentUsedRect lineFragmentUsedRectPointer: UnsafeMutablePointer<CGRect>,
    baselineOffset: UnsafeMutablePointer<CGFloat>,
    in textContainer: NSTextContainer,
    forGlyphRange glyphRange: NSRange
  ) -> Bool {
    guard let layoutManager = layoutManager as? LayoutManager,
            case let .truncateLine(desiredTruncationLine) = layoutManager.activeTruncationMode,
            let truncationString = layoutManager.customTruncationString
    else {
      return false
    }

    let lineFragmentRect: CGRect = lineFragmentRectPointer.pointee
    let lineFragmentUsedRect: CGRect = lineFragmentUsedRectPointer.pointee

    // check if we're looking at the last line
    guard lineFragmentRect.minX == desiredTruncationLine.minX else {
      return false
    }

    // I should really refactor this code out, as it's used both here and in the TextContainer.
    let truncationAttributes = ...
    let truncationAttributedString = NSAttributedString(string: truncationString, attributes: truncationAttributes)
    let requiredRect = truncationAttributedString.boundingRect(with: lineFragmentRect.size, options: .usesLineFragmentOrigin, context: nil)
    let spacing = 6.0 // TODO: derive this somehow

    // Derive the rect for drawing our custom string, based on the lineFragmentUsedRect, and cache it on the layout manager.
    layoutManager.customTruncationDrawingRect = CGRect(x: lineFragmentUsedRect.width + spacing,
                                                       y: lineFragmentUsedRect.minY + (lineFragmentUsedRect.height - requiredRect.height),
                                                       width: requiredRect.width,
                                                       height: requiredRect.height)

    // we didn't change anything so always return false
    return false
  }

}
Do the drawing in our NSLayoutManager subclass
We’ve now adjusted the line fragment rect so that TextKit will leave a blank space for us. We’ve calculated the rect in which we want to draw our custom string. Now we need to actually draw it. Here’s how.
internal enum ActiveTruncationMode {
  case noTruncation
  case truncateLine(CGRect) // the rect is the pre-calculated last line fragment rect
}

public class LayoutManager: NSLayoutManager {
  public var customTruncationString: String? = "See More"
  internal var activeTruncationMode: ActiveTruncationMode = .noTruncation
  internal var customTruncationDrawingRect: CGRect?

  override public func drawGlyphs(forGlyphRange drawingGlyphRange: NSRange, at origin: CGPoint) {
    super.drawGlyphs(forGlyphRange: drawingGlyphRange, at: origin)
    drawCustomTruncationIfNeeded(forGlyphRange: drawingGlyphRange, at: origin)
  }

  private func drawCustomTruncationIfNeeded(forGlyphRange drawingGlyphRange: NSRange, at origin: CGPoint) {
    guard let customTruncationString = customTruncationString,
            let customTruncationDrawingRect = customTruncationDrawingRect,
            let attributes = ... else { return }

    let modifiedDrawingRect = customTruncationDrawingRect.offsetBy(dx: origin.x, dy: origin.y)
    let attributedString = NSAttributedString(string: customTruncationString, attributes: attributes)
    attributedString.draw(in: modifiedDrawingRect)
  }

}
And that’s that! All together, this code handles truncation in just the way I wanted.


