Say you have a .NET MVC or Web API project and you’d like to run it on SSL. In other words you’d like to start up the project on a URL similar to https://localhost:xxxx.
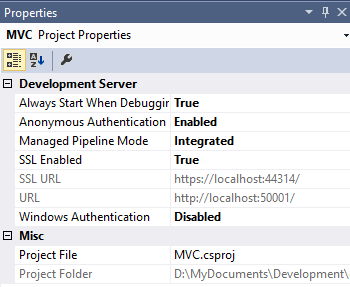
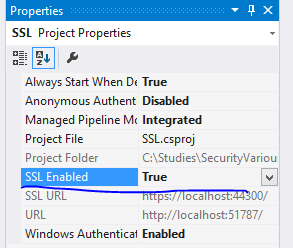
The first step is easy. You just select the MVC/Web API project name in the solution and locate the property called “SSL Enabled” in properties window:
![Enable SSL in Visual Studio properties window]()
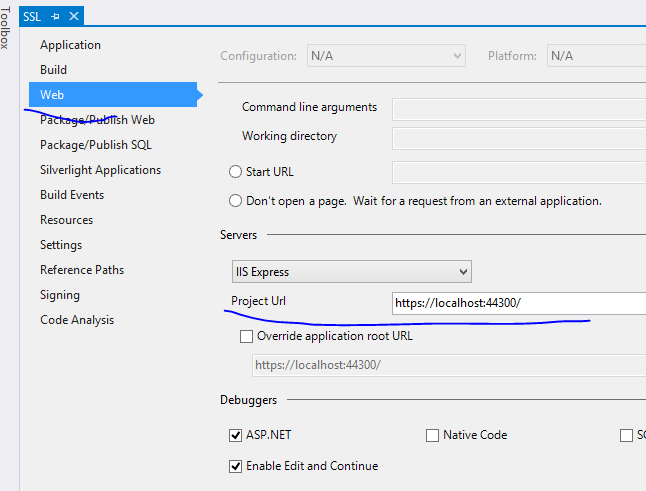
The same properties window will also show the HTTPS url for the application. In the above example it’s https://localhost:44300/. Copy that URL and go to the project properties window. Locate the Web tab and override the Project Url property with the https address:
![Override project url to https]()
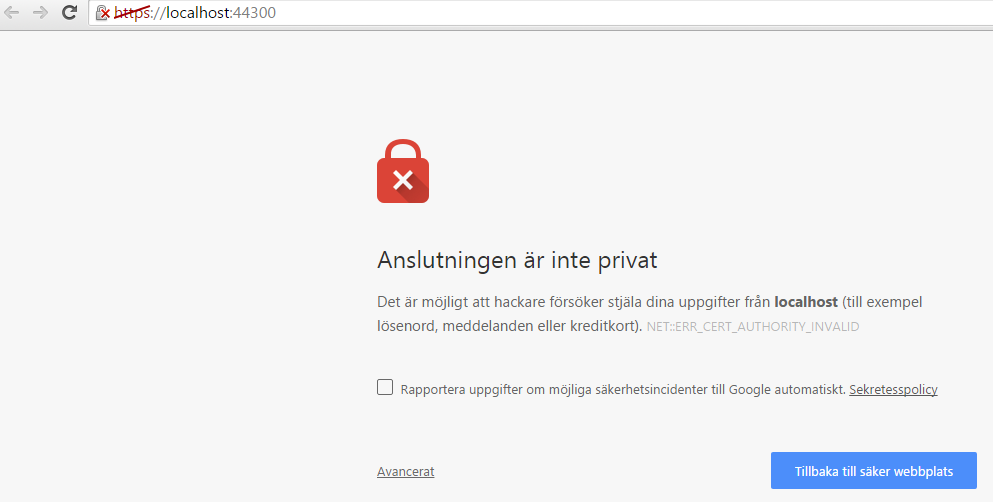
Start the application. You’ll likely get a message in the browser saying that the localhost address is not trusted, you can continue to the website at your own risk. Here’s a Chrome example in Swedish:
![Localhost is not trusted]()
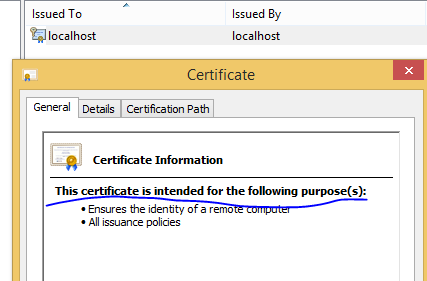
The problem is that the certificate that was installed automatically for you by Visual Studio is not trusted. You can locate the certificate in the Personal folder of the computer-level certificates in the certificates snap-in:
![localhost certificate in certificates snap-in]()
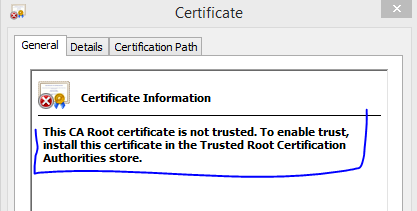
If you double-click the certificate you’ll see that it’s not trusted:
![localhost certificate is not included among trusted certificates]()
The message also provides the solution: the certificate must be imported into the trusted root certification authorities folder. You’ll see that as a folder in the same snap-in just below “Personal”. So how can we do that?
EXPORT
- Right-click the certificate
- Select All Tasks
- Export… from the context menu.
- Click Next on the certificate export wizard.
- Leave the “Do not export the private key” option untouched, click Next.
- Accept the default on the next screen, i.e. “DER encoded binary X.509” should stay selected, then click Next.
- Provide a name and a location for the exported file. Call it “localhost” and save it in a location where you can easily find it.
- Click Next and the Finish.
There should be a popup message saying that the export was successful.
IMPORT
- Next right-click the folder called Trusted Root Certification Authorities and select All Tasks
- Import… from the context menu.
- Leave the “Local Machine” option untouched in the certificate import wizard, click Next.
- Browse to the certificate you saved just before.
- Click Next and accept all the default values along the way until you reach the end of the wizard.
There should be a message saying that the import was successful.
If you now go back to the Personal store and double-click the localhost certificate then you should see that it’s trusted:
![localhost certificate is now trusted]()
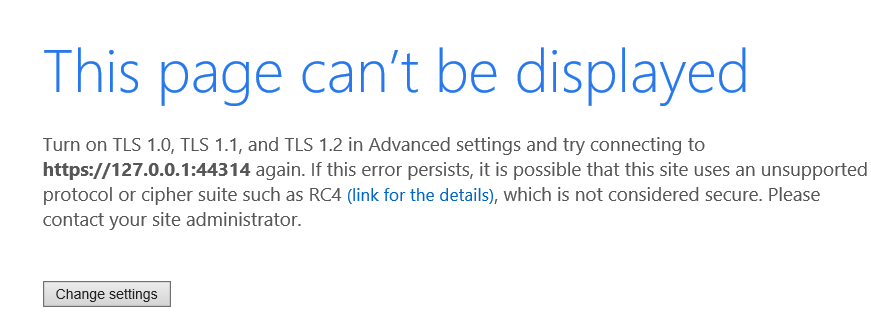
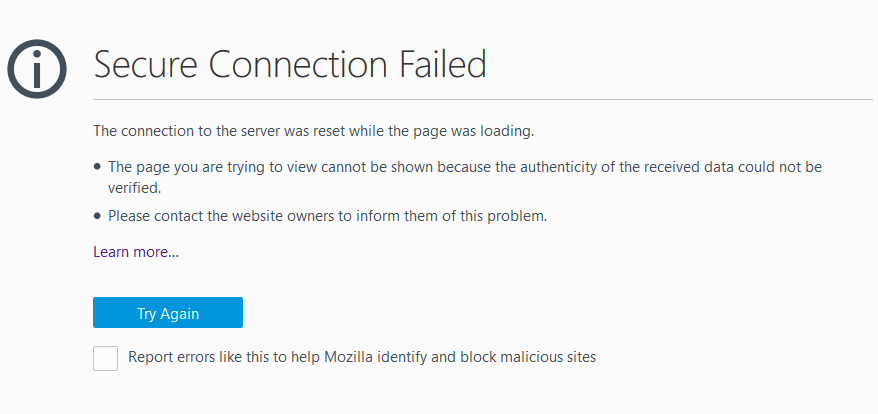
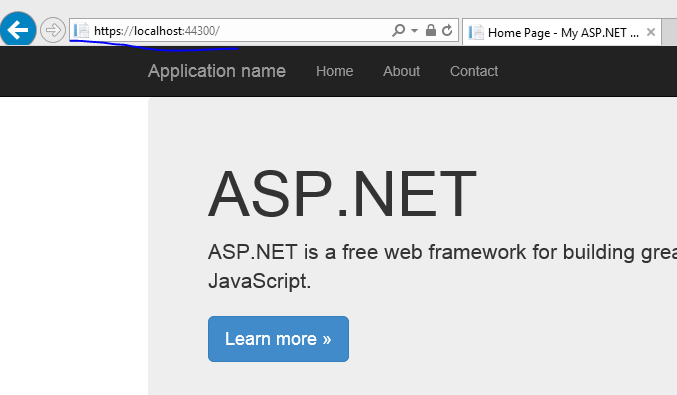
OK, let’s start the .NET web project again, the opening page should open without any warning. If you still see the same issue then test it a brand new browser session, e.g. here in IE:
![localhost is loaded in browser without issue]()
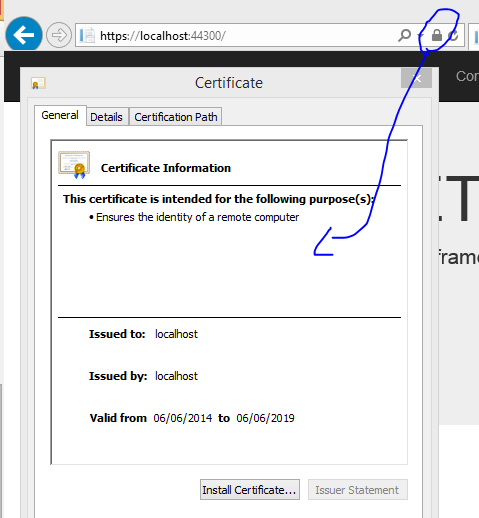
You can also view the extracted certificate from the browser window. Here’s an example from IE:
![Certificate details from internet explorer]()



%USERPROFILE%\Documents\IISExpress\config\applicationHost.config. One can edit the configuration manually. Moreover there are exist"%ProgramFiles%\IIS Express\IisExpressAdminCmd.exe"described in the article, which I posted you originally (see "APPENDIX Z"). The utility simplify some steps of the SSL configuration. – Nemesisnetsh http add sslcert ipport=0.0.0.0:443 appid={214124cd-d05b-4309-9af9-9caa44b2b74a} certhash=YOURCERTHASHHEREworks long lime? TheIisExpressAdminCmd.exeUtility should do the same and you even don't need to search forcerthash. About sixteen hours: sorry, but I'm not an author of IIS Express. Some things are really not so easy. Good SSL configuration take time. Is your computer has public DNS name (do you use Dynamic DNS providers for example) and web site available from the internet (TCP ports 80 and 443 are opened)? You can get public SSL certificate. – Nemesis