Converting ImageProxy to Bitmap
Asked Answered
J

12

53

So, I wanted to explore new Google's Camera API - CameraX. What I want to do, is take an image from camera feed every second and then pass it into a function that accepts bitmap for machine learning purposes.

I read the documentation on Camera X Image Analyzer:

The image analysis use case provides your app with a CPU-accessible image to perform image processing, computer vision, or machine learning inference on. The application implements an Analyzer method that is run on each frame.

..which basically is what I need. So, I implemented this image analyzer like this:

imageAnalysis.setAnalyzer { image: ImageProxy, _: Int ->
    viewModel.onAnalyzeImage(image)
}

What I get is image: ImageProxy. How can I transfer this ImageProxy to Bitmap?

I tried to solve it like this:

fun decodeBitmap(image: ImageProxy): Bitmap? {
    val buffer = image.planes[0].buffer
    val bytes = ByteArray(buffer.capacity()).also { buffer.get(it) }
    return BitmapFactory.decodeByteArray(bytes, 0, bytes.size)
}

But it returns null - because decodeByteArray does not receive valid (?) bitmap bytes. Any ideas?

Joplin answered 26/6, 2019 at 12:34 Comment(2)
This is very natural requirement (yes, I need it myself too, and I believe a lot of people out there need it too). I just do not understand why authors of Camera X did NOT consider it.Therapeutics
If you care about capture speed, please have a look here: https://mcmap.net/q/340415/-camerax-image-take-picture-slowMalvia
S
62

You will need to check the image.format to see if it is ImageFormat.YUV_420_888. If so , then you can you use this extension to convert image to bitmap:

fun Image.toBitmap(): Bitmap {
    val yBuffer = planes[0].buffer // Y
    val vuBuffer = planes[2].buffer // VU

    val ySize = yBuffer.remaining()
    val vuSize = vuBuffer.remaining()

    val nv21 = ByteArray(ySize + vuSize)

    yBuffer.get(nv21, 0, ySize)
    vuBuffer.get(nv21, ySize, vuSize)

    val yuvImage = YuvImage(nv21, ImageFormat.NV21, this.width, this.height, null)
    val out = ByteArrayOutputStream()
    yuvImage.compressToJpeg(Rect(0, 0, yuvImage.width, yuvImage.height), 50, out)
    val imageBytes = out.toByteArray()
    return BitmapFactory.decodeByteArray(imageBytes, 0, imageBytes.size)
}

This works for a number of camera configurations. However, you might need to use a more advanced method that considers pixel strides.

Seafaring answered 28/6, 2019 at 20:18 Comment(16)
This is actually works. one of the only solutions that works but after implementing this in my image analyzer everything gets slow and glitchy the frames are moving slow on the preview, did you managed to solve that either ?Indeterminable
@Indeterminable Is that on an emulator or an actual device? I notice that the image analysis use case doesn't work on the emulator but I am having no issues on a real device. If you are having issues on a real device, maybe create a new stackoverflow issue with your code and I can take a look.Seafaring
Thanks for the fast reply mike i actually took the regular example that CameraX supply in google's website without doing anything special at all Is it possible that you will post your code ? just the camera parts ? p.s Its a regular device - samsung note 9Indeterminable
i've tried this and this is actually the only way i could create a bitmap. but - now it doesn't recognize any text in my images. before when i passed the detector through fromMediaImage it did recognize text. any idea why? i tried displaying the generated bitmap to an ImageView and it is just gibberish. just a bunch green lines.Osis
I am getting gibberish green image with the above logic . Did any fix the issue ?Stucco
Thanks, working for me. But the bitmap I'm getting is 90 degrees CCW. anything to fix that?Arctogaea
@Arctogaea Some devices (Nexus 5x) start with a different orientation. For my use case, I ended up checking the bitmap height vs width and rotating like so: if (bitmap.width > bitmap.height) bitmap.rotate(90f) else bitmapSeafaring
@mike-a I was thinking maybe CameraX had some configuration, because doing this on each frame will definitely hit the performance. The odd thing is that the preview UseCase is fine, but the analysis UseCase has this issue, using OnePlus 5TArctogaea
@MikeA This is not working in my case. Please help!Autograph
@ShubhamAgrawal I tried ((TextureView) mPreviewView.getChildAt(0)).getBitmap() and app:implementationMode="textureView" . Works for me!Birefringence
Is there anyway to convert the image to YUV_420_888 before running this to make sure it is in that format?Swen
I get gibberish image also. Anyone fixed it? This solution does not work on Xioami MI A2 at all.Overcome
This method assumes that every plane's row stride is equal to the image width. This isn't guaranteed to be true in all cases, which is why some of you are running into errors with this function. This converter will work in all cases: github.com/android/camera-samples/blob/…Townes
I noticed that this doesn't seem to work out of the box on the emulator. Is there a way to make it work? I get a native crash from Yuv420SpToJpegEncoder::compress.Pushball
gibberish green image as well on e.g. Motorola Moto G30. code from @art works better, however is slightly slower. still went with the code from user art below. for maximum performance this code worked best, using renderscript: github.com/alexcohn/camera-samples/blob/…Serial
What about the OP indicates the image might be YUV_420_888?Cloudburst
K
28

I needed that code of Mike A in Java so I converted it.

You can first convert ImageProxy to Image in Java using

Image image = imageProxy.getImage();

And then you can convert Image to Bitmap using upper function converted into Java

private Bitmap toBitmap(Image image) {
    Image.Plane[] planes = image.getPlanes();
    ByteBuffer yBuffer = planes[0].getBuffer();
    ByteBuffer uBuffer = planes[1].getBuffer();
    ByteBuffer vBuffer = planes[2].getBuffer();

    int ySize = yBuffer.remaining();
    int uSize = uBuffer.remaining();
    int vSize = vBuffer.remaining();

    byte[] nv21 = new byte[ySize + uSize + vSize];
    //U and V are swapped
    yBuffer.get(nv21, 0, ySize);
    vBuffer.get(nv21, ySize, vSize);
    uBuffer.get(nv21, ySize + vSize, uSize);

    YuvImage yuvImage = new YuvImage(nv21, ImageFormat.NV21, image.getWidth(), image.getHeight(), null);
    ByteArrayOutputStream out = new ByteArrayOutputStream();
    yuvImage.compressToJpeg(new Rect(0, 0, yuvImage.getWidth(), yuvImage.getHeight()), 75, out);

    byte[] imageBytes = out.toByteArray();
    return BitmapFactory.decodeByteArray(imageBytes, 0, imageBytes.length);
}

Rights of this Answer are reserve to Mike A

Knepper answered 26/10, 2019 at 6:11 Comment(7)
You might want to fix up the compressToJpeg line to replace the constants with (0, 0, yuvImage.getWidth(), yuvImage.getHeight())Homburg
this won't work. Most of the devices getting distorted images. (Check bitmap preview before moving on).Ozonosphere
I moved to yuvToRgbConverter.kt fileOzonosphere
is there a fix for the distorted images?Prepossession
I was having the same issue, it was solved when I increased the resolution for my image. Please add your code to GitHub gists and send me the link, I'll look into it. Comments has character limit.Knepper
This doesn't work for me either: java.lang.ArrayIndexOutOfBoundsException: length=1; index=1 in line ByteBuffer uBuffer = planes[1].getBuffer();Swen
Please share your code if possible, there can be another reason for failing the code, like in the latest comment it seems like your image is not there, image or plane variable is empty: The java.lang.ArrayIndexOutOfBoundsException is a runtime error in Java. It occurs when your program tries to access an array element using an index that is outside the valid range. The valid range for array indices is from 0 to array.length - 1. If you try to access an element outside of this range, you will get an ArrayIndexOutOfBoundsException.Knepper
C
22

There is another implementation of this conversion. At first YUV_420_888 is converted to NV21 and then RenderScript is used to convert to bitmap (so it is expected to be more effecient). Moreover it considers pixel stride which is more correct. Also it is from official android camera samples repo.

If anyone doesn't want to deal with RenderScript and synchronization here is the modified code:

fun ImageProxy.toBitmap(): Bitmap? {
    val nv21 = yuv420888ToNv21(this)
    val yuvImage = YuvImage(nv21, ImageFormat.NV21, width, height, null)
    return yuvImage.toBitmap()
}

private fun YuvImage.toBitmap(): Bitmap? {
    val out = ByteArrayOutputStream()
    if (!compressToJpeg(Rect(0, 0, width, height), 100, out))
        return null
    val imageBytes: ByteArray = out.toByteArray()
    return BitmapFactory.decodeByteArray(imageBytes, 0, imageBytes.size)
}

private fun yuv420888ToNv21(image: ImageProxy): ByteArray {
    val pixelCount = image.cropRect.width() * image.cropRect.height()
    val pixelSizeBits = ImageFormat.getBitsPerPixel(ImageFormat.YUV_420_888)
    val outputBuffer = ByteArray(pixelCount * pixelSizeBits / 8)
    imageToByteBuffer(image, outputBuffer, pixelCount)
    return outputBuffer
}

private fun imageToByteBuffer(image: ImageProxy, outputBuffer: ByteArray, pixelCount: Int) {
    assert(image.format == ImageFormat.YUV_420_888)

    val imageCrop = image.cropRect
    val imagePlanes = image.planes

    imagePlanes.forEachIndexed { planeIndex, plane ->
        // How many values are read in input for each output value written
        // Only the Y plane has a value for every pixel, U and V have half the resolution i.e.
        //
        // Y Plane            U Plane    V Plane
        // ===============    =======    =======
        // Y Y Y Y Y Y Y Y    U U U U    V V V V
        // Y Y Y Y Y Y Y Y    U U U U    V V V V
        // Y Y Y Y Y Y Y Y    U U U U    V V V V
        // Y Y Y Y Y Y Y Y    U U U U    V V V V
        // Y Y Y Y Y Y Y Y
        // Y Y Y Y Y Y Y Y
        // Y Y Y Y Y Y Y Y
        val outputStride: Int

        // The index in the output buffer the next value will be written at
        // For Y it's zero, for U and V we start at the end of Y and interleave them i.e.
        //
        // First chunk        Second chunk
        // ===============    ===============
        // Y Y Y Y Y Y Y Y    V U V U V U V U
        // Y Y Y Y Y Y Y Y    V U V U V U V U
        // Y Y Y Y Y Y Y Y    V U V U V U V U
        // Y Y Y Y Y Y Y Y    V U V U V U V U
        // Y Y Y Y Y Y Y Y
        // Y Y Y Y Y Y Y Y
        // Y Y Y Y Y Y Y Y
        var outputOffset: Int

        when (planeIndex) {
            0 -> {
                outputStride = 1
                outputOffset = 0
            }
            1 -> {
                outputStride = 2
                // For NV21 format, U is in odd-numbered indices
                outputOffset = pixelCount + 1
            }
            2 -> {
                outputStride = 2
                // For NV21 format, V is in even-numbered indices
                outputOffset = pixelCount
            }
            else -> {
                // Image contains more than 3 planes, something strange is going on
                return@forEachIndexed
            }
        }

        val planeBuffer = plane.buffer
        val rowStride = plane.rowStride
        val pixelStride = plane.pixelStride

        // We have to divide the width and height by two if it's not the Y plane
        val planeCrop = if (planeIndex == 0) {
            imageCrop
        } else {
            Rect(
                    imageCrop.left / 2,
                    imageCrop.top / 2,
                    imageCrop.right / 2,
                    imageCrop.bottom / 2
            )
        }

        val planeWidth = planeCrop.width()
        val planeHeight = planeCrop.height()

        // Intermediate buffer used to store the bytes of each row
        val rowBuffer = ByteArray(plane.rowStride)

        // Size of each row in bytes
        val rowLength = if (pixelStride == 1 && outputStride == 1) {
            planeWidth
        } else {
            // Take into account that the stride may include data from pixels other than this
            // particular plane and row, and that could be between pixels and not after every
            // pixel:
            //
            // |---- Pixel stride ----|                    Row ends here --> |
            // | Pixel 1 | Other Data | Pixel 2 | Other Data | ... | Pixel N |
            //
            // We need to get (N-1) * (pixel stride bytes) per row + 1 byte for the last pixel
            (planeWidth - 1) * pixelStride + 1
        }

        for (row in 0 until planeHeight) {
            // Move buffer position to the beginning of this row
            planeBuffer.position(
                    (row + planeCrop.top) * rowStride + planeCrop.left * pixelStride)

            if (pixelStride == 1 && outputStride == 1) {
                // When there is a single stride value for pixel and output, we can just copy
                // the entire row in a single step
                planeBuffer.get(outputBuffer, outputOffset, rowLength)
                outputOffset += rowLength
            } else {
                // When either pixel or output have a stride > 1 we must copy pixel by pixel
                planeBuffer.get(rowBuffer, 0, rowLength)
                for (col in 0 until planeWidth) {
                    outputBuffer[outputOffset] = rowBuffer[col * pixelStride]
                    outputOffset += outputStride
                }
            }
        }
    }
}

NOTE. There is a similar conversion in OpenCV android SDK.

Cumine answered 30/5, 2020 at 17:8 Comment(2)
This works for me in 2022.Fomentation
can confirm that this code worked on all >10 devices that I testedSerial
S
17

I experienced ArrayIndexOutOfBoundsException when accessing buffer from image.getPlanes(). The following function can convert ImageProxy to Bitmap without the exception.

Java

private Bitmap convertImageProxyToBitmap(ImageProxy image) {
        ByteBuffer byteBuffer = image.getPlanes()[0].getBuffer();
        byteBuffer.rewind();
        byte[] bytes = new byte[byteBuffer.capacity()];
        byteBuffer.get(bytes);
        byte[] clonedBytes = bytes.clone();
        return BitmapFactory.decodeByteArray(clonedBytes, 0, clonedBytes.length);
    }

Kotlin Extension function

fun ImageProxy.convertImageProxyToBitmap(): Bitmap {
        val buffer = planes[0].buffer
        buffer.rewind()
        val bytes = ByteArray(buffer.capacity())
        buffer.get(bytes)
        return BitmapFactory.decodeByteArray(bytes, 0, bytes.size)
    }
Sackey answered 8/7, 2020 at 8:12 Comment(4)
For those who are considering why there are different solutions that work: check the format of your ImageProxy with imageProxy.getFormat(). If your format is 35 you can use @Mike A solution, if your format is 256 you can use @Sackey solution. At the end and obviously, each format requires a different conversion procedure. @Mike A and @Knepper solutions are for YUV_420_888. Image formats: developer.android.com/reference/android/graphics/…Ahrens
@Ahrens is right. I tried and it worked for me keeping the format in mind and using Mike A, Ahwar, and darwin's algorithms. Thank you all.Crossfertilization
This code throws exception BitmapFactory.decodeByte…ray(bytes, 0, bytes.size) must not be nullJuneberry
java.lang.IllegalStateException: BitmapFactory.decodeByte…ray(bytes, 0, bytes.size) must not be nullMalvia
H
9

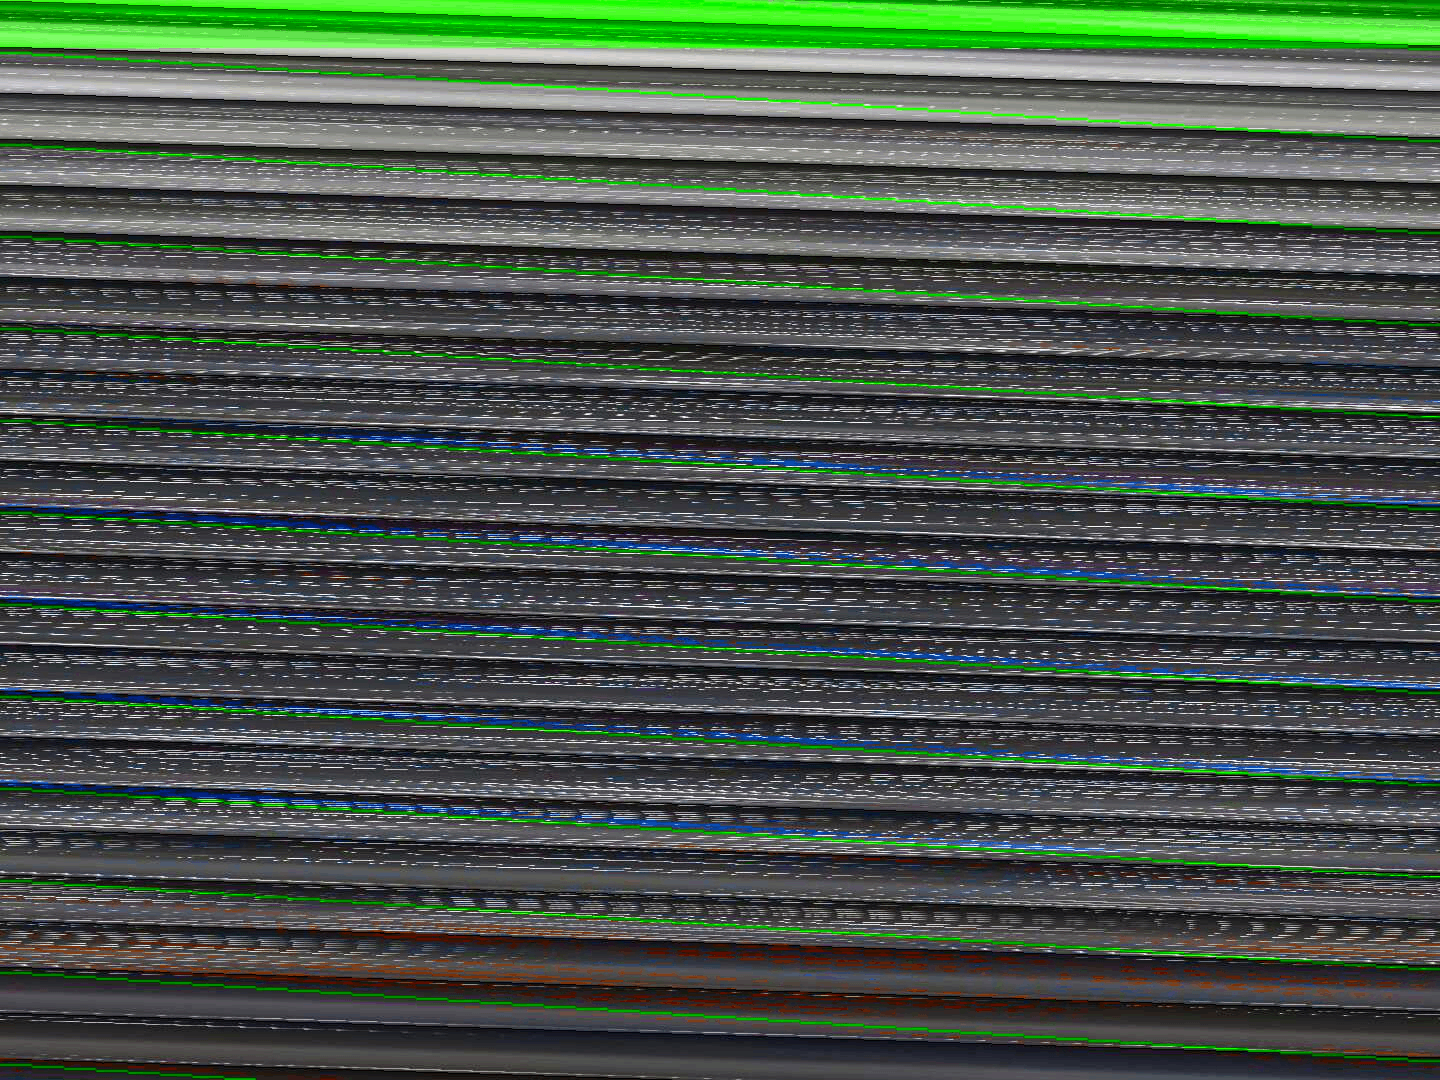
Solution for anyone who get green gibberish / glitched bitmaps when trying to convert images with high resolutions (1080p and higher) when using Mike A converter, especially on Xiaomi devices. Example of glitch:

enter image description here

Try this converter by Google from MLKit Samples: https://github.com/googlesamples/mlkit/blob/master/android/vision-quickstart/app/src/main/java/com/google/mlkit/vision/demo/BitmapUtils.java

To make it works you also need add this: https://github.com/googlesamples/mlkit/blob/master/android/vision-quickstart/app/src/main/java/com/google/mlkit/vision/demo/FrameMetadata.java

And then just BitmapUtils.getBitmap(imageProxy).

Tested on Poco X3 NFC with 3200x2400 image.

Heptangular answered 15/5, 2022 at 11:4 Comment(3)
wonderful worked like a magic! thnx a billion!Rendering
Nope didn't work. And it was real slow.Prepossession
I was having the same issue, it was solved when I changed the resolution for my image. Please add your code to GitHub gists and send me the link, I'll look into it. Comments has character limit.Knepper
A
3

Inspired from the answer by @mike-a

private fun ImageProxy.toMat(): Mat {
  val graySourceMatrix = Mat(height, width, CvType.CV_8UC1)
  val yBuffer = planes[0].buffer
  val ySize = yBuffer.remaining()
  val yPlane = ByteArray(ySize)
  yBuffer[yPlane, 0, ySize]
  graySourceMatrix.put(0, 0, yPlane)
  return graySourceMatrix
}

This will directly take you to gray-matrix-land, if you intend to use OpenCV, and colors don't matter to you anymore.

For performance you can move the initialization of the Mat outside if you're doing this on every frame.

Arctogaea answered 20/2, 2020 at 1:41 Comment(0)
J
3

Bitmap conversion is added into ImageProxy Interface itself.

Now you can use imageProxy.toBitmap() directly. Ensure that your dependency should be 1.3.0 or above.

https://developer.android.com/reference/androidx/camera/core/ImageProxy#toBitmap()

Jacquejacquelin answered 19/7, 2023 at 15:23 Comment(0)
I
2

There is a more simple solution. You just can get Bitmap from the TextureView without any converting. More information in documentation.

imageAnalysis.setAnalyzer { image: ImageProxy, _: Int ->
    val bitmap = textureView.bitmap
}
Inexact answered 28/10, 2019 at 14:39 Comment(2)
when we do this, fps are dropping down.Ozonosphere
Yeah I doubt you should be doing this, the Analysis Use case is expecting you to be using the imageProxy as it will be at a lower more manageable resolution, it will also be expecting you to close the imageProxy once you have retrieved the current Image buffer so that the camera can move on to the next incoming frame.Sara
M
2

it may helpful using below code.

InputImage.fromBitmap(image.toBitmap(), image.imageInfo.rotationDegrees)
Myrica answered 4/4, 2023 at 9:17 Comment(0)
D
0

Please take a look at this answer. All you need to apply it to your question is to get Image out of your ImageProxy

Image img = imaget.getImage();
Dashboard answered 30/11, 2021 at 17:29 Comment(3)
You appear to have forgotten the link. Also, please don't post multiple identical answers. If the questions are duplicates, flag them as duplicates. If not, please tailor your answers to the specific questions.Guberniya
Link is fixed. What if answer actually solve two different questions? Shall different questions be marked as duplicates? And do I set question as a duplicate?Dashboard
If the questions are actually different, then no, you shouldn't flag them as duplicates. However, in that case, the answers can typically be phrased differently, since they're answering different questions.Guberniya
B
0

In 2024, this is pretty simple If you're working with PreviewView with CameraX.

You can directly get Bitmap from the PreviewView instance.

val previewView = findViewById(R.id.previewView)
val imageBitmap = previewView?.bitmap
Blade answered 10/3 at 8:47 Comment(0)
H
-2

well,you set a preview to the textureview,you can just

Bitmap bitmap = textureView.getBitmap();

Humanize answered 16/6, 2020 at 5:44 Comment(0)

© 2022 - 2024 — McMap. All rights reserved.