In the terminal run:
dotnet dev-certs https -c
This will let you know if you have any valid self signed certs.
You can then run:
dotnet dev-certs https --check --trust
This will let you know if you have any trusted self signed certs.
If you have expired or untrusted dev certs you can run:
dotnet dev-certs https --clean
This will remove the certs.
If you want to add a cert/trusted cert you can run:
dotnet dev-certs https --trust
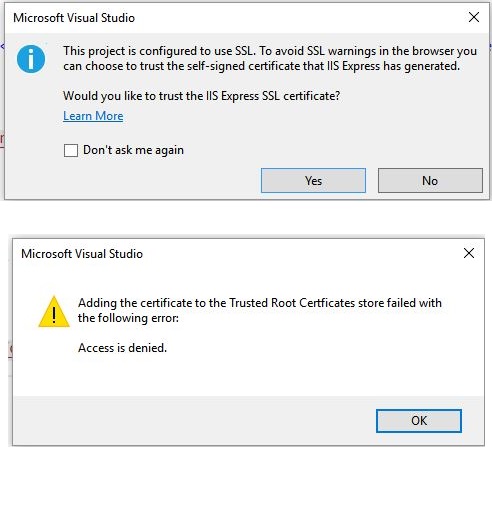
This will create a self signed cert and attempt to add it to the Trusted Root Certification Authorities folder.
If this fails you will need to manually add the cert to the Trusted Root Certification Authorities folder.
Manually adding the cert:
The first step is to type in the 'Type here to search' section on windows "run" once run is opened type "mmc" and hit ok. This will pull up the console root.
You will then have to click on: file -> Add/Remove snap-in -> certificates -> add and then click ok. This will take you to the Certificates for the current user
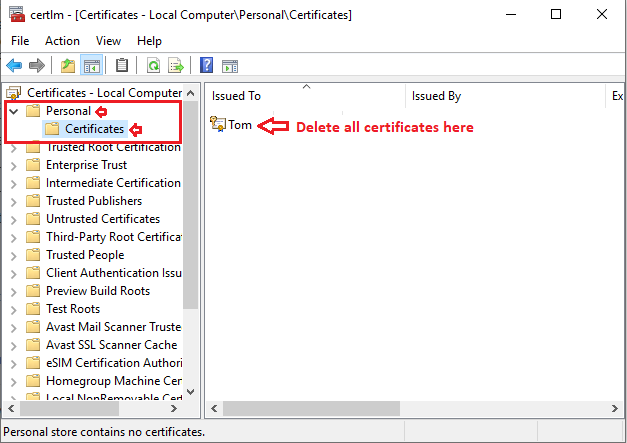
Expand the Personal folder and then click on the Certificates folder.
Scroll until you find a cert with the name 'localhost'
Now you might be able to just copy and paste the localhost file into the Trusted Root folder. If that works then you're done! You can verify if it worked by running the command:
dotnet dev-certs https --check --trust.
If that did not work and you still have an untrusted cert then you will have to follow the steps below.
Right Click on the localhost cert and then click on 'All Tasks' and then click 'Export...'
We need to first export the cert before we can import it to the Trust Root folder
Follow the Certificate export wizard. You do not have to change the defaults so just keep clicking next until you reach the 'File to export' screen. Click browse and select your desktop as the destination and name the file 'localhost'. Click next and then finish. This will create a file on your desktop with the name localhost.cer
Now double click on the localhost.cer file on your desktop. A popup should appear, click the button that says 'Install Certificate...'
Make sure to set the store location to 'Local Machine' and click next.
Then select 'Place all certificates in the following store', click browse, and then select 'Trusted Root Certification Authorities' and click finish
The last step is to make sure the cert is now trusted so in the terminal run:
dotnet dev-certs https --check --trust
You should get a response stating: A trusted certificate was found. That means you're good to go!
You no longer need the cert on your desktop so you can delete that file.


