Overlaying images on python
Asked Answered
P

2

5

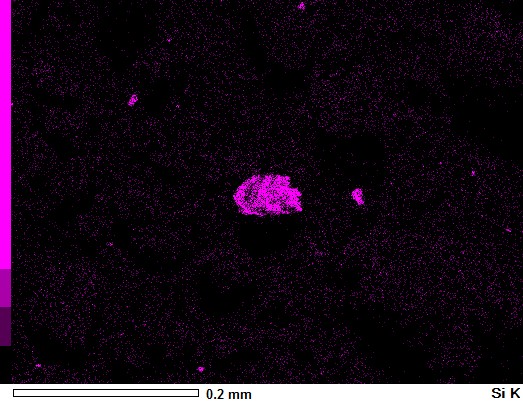
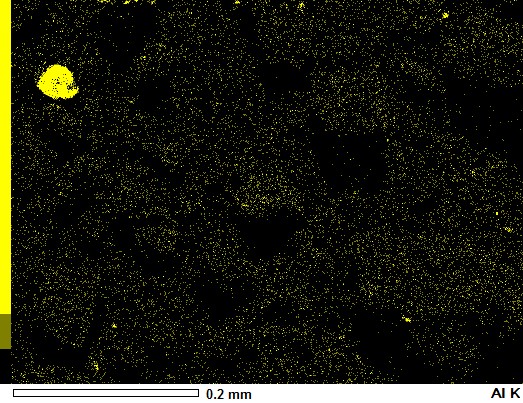
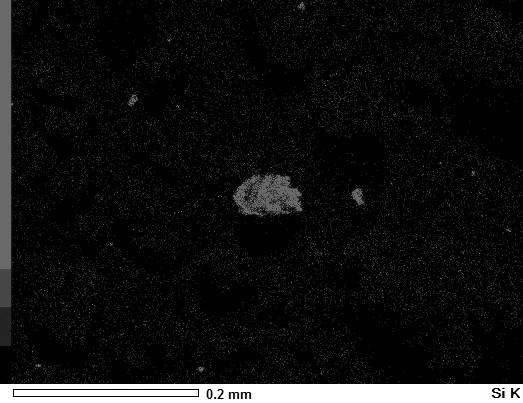
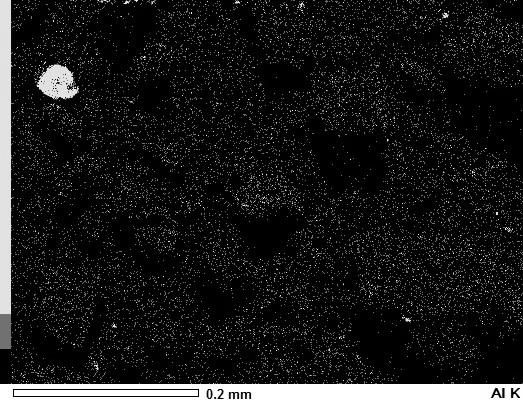
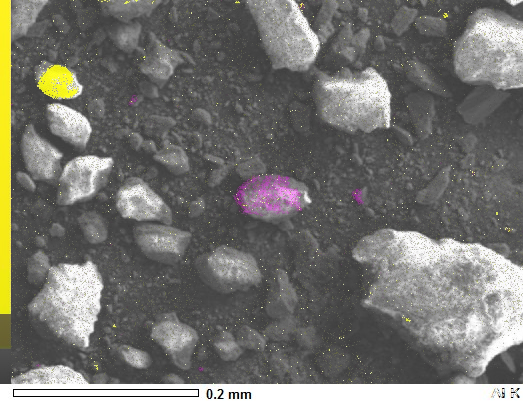
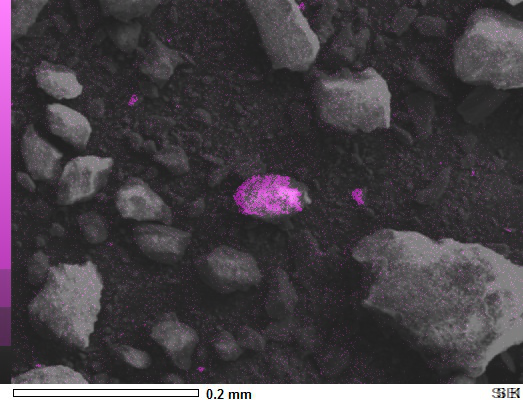
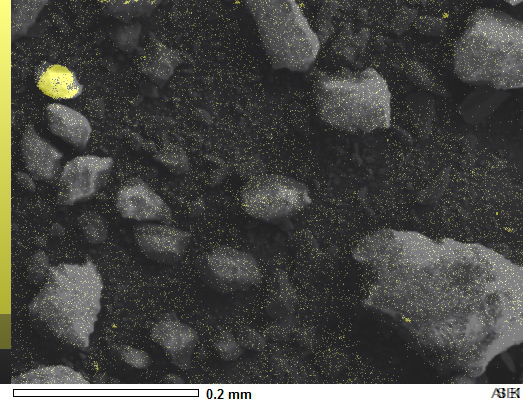
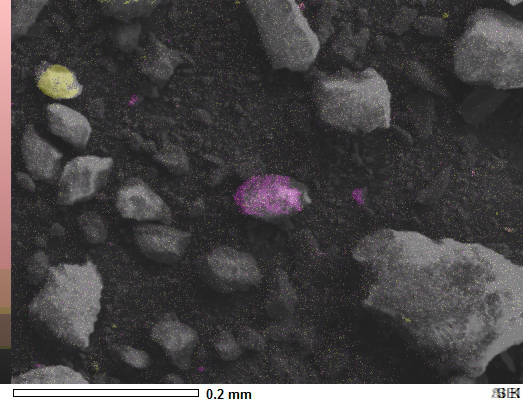
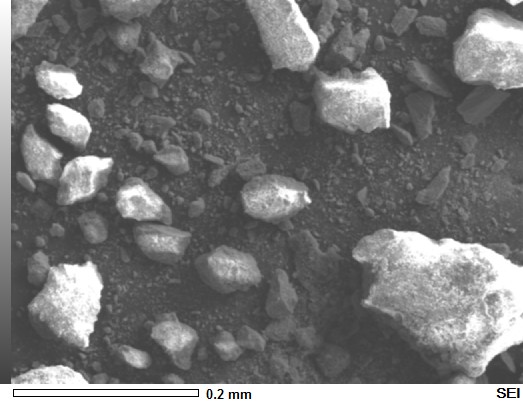
I have these three pictures from a SEM Microscope. One is the actual picture whilst the other two just indicated the presence of specific elements (Aluminium and Silicon) on the sample.

I'd like to overlay them using Numpy and matplotlib so that I can then see where exactly the elements are, however not sure how to approach this on python, so far I've only gone as far as reading the picture files as np arrays:

image_SEM = np.asarray(Image.open('Project_SEI.JPG'))
image_Al = np.asarray(Image.open('Project_Al K.JPG'))
image_Si = np.asarray(Image.open('Project_Si K.JPG'))

Thank you!

enter image description here enter image description here enter image description here

Predestinate answered 13/11, 2023 at 16:18 Comment(1)
There are several ways you might go. Use alpha to make black pixels transparent in the Al/Si images and overlay them. Or go pixel by pixel averaging the colors when the elements image pixel isn't black. Try something and if it doesn't work out come back and ask about it.Ghiselin
A
2

I would be inclined to paste Si and Al images using a mask so that they only affect the SEM image where they are coloured and not where they are black/grey - else you will tend to reduce the contrast of your base image:

from PIL import Image

# Load images
sei = Image.open('sei.jpg')
si = Image.open('si.jpg')
al = Image.open('al.jpg')

# Make mask which only allows coloured areas to show
siMask = si.convert('L')
siMask.save('DEBUG-siMask.jpg')

# Paste Si image over SEM image with transparency mask
sei.paste(si, siMask)

# Make mask which only allows coloured areas to show
alMask = al.convert('L')
alMask.save('DEBUG-alMask.jpg')

# Paste Al image over SEM image with transparency mask
sei.paste(al, alMask)
sei.save('result.png')

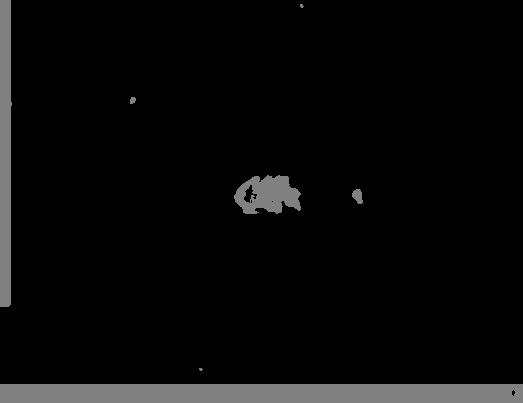
DEBUG-siMask.jpg

enter image description here

DEBUG-alMask.jpg

enter image description here

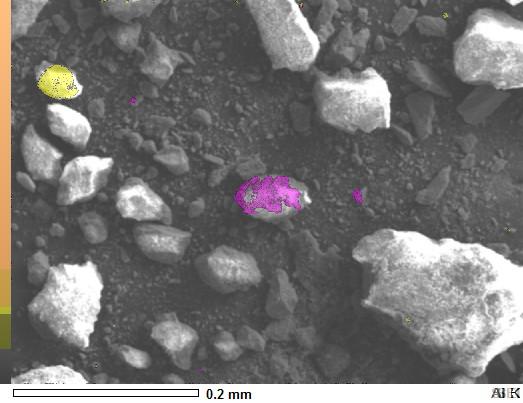
result.jpg

enter image description here


Note that you could enhance the masks before use - for example you could median filter to remove small speckles, or you could contrast stretch to make the magenta/yellow shading come out more or less solid. For example, you can see the yellow is more solid than the magenta, which is because the yellow mask is brighter, so you could threshold the magenta mask to make it pure black and white which would make the magenta come out solid.

So, I median-filtered out the speckles and changed the masking so that coloured areas are 50% transparent like this:

#!/usr/bin/env python3

from PIL import Image, ImageFilter

# Load images
sei = Image.open('sei.jpg')
si = Image.open('si.jpg')
al = Image.open('al.jpg')

# Make mask which only allows coloured areas to show
siMask = si.convert('L')
# Median filter mask to remove small speckles
siMask = siMask.filter(ImageFilter.MedianFilter(5))
# Threshold mask and set opacity to 50% for coloured areas
siMask = siMask.point(lambda p: 128 if p > 50 else 0)
siMask.save('DEBUG-siMask.jpg')

# Paste Si image over SEM image with transparency mask
sei.paste(si, siMask)

# Make mask which only allows coloured areas to show
alMask = al.convert('L')
# Median filter mask to remove small speckles
alMask = alMask.filter(ImageFilter.MedianFilter(5))
# Threshold mask and set opacity to 50% for coloured areas
alMask = alMask.point(lambda p: 128 if p > 50 else 0)
alMask.save('DEBUG-alMask.jpg')

# Paste Al image over SEM image with transparency mask
sei.paste(al, alMask)
sei.save('result.jpg')

That gives these masks and results:

enter image description here

enter image description here

enter image description here

Agronomy answered 13/11, 2023 at 22:5 Comment(0)
G
4

You don't need Numpy arrays at all for a simple overlay.

from PIL import Image

# Change to your file names, this is what mine downloaded as from your post
image_sem = Image.open('aZ8ED.jpg')
image_si = Image.open('HeiA7.jpg')
image_al = Image.open('HlcOR.jpg')

si_k = Image.blend(image_sem, image_si, 0.5)
si_k.show()

al_k = Image.blend(image_sem, image_al, 0.5)
al_k.show()

You'll have to crop or work with the picture label in the lower right corner for your needs and perhaps the color scale on the left, but this should get you started. It worked for me.

enter image description here enter image description here

Edit based on OP comments:

The blend method outputs out = image1 * (1.0 - alpha) + image2 * alpha. To put all of them together, just successively combine the element images together, then blend that result with the master image as follows:

elements = Image.blend(image_si, image_al, 0.5)

elements_overlay = Image.blend(image_sem, elements, 0.5)
elements_overlay.show()

enter image description here

The blend method may not be the best for many images. The colors will fade, as the alpha makes the first element image a smaller weight of the final image as more element images are combined. See documentation for all means of combining images. For more complex combinations, you may want to use the Numpy array after all and do some normalization or tweaking of the actual pixels then recombine with fromarray or similar.

Guimpe answered 13/11, 2023 at 16:45 Comment(2)
Thank you! that works, for further work, is there a good way to overlay both elements on the same picture? if I use Image.blend again it will slowly reduce the definition of the base image no?Predestinate
@GiovanniPignatelli see update to my answer.Guimpe
A
2

I would be inclined to paste Si and Al images using a mask so that they only affect the SEM image where they are coloured and not where they are black/grey - else you will tend to reduce the contrast of your base image:

from PIL import Image

# Load images
sei = Image.open('sei.jpg')
si = Image.open('si.jpg')
al = Image.open('al.jpg')

# Make mask which only allows coloured areas to show
siMask = si.convert('L')
siMask.save('DEBUG-siMask.jpg')

# Paste Si image over SEM image with transparency mask
sei.paste(si, siMask)

# Make mask which only allows coloured areas to show
alMask = al.convert('L')
alMask.save('DEBUG-alMask.jpg')

# Paste Al image over SEM image with transparency mask
sei.paste(al, alMask)
sei.save('result.png')

DEBUG-siMask.jpg

enter image description here

DEBUG-alMask.jpg

enter image description here

result.jpg

enter image description here


Note that you could enhance the masks before use - for example you could median filter to remove small speckles, or you could contrast stretch to make the magenta/yellow shading come out more or less solid. For example, you can see the yellow is more solid than the magenta, which is because the yellow mask is brighter, so you could threshold the magenta mask to make it pure black and white which would make the magenta come out solid.

So, I median-filtered out the speckles and changed the masking so that coloured areas are 50% transparent like this:

#!/usr/bin/env python3

from PIL import Image, ImageFilter

# Load images
sei = Image.open('sei.jpg')
si = Image.open('si.jpg')
al = Image.open('al.jpg')

# Make mask which only allows coloured areas to show
siMask = si.convert('L')
# Median filter mask to remove small speckles
siMask = siMask.filter(ImageFilter.MedianFilter(5))
# Threshold mask and set opacity to 50% for coloured areas
siMask = siMask.point(lambda p: 128 if p > 50 else 0)
siMask.save('DEBUG-siMask.jpg')

# Paste Si image over SEM image with transparency mask
sei.paste(si, siMask)

# Make mask which only allows coloured areas to show
alMask = al.convert('L')
# Median filter mask to remove small speckles
alMask = alMask.filter(ImageFilter.MedianFilter(5))
# Threshold mask and set opacity to 50% for coloured areas
alMask = alMask.point(lambda p: 128 if p > 50 else 0)
alMask.save('DEBUG-alMask.jpg')

# Paste Al image over SEM image with transparency mask
sei.paste(al, alMask)
sei.save('result.jpg')

That gives these masks and results:

enter image description here

enter image description here

enter image description here

Agronomy answered 13/11, 2023 at 22:5 Comment(0)

© 2022 - 2024 — McMap. All rights reserved.