How to take a screenshot with Python using a click and drag method like Snipping Tool?
Asked Answered
C

3

5

I'm writing a Python program that is basically the Snipping Tool. I'd like to be able to run my program, select the area for my screenshot using my mouse to click and drag, and then have the program save this image.

I was trying it out with the code found here: http://pyscreenshot.readthedocs.io/en/latest/

#-- include('examples/showgrabfullscreen.py') --#
import pyscreenshot as ImageGrab

if __name__ == '__main__':

# grab fullscreen
im = ImageGrab.grab()

# save image file
im.save('screenshot.png')

# show image in a window
im.show()
#-#

(under "grab and show part of the screen"), but this doesnt let the user click and drag. Does anyone know how I could do this? I found some examples online but they're all hundreds of lines long and I don't think this simple program should be that long (but I could be wrong).

Thanks!

Coralline answered 18/4, 2018 at 14:10 Comment(3)
Hi, welcome to SO, don't use a link alone in your post, include the code you want to show us. The link could go dead in a few months or years, which will make the question useless. Copy and paste the code, and include the link as a source ! :)Hooky
Rather than trying to create a snipping tool from scratch, why not simply use a sub-process to run the Windows Snipping Tool?Lynnell
Thank you both! If I run Snipping Tool using Python, will I be able to automatically save the picture? I want to avoid having to click on "Save", choosing the folder, and then saving it manually.Coralline
T
7

I solved this problem by drawing on a transparent layer. This will allow the user to see through the invisible drawing layer and provide a surface for drawing the snipping box. When the user releases the snipping box functionality, it will destroy the invisible layer and capture the box coordinates. It will then take a screen shot within the captured coordinates and create + save this time stamped image to a directory called "snips" (feel free to adjust this).

from tkinter import *
import pyautogui

import datetime


def take_bounded_screenshot(x1, y1, x2, y2):
    image = pyautogui.screenshot(region=(x1, y1, x2, y2))
    file_name = datetime.datetime.now().strftime("%f")
    image.save("snips/" + file_name + ".png")


class Application():
    def __init__(self, master):
        self.snip_surface = None
        self.master = master
        self.start_x = None
        self.start_y = None
        self.current_x = None
        self.current_y = None

        root.geometry('400x50+200+200')  # set new geometry
        root.title('Lil Snippy')

        self.menu_frame = Frame(master)
        self.menu_frame.pack(fill=BOTH, expand=YES, padx=1, pady=1)

        self.buttonBar = Frame(self.menu_frame, bg="")
        self.buttonBar.pack()

        self.snipButton = Button(self.buttonBar, width=5, height=5, command=self.create_screen_canvas, background="green")
        self.snipButton.pack()

        self.master_screen = Toplevel(root)
        self.master_screen.withdraw()
        self.master_screen.attributes("-transparent", "maroon3")
        self.picture_frame = Frame(self.master_screen, background="maroon3")
        self.picture_frame.pack(fill=BOTH, expand=YES)

    def create_screen_canvas(self):
        self.master_screen.deiconify()
        root.withdraw()

        self.snip_surface = Canvas(self.picture_frame, cursor="cross", bg="grey11")
        self.snip_surface.pack(fill=BOTH, expand=YES)

        self.snip_surface.bind("<ButtonPress-1>", self.on_button_press)
        self.snip_surface.bind("<B1-Motion>", self.on_snip_drag)
        self.snip_surface.bind("<ButtonRelease-1>", self.on_button_release)

        self.master_screen.attributes('-fullscreen', True)
        self.master_screen.attributes('-alpha', .3)
        self.master_screen.lift()
        self.master_screen.attributes("-topmost", True)

    def on_button_release(self, event):
        self.display_rectangle_position()

        if self.start_x <= self.current_x and self.start_y <= self.current_y:
            print("right down")
            take_bounded_screenshot(self.start_x, self.start_y, self.current_x - self.start_x, self.current_y - self.start_y)

        elif self.start_x >= self.current_x and self.start_y <= self.current_y:
            print("left down")
            take_bounded_screenshot(self.current_x, self.start_y, self.start_x - self.current_x, self.current_y - self.start_y)

        elif self.start_x <= self.current_x and self.start_y >= self.current_y:
            print("right up")
            take_bounded_screenshot(self.start_x, self.current_y, self.current_x - self.start_x, self.start_y - self.current_y)

        elif self.start_x >= self.current_x and self.start_y >= self.current_y:
            print("left up")
            take_bounded_screenshot(self.current_x, self.current_y, self.start_x - self.current_x, self.start_y - self.current_y)

        self.exit_screenshot_mode()
        return event

    def exit_screenshot_mode(self):
        self.snip_surface.destroy()
        self.master_screen.withdraw()
        root.deiconify()

    def on_button_press(self, event):
        # save mouse drag start position
        self.start_x = self.snip_surface.canvasx(event.x)
        self.start_y = self.snip_surface.canvasy(event.y)
        self.snip_surface.create_rectangle(0, 0, 1, 1, outline='red', width=3, fill="maroon3")

    def on_snip_drag(self, event):
        self.current_x, self.current_y = (event.x, event.y)
        # expand rectangle as you drag the mouse
        self.snip_surface.coords(1, self.start_x, self.start_y, self.current_x, self.current_y)

    def display_rectangle_position(self):
        print(self.start_x)
        print(self.start_y)
        print(self.current_x)
        print(self.current_y)


if __name__ == '__main__':
    root = Tk()
    app = Application(root)
    root.mainloop()
Theoretics answered 5/5, 2020 at 0:16 Comment(1)
I tried this but it apparently only works on one monitor: pyautogui doesn't support multiple monitors yet. Any other methods out there??Crissie
G
0

#Summarizar o transcript summarizer = pipeline("summarization") summary = summarizer(transcript, max_length=100, clean_up_tokenization_spaces=True) return summary URL:# Summarizar o transcript summarizer = pipeline("summarization") summary = summarizer(transcript, max_length=100, clean_up_tokenization_spaces=True) return summary# Summarizar o transcript summarizer = pipeline("summarization") summary = summarizer(transcript, max_length=100, clean_up_tokenization_spaces=True) return summary# Summarizar o transcript summarizer = pipeline("summarization") summary = summarizer(transcript, max_length=100, clean_up_tokenization_spaces=True) return summary# Summarizar o transcript summarizer = pipeline("summarization") summary = summarizer(transcript, max_length=100, clean_up_tokenization_spaces=True) return summary# Summarizar o transcript summarizer = pipeline("summarization") summary = summarizer(transcript, max_length=100, clean_up_tokenization_spaces=True) return summary

Greenshank answered 3/9, 2024 at 14:55 Comment(1)
As it’s currently written, your answer is unclear. Please edit to add additional details that will help others understand how this addresses the question asked. You can find more information on how to write good answers in the help center.Iconic
C
0

A better Solution (Cross platform, usable complete code)

Using pillow package.

Install: pip install pillow

Use my DragScreenshot.py:

import platform
import tkinter as tk
from PIL import ImageGrab

using_debug_mode = None

class DragScreenshotPanel:  
    def __init__(self, root: tk.Tk, master: tk.Toplevel | tk.Tk, callback = None, cancel_callback = None):
        self.root = root
        self.master = master
        self.callback = callback
        self.cancel_callback = cancel_callback
        self.start_x = None
        self.start_y = None
        self.rect = None
        self.canvas = tk.Canvas(master, cursor="cross", background="black")
        self.canvas.pack(fill=tk.BOTH, expand=True)  
        self.canvas.config(bg=master["bg"])
        self.canvas.bind("<Button-1>", self.on_button_press)
        self.canvas.bind("<B1-Motion>", self.on_mouse_drag)
        self.canvas.bind("<ButtonRelease-1>", self.on_button_release)

    def on_button_press(self, event):
        self.start_x = event.x
        self.start_y = event.y
        self.rect = self.canvas.create_rectangle(self.start_x, self.start_y, self.start_x, self.start_y, outline='white', width=2)  

    def on_mouse_drag(self, event):  
        self.canvas.coords(self.rect, self.start_x, self.start_y, event.x, event.y)

    def on_button_release(self, event):
        x1 = min(self.start_x, event.x)
        y1 = min(self.start_y, event.y)
        x2 = max(self.start_x, event.x)
        y2 = max(self.start_y, event.y)
        self.canvas.delete(self.rect)
        dy = abs(y2-y1)
        dx = abs(x2-x1)
        if dy*dx != 0:
            self.master.withdraw()
            img = ImageGrab.grab()
            self.master.deiconify()
            self.master.focus_force()
            screen_width = self.master.winfo_screenwidth()
            screen_height = self.master.winfo_screenheight()
            x1 = x1 / screen_width * img.width
            x2 = x2 / screen_width * img.width
            y1 = y1 / screen_height * img.height
            y2 = y2 / screen_height * img.height
            img = img.crop(box=(x1, y1, x2, y2))
            if using_debug_mode: print("Screenshot taken!")
            self.root.after(1, self.callback(img))
        else:
            if using_debug_mode: print("Screenshot canceled!")
            self.root.after(1, self.cancel_callback())
        
        self.master.destroy()


def set_bg_transparent(toplevel:tk.Toplevel, invisible_color_Windows_OS_Only= '#100101'):
    if platform.system() == "Windows":
        toplevel.attributes("-transparentcolor", invisible_color_Windows_OS_Only)
        toplevel.config(bg=invisible_color_Windows_OS_Only)
    elif platform.system() == "Darwin":
        toplevel.attributes("-transparent", True)
        toplevel.config(bg="systemTransparent")
    else:
        if using_debug_mode: print(f"Total transparency is not supported on this OS. platform.system() -> '{platform.system()}'")
        window_alpha_channel = 0.3
        toplevel.attributes('-alpha', window_alpha_channel)
        toplevel.lift()
        toplevel.attributes("-topmost", True)
        toplevel.attributes("-transparent", True)


def drag_screen_shot(root:tk.Tk, callback = None, cancel_callback = None, debug_logging = False):
    global using_debug_mode

    using_debug_mode = debug_logging

    top = tk.Toplevel(root)
    top.geometry(f"{root.winfo_screenwidth()}x{root.winfo_screenheight()}+0+0")
    top.overrideredirect(True)
    top.lift()
    top.attributes("-topmost", True)

    set_bg_transparent(top)
    DragScreenshotPanel(root, top, callback, cancel_callback)

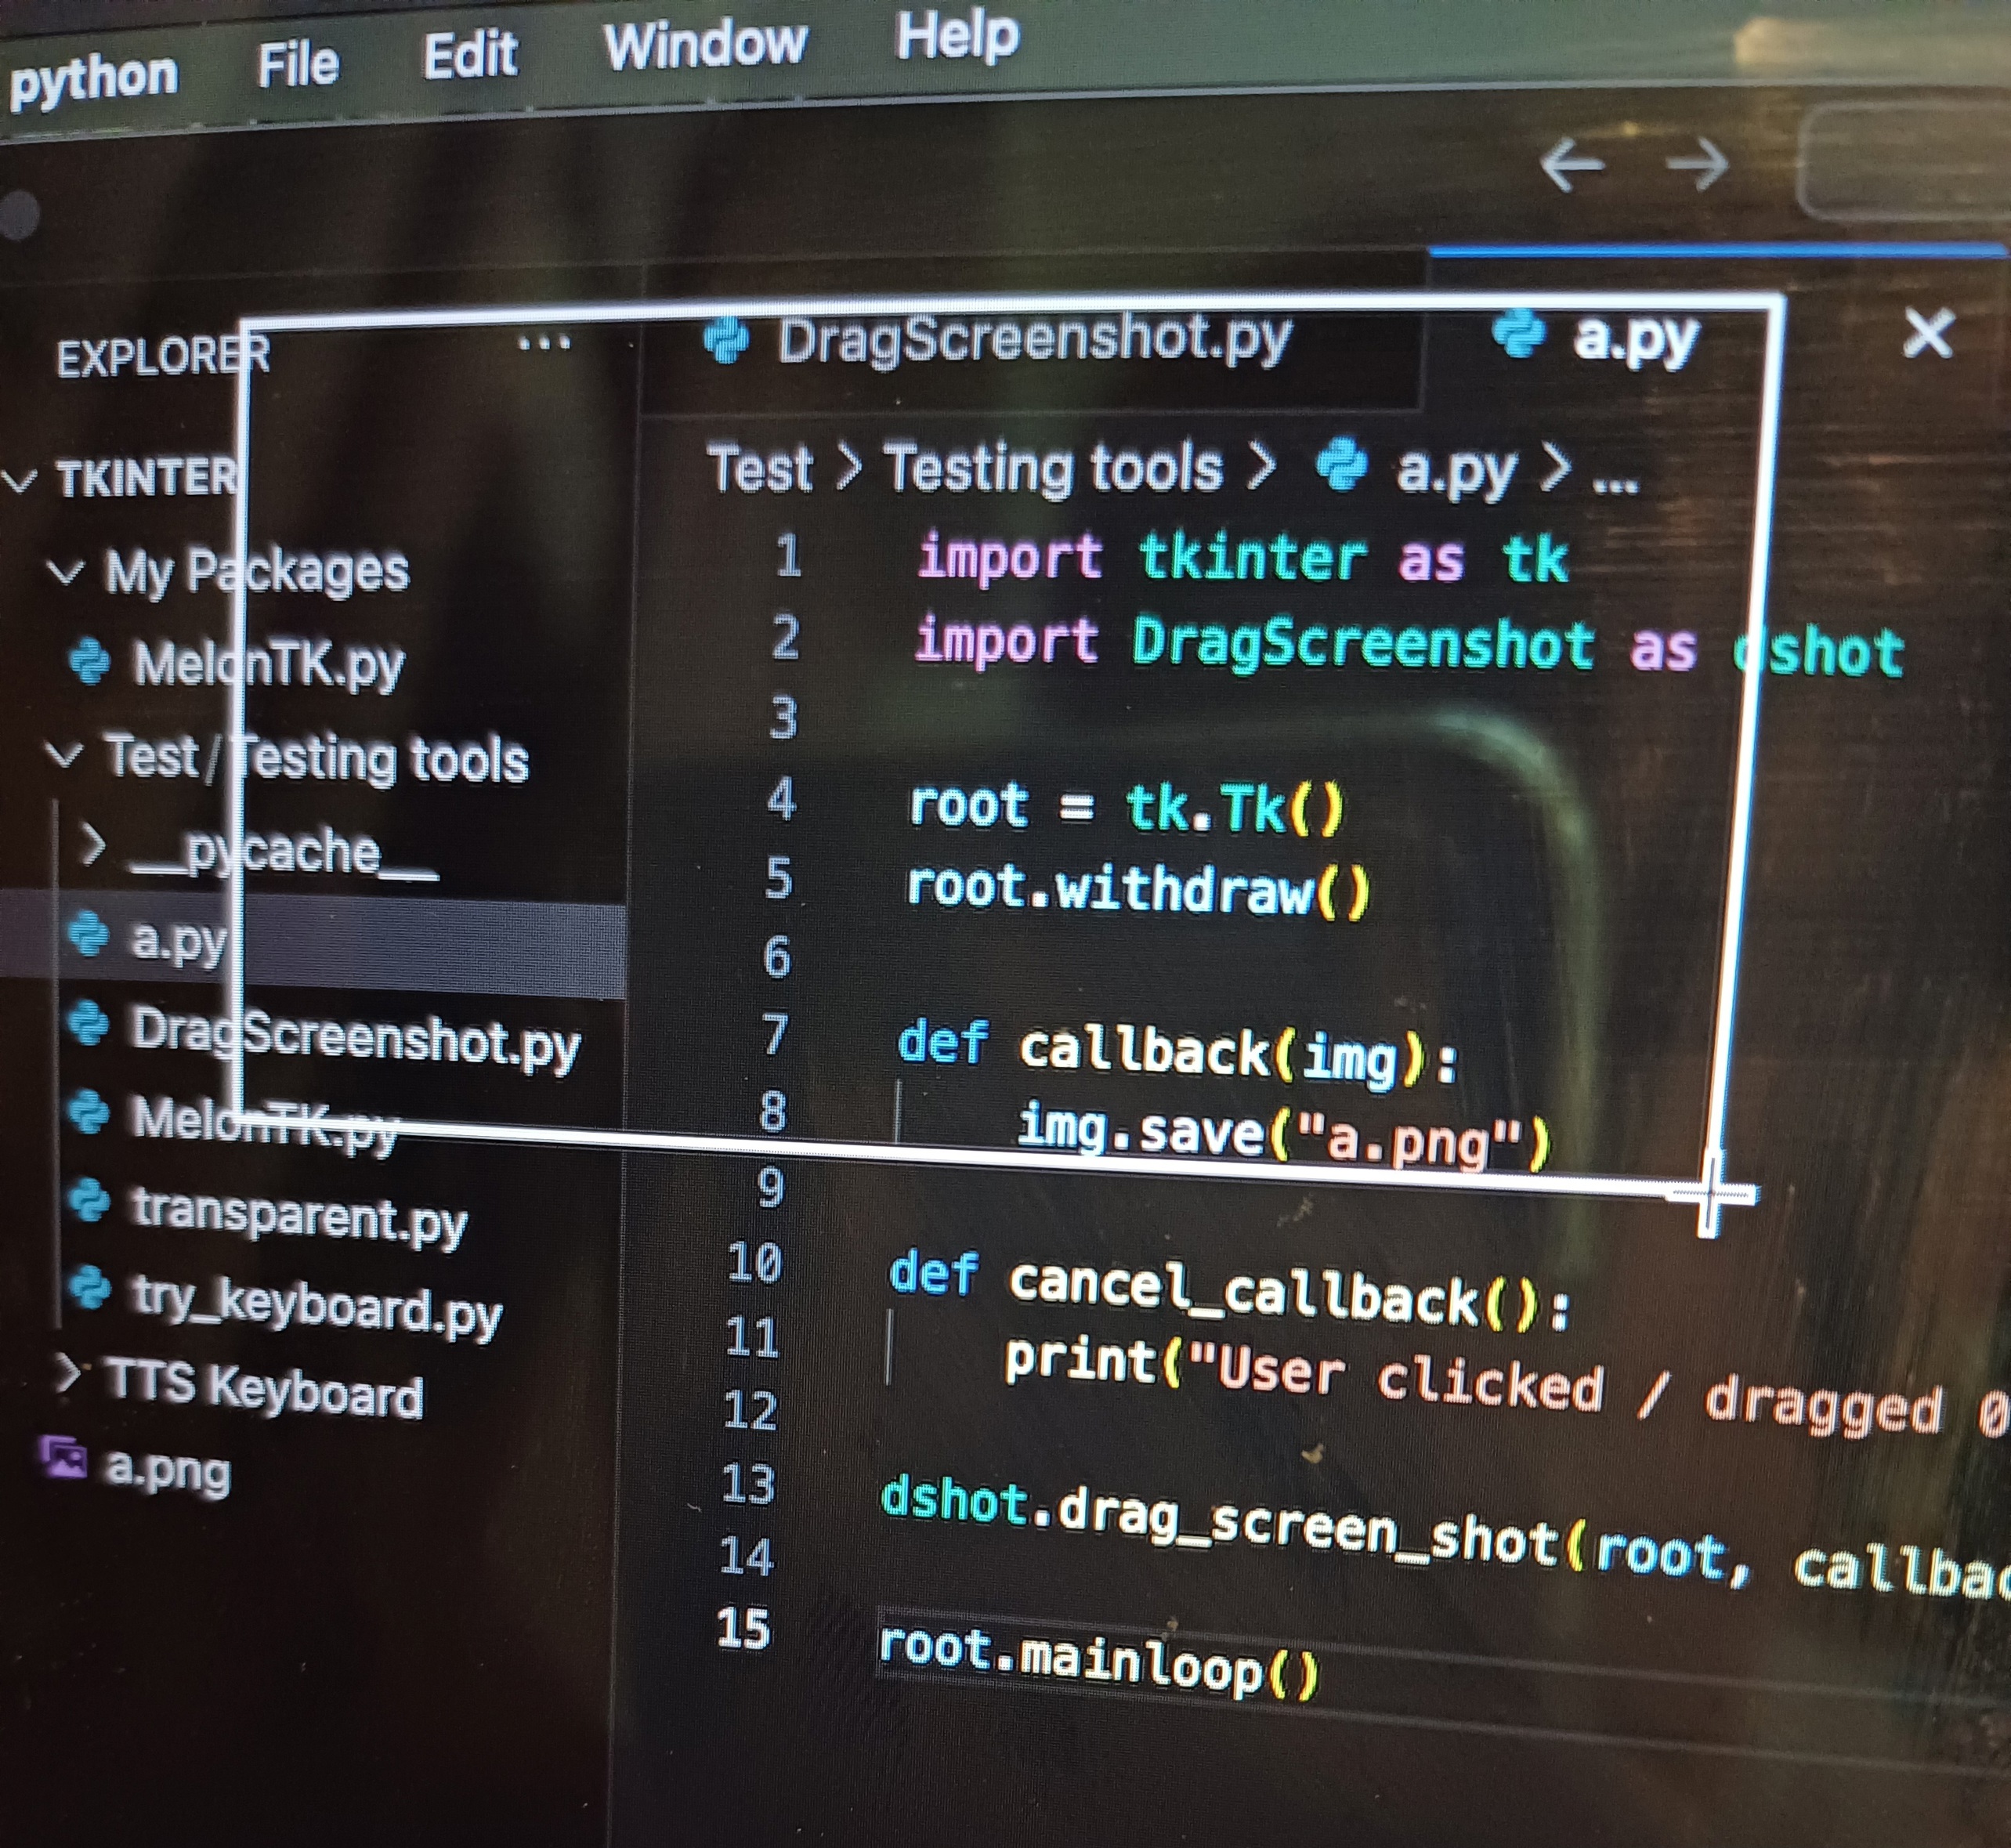
Then, here is an example to use DragScreenshot.py:

import tkinter as tk
import DragScreenshot as dshot

root = tk.Tk()
root.withdraw()

def callback(img):
    img.save("a.png")

def cancel_callback():
    print("User clicked / dragged 0 pixels.")

dshot.drag_screen_shot(root, callback, cancel_callback)

root.mainloop()

Dragging view:

dragging

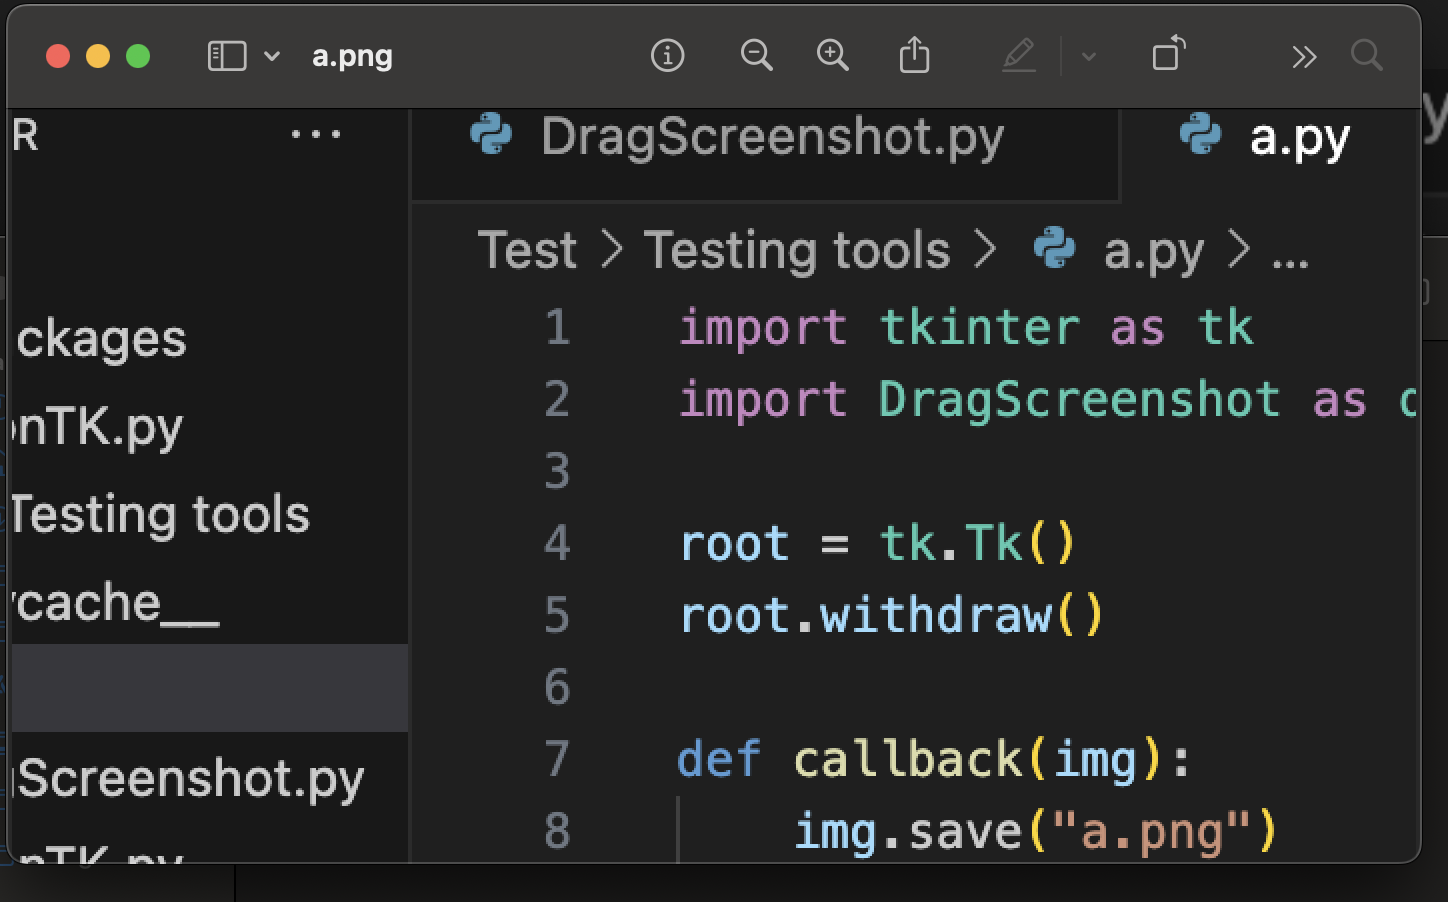
Result:

enter image description here

Cacilie answered 7/11, 2024 at 14:6 Comment(0)

© 2022 - 2025 — McMap. All rights reserved.