Sorry this is superdy duperdy late and you've probably already implemented something else but after DAYS of research and trial and error I have finally got something to work.
A lot of developers have really advanced UI in their applications, and use lots of custom popovers and controllers that provide a very unique look to their application and then have to use the stock AirPlay controller UI which takes the user completely out of the apps experience and can be a complete eyesore.
Others want better UX; ie. Instead of having to separate menus for people to stream their current media to (One for AirPlay and one for everything else), they want to combine the two so the user has a really great experience.
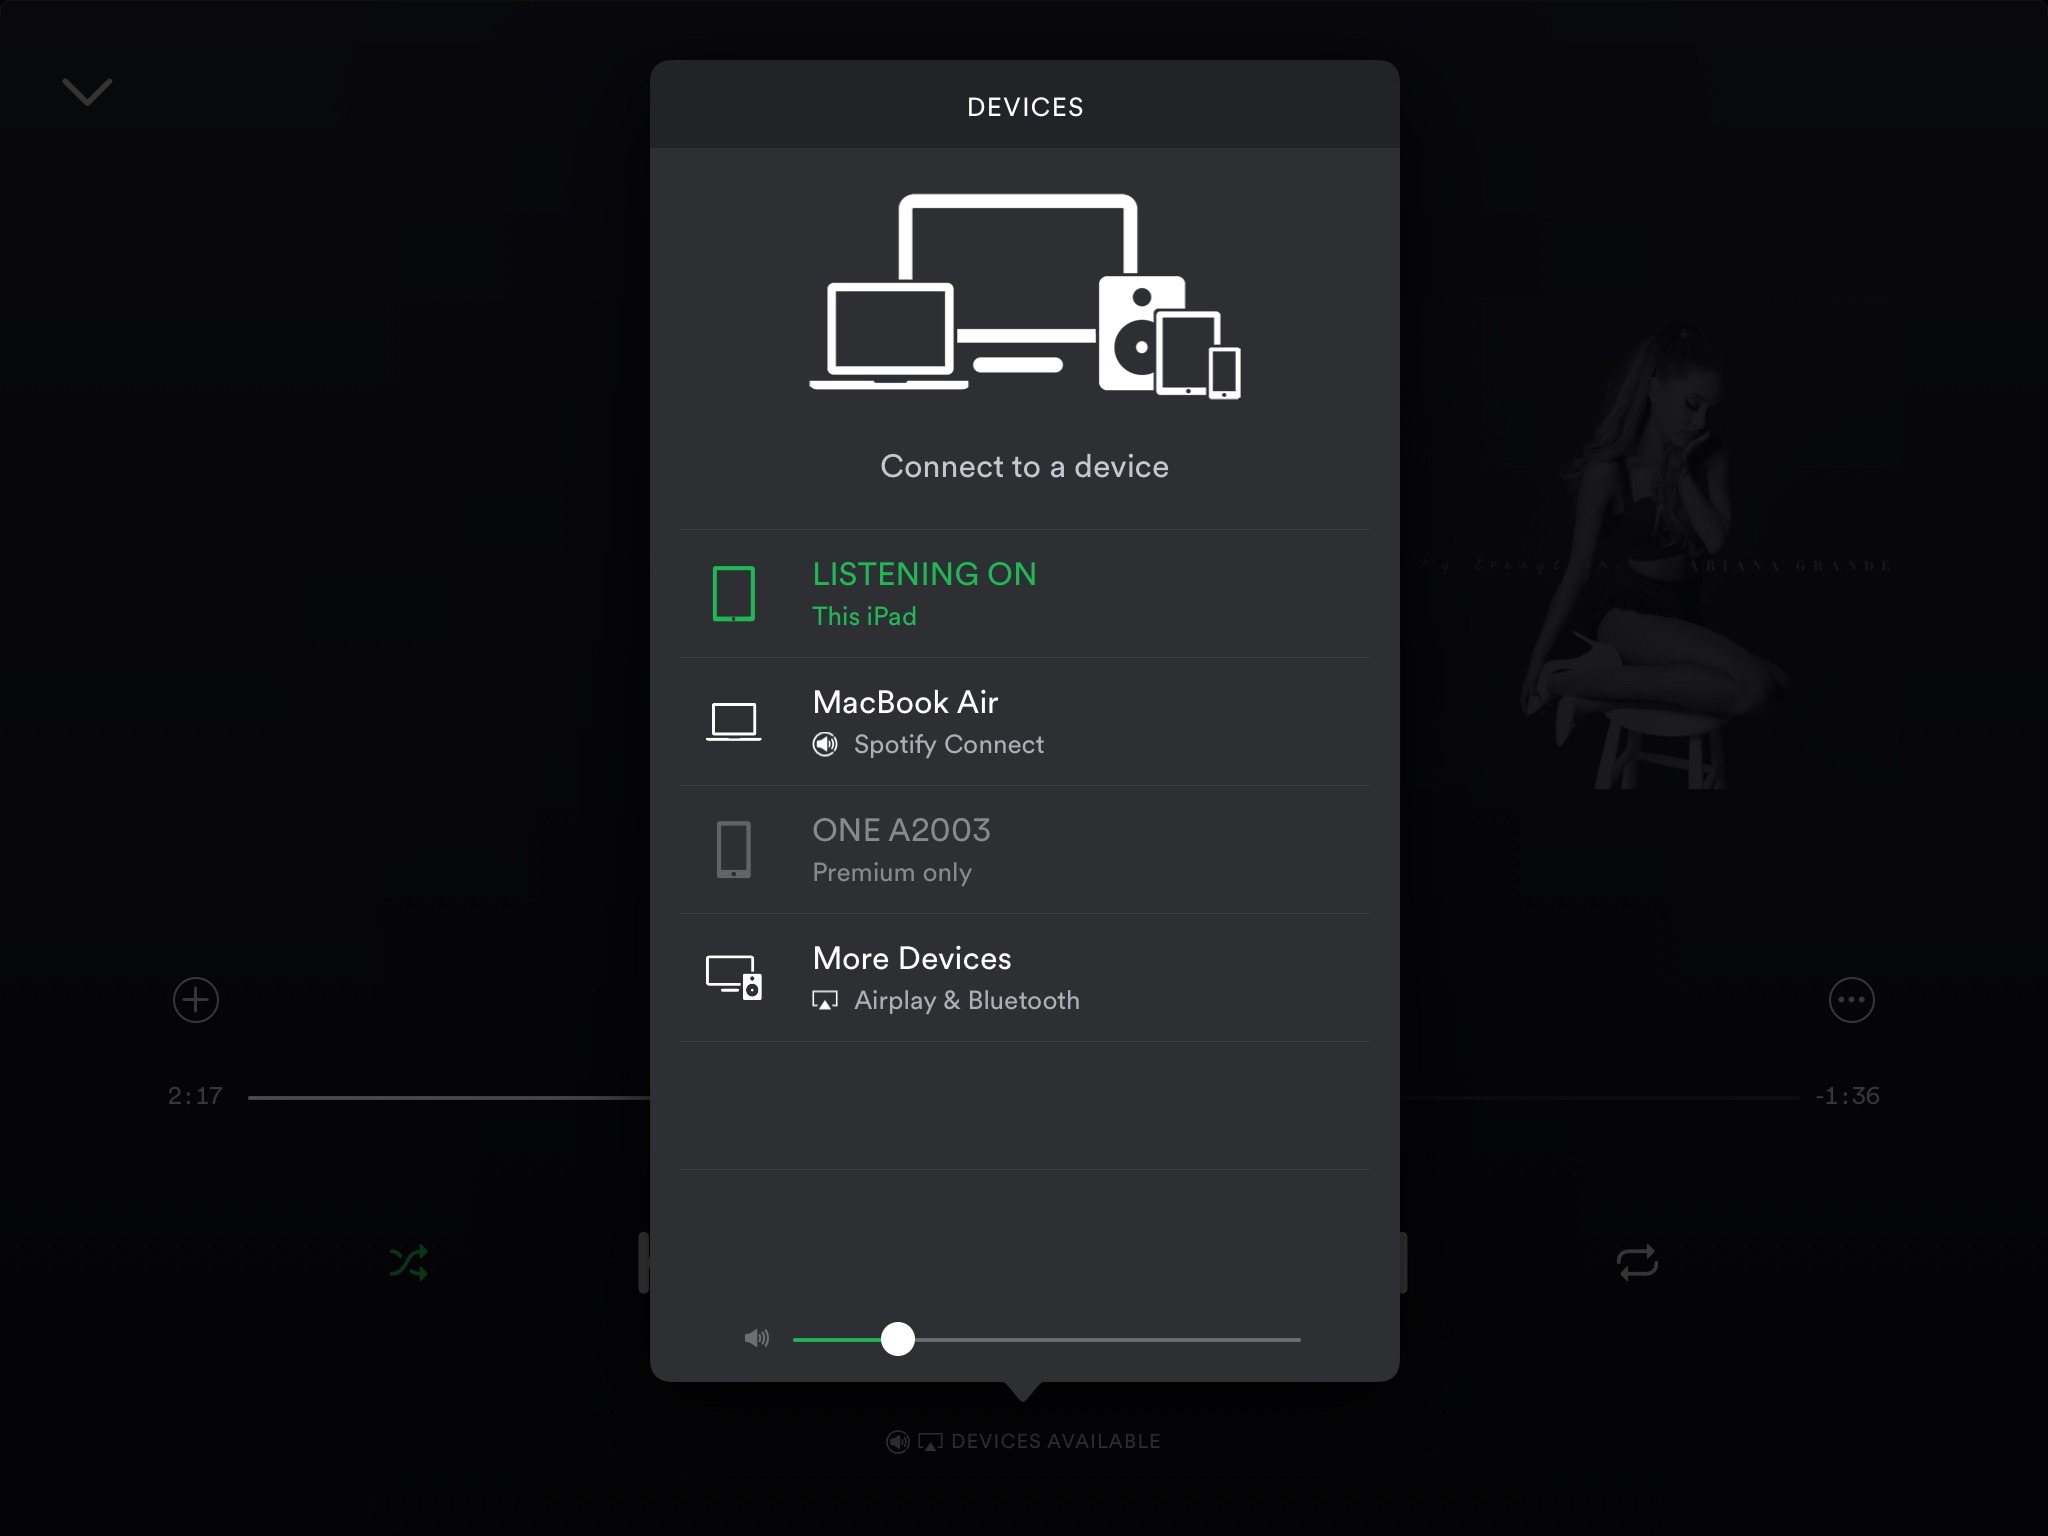
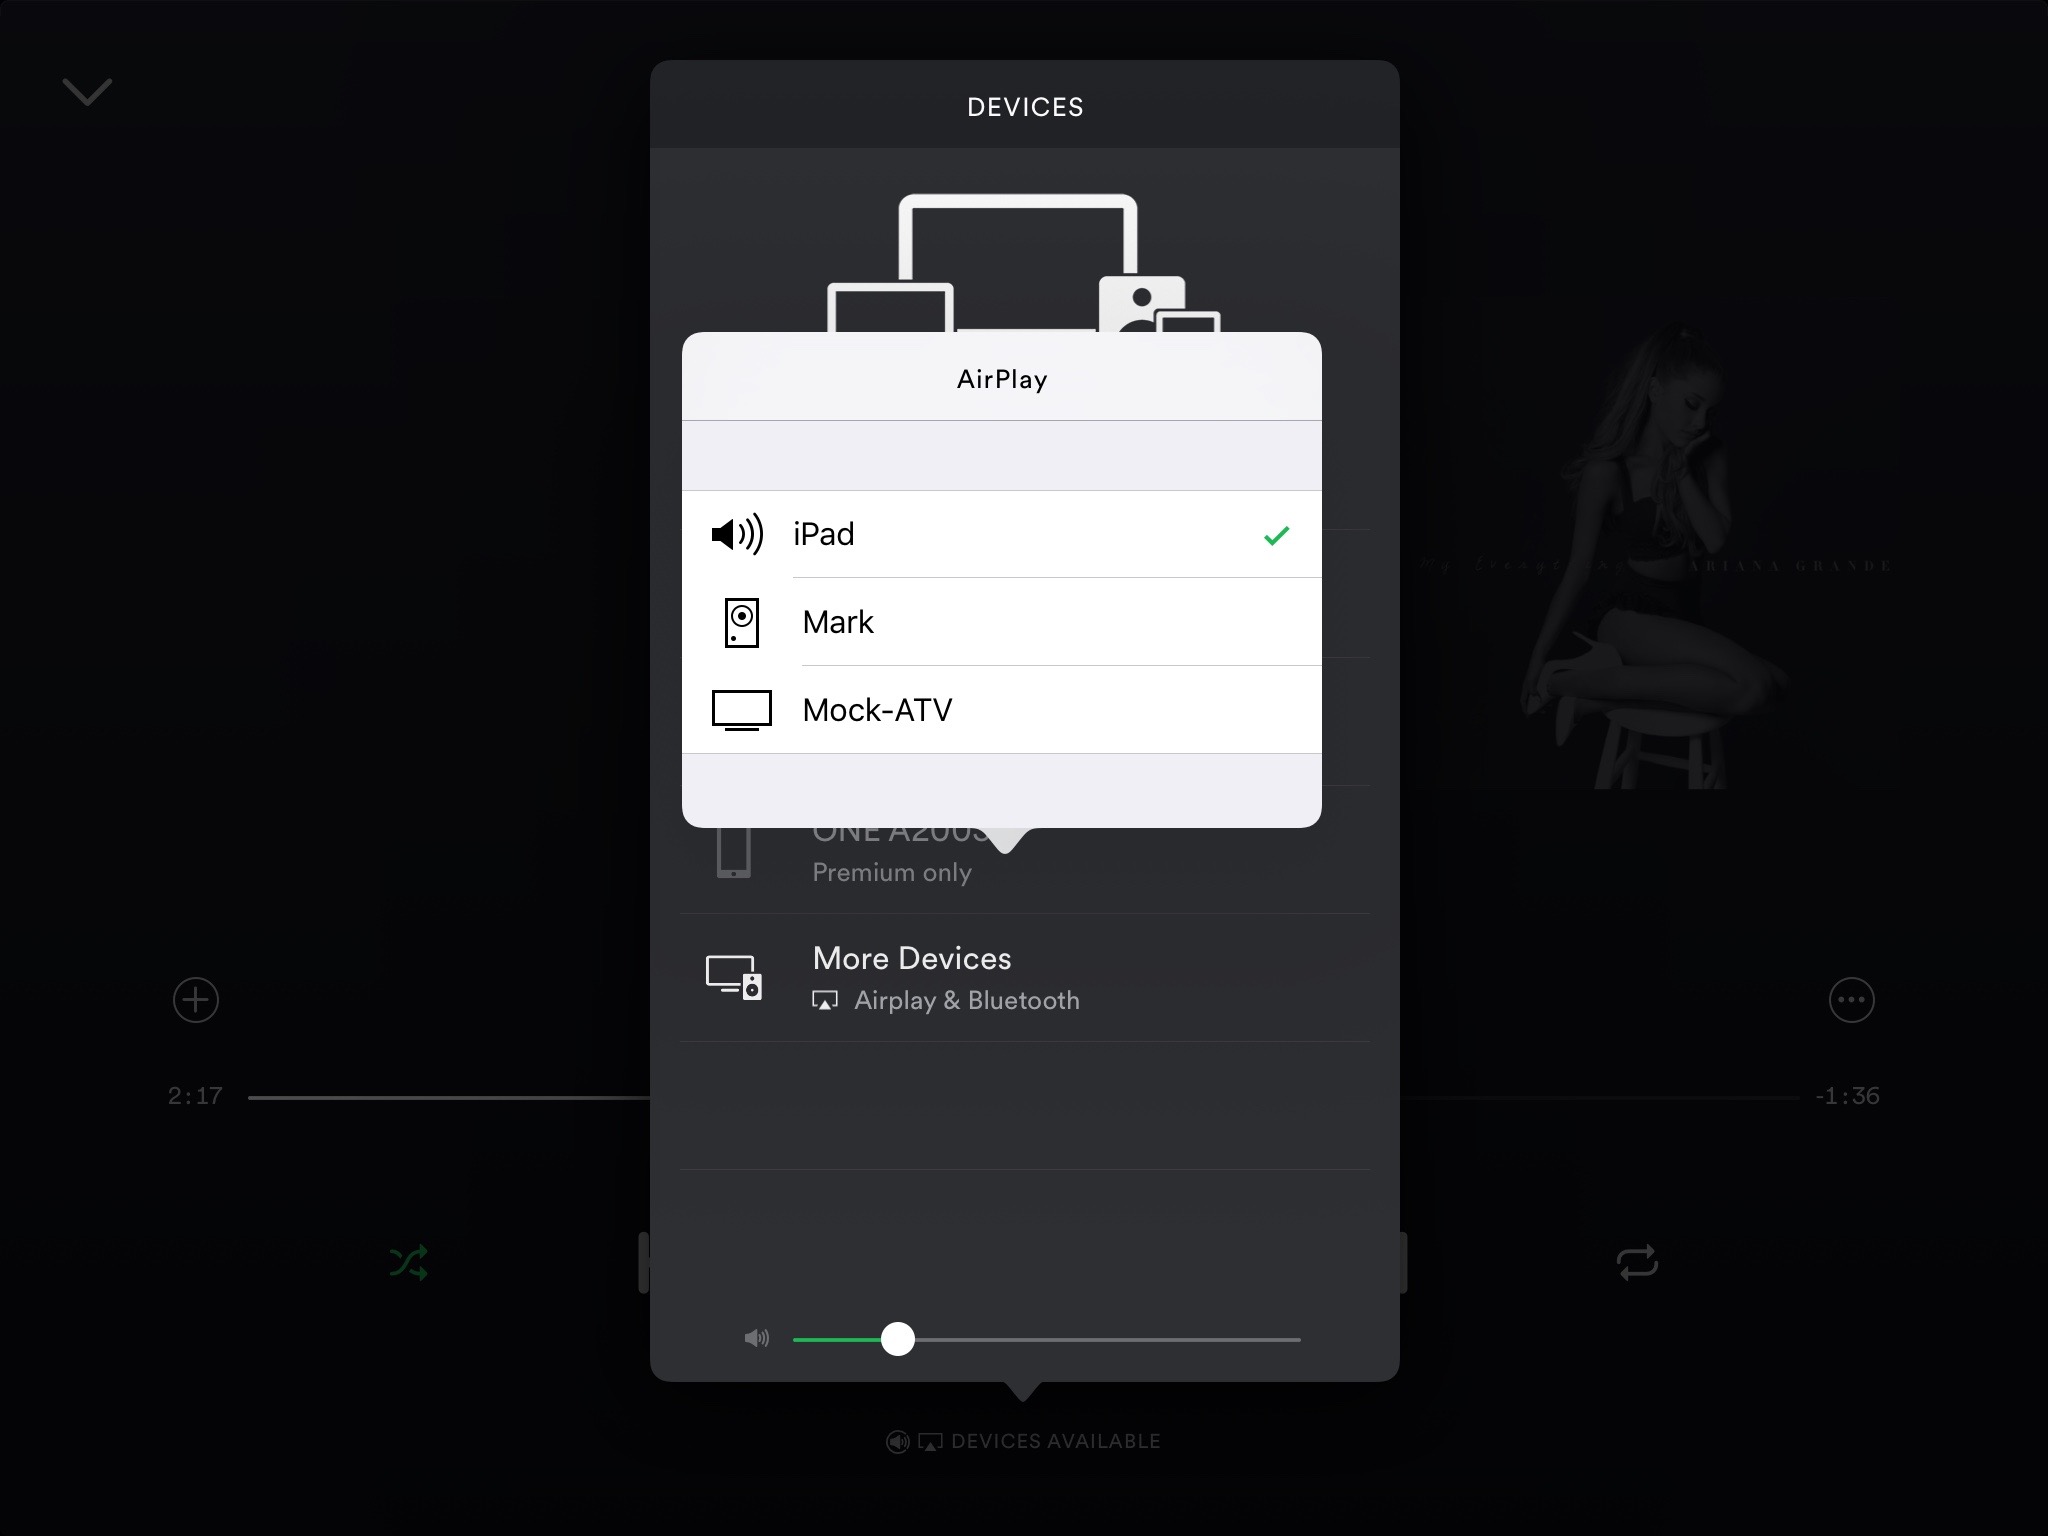
Unfortunately, using the public API's available today, there is really nothing you can do. Spotify tries to make it work in their application, and while better than most approaches, still leaves a lot to be desired.
![enter image description here]()
![enter image description here]()
However, if for some reason, you do not want to release your app on the app store, you have a good code obfuscator that can hide your function calls from apple (highly unlikely) or you want to distribute your app on another store (Cydia etc.) there is an option for you: Private API's.
Lots of people shy away when they hear those two words but once you get used to the format, it's really the same as normal Cocoa programming minus the Xcode code completion.
Stop Blabbering and just GIMME DE CODEZ
I am not going to introduce you to interacting with Private API's; you can read other articles that will delve much deeper than I would ever be willing to. Without any further ado, this is what I came up with.
Step 1: Read the reverse engineered header files that other much smarter people have posted on github (https://github.com/nst/iOS-Runtime-Headers/blob/master/Frameworks/). It's really worth reading all of the header files because some of the stuff you can do is really interesting.
Step 2: Get down to business. Now, I will be doing this in Swift but I will provide Objective-C links below. I would recommend Objective-C doing this in because most of these classes are written in Objective-C and lots of the methods starting with an "_" swift mistakes for iVars and it just gets really messy. But if you must, heres how you would.
So instead of the conventional way of [class performSelector:methodName] for methods and [instance valueForKey:_iVar] for accessing instance variables it is way easier to use protocols in Swift; mostly because perform selector SUCKS in Swift.
So we are going to basically create a local representation of the classes we will later need to use.
@objc protocol MPAVRoutingControllerProtocol {
    optional func fetchAvailableRoutesWithCompletionHandler(completion: (routes: [MPAVRouteProtocol]) -> Void)
    optional func pickRoute(route: MPAVRouteProtocol) -> Bool
    optional func setDelegate(delegate: NSObject)
}

@objc protocol MPAVRouteProtocol {
    optional func routeName() -> String
    optional func routeUID() -> String
    optional func isPicked() -> Bool
    optional func wirelessDisplayRoute() -> MPAVRouteProtocol
}

@objc protocol MPAudioDeviceControllerProtocol {
    optional func setRouteDiscoveryEnabled(enabled: Bool)
    optional func routeDescriptionAtIndex(index: Int) -> [String: AnyObject]
}

extension NSObject : MPAVRoutingControllerProtocol, MPAVRouteProtocol, MPAudioDeviceControllerProtocol {

}
Now this is really where the magic happens. Somewhere in your view controller, we create the classes using NSClassFromString()
let MPAudioDeviceControllerClass: NSObject.Type =  NSClassFromString("MPAudioDeviceController") as! NSObject.Type
let MPAVRoutingControllerClass: NSObject.Type = NSClassFromString("MPAVRoutingController") as! NSObject.Type
We then create objects from these classes and interact with them by calling on our protocol functions.
let routingController = MPAVRoutingControllerClass.init() as MPAVRoutingControllerProtocol
let audioDeviceController = MPAudioDeviceControllerClass.init() as MPAudioDeviceControllerProtocol
Now that we have fully initialized objects we can do the actual cool stuff. So first thing we need to do is start the daemon for searching for the airplay devices.
audioDeviceController.setRouteDiscoveryEnabled!(true)
This step is optional but recommended. Instead of updating your UI for changes that may or may not be there, we can assign ourselves the delegate of MPAVRoutingController and get a delegate call when devices have become active.
routingController.setDelegate!(self)
We then implement the function.
func routingControllerAvailableRoutesDidChange(controller: MPAVRoutingControllerProtocol) {
}
Then inside this function we can fill up our datasource for our UI.
routingController.fetchAvailableRoutesWithCompletionHandler! { (routes) in

}
So starting off, this method we are calling off the routingController is going to return us an array of MPAVRoute objects that we can extract information about. All the information you should need is in the MPAVRouteProtcol but should you need more you could call audioDeviceController.routeDescriptionAtIndex!(an Index). This will return detailed information such as what type the airplay device is, the mac address, whether it supports video and lots more.
Then when you need to select a route, you would call routingController.pickRoute!(selectedRoute). You don't need to worry about passwords, iOS will take care of that automatically for you (Errors, caching alert controllers etc.).


