Slicing of a scanned image based on large white spaces
Asked Answered
C

2

5

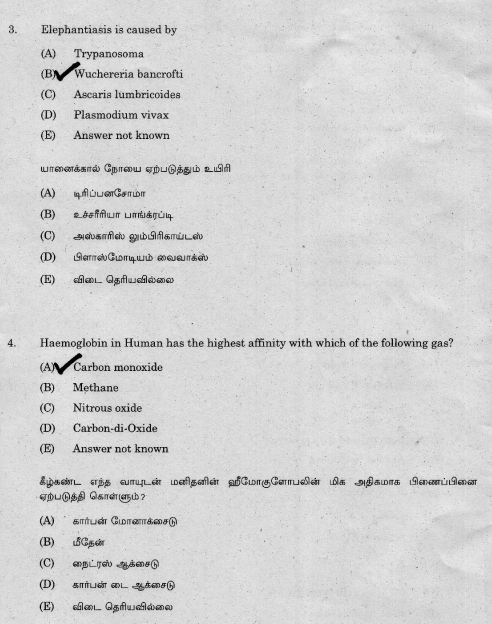
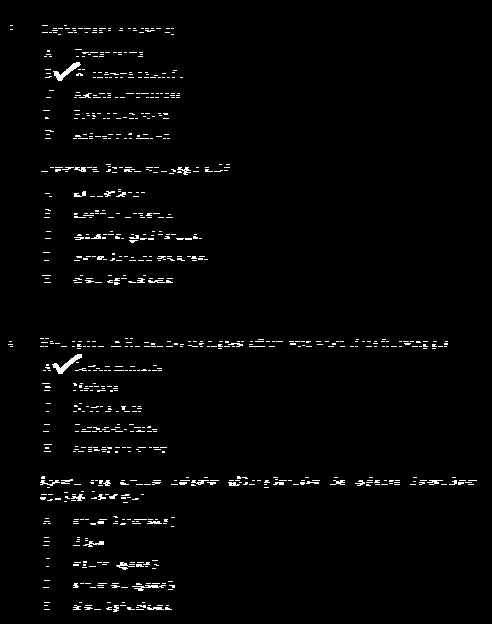
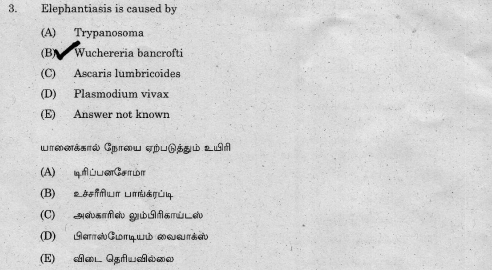
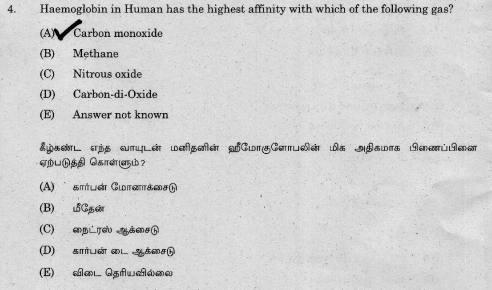
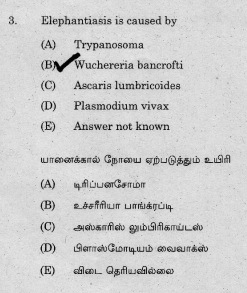
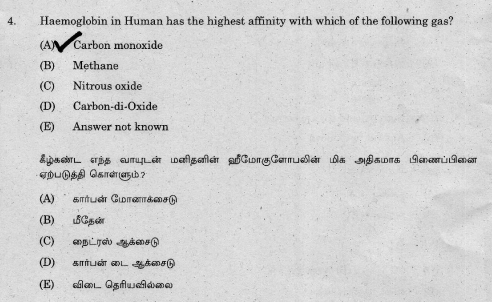
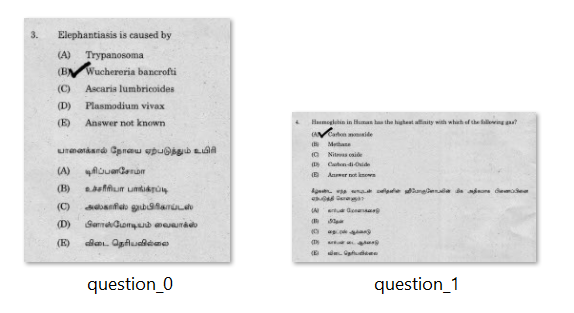
I am planning to split the questions from this PDF document. The challenge is that the questions are not orderly spaced. For example the first question occupies an entire page, second also the same while the third and fourth together make up one page. If I have to manually slice it, it will be ages. So, I thought to split it up into images and work on them. Is there a possibility to take image as this

Single image

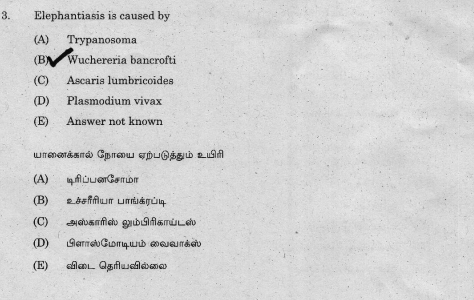
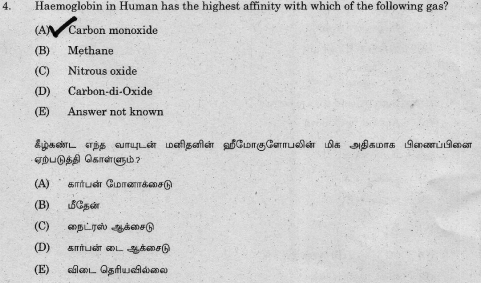
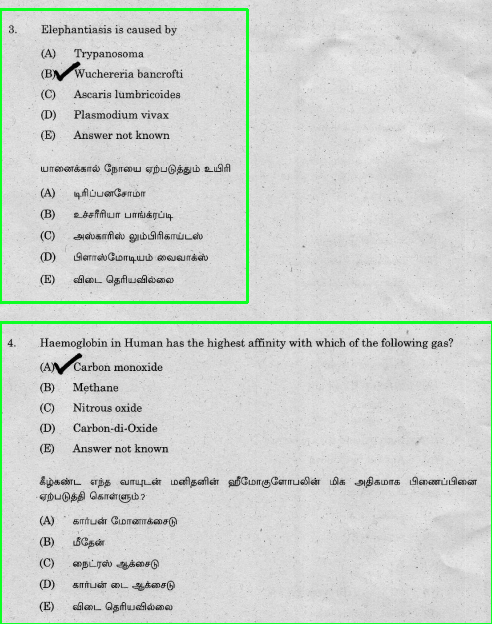
and split into individual components like this?

enter image description here

enter image description here

Creasy answered 15/4, 2022 at 9:19 Comment(5)
After having seen the document, I guess that doing the work by hand will take less ages than by a program. You risk to waste more time fixing the errors.Sent
@YvesDaoust True that :( .Let me see where it leads me toCreasy
I guess that the challenge is now to find an application that will make the manual process as fast as possible, especially if some questions extend across multiple pages.Sent
Thats the good thing . No question extends to multiple pages . I am quite convinced with @nathancy 's answer. It almost does the trick . In that code , if we are able to erase out small artifacts , we are 95 % through . The only manual process was screenshot .. I dont want to do that ... No:(Creasy
I think we cracked it :) I have added a comment in @Rotem s answer . Please do have a look and please let me know if you have queries .Creasy
I
8

We may solve it using (mostly) morphological operations:

  • Read the input image as grayscale.
  • Apply thresholding with inversion.
    Automatic thresholding using cv2.THRESH_OTSU is working well.
  • Apply opening morphological operation for removing small artifacts (using the kernel np.ones(1, 3))
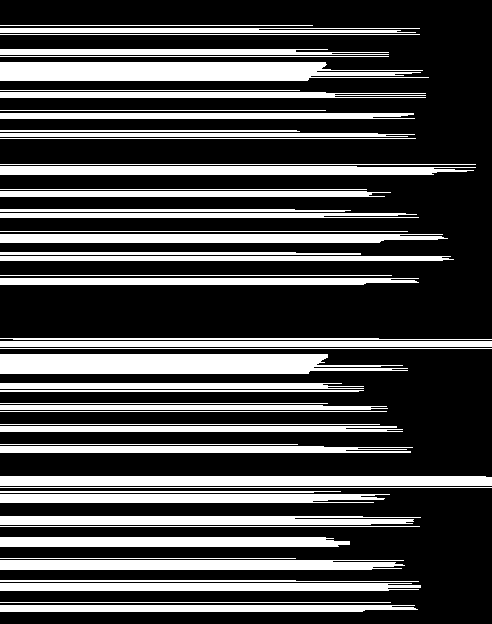
  • Dilate horizontally with very long horizontal kernel - make horizontal lines out of the text lines.
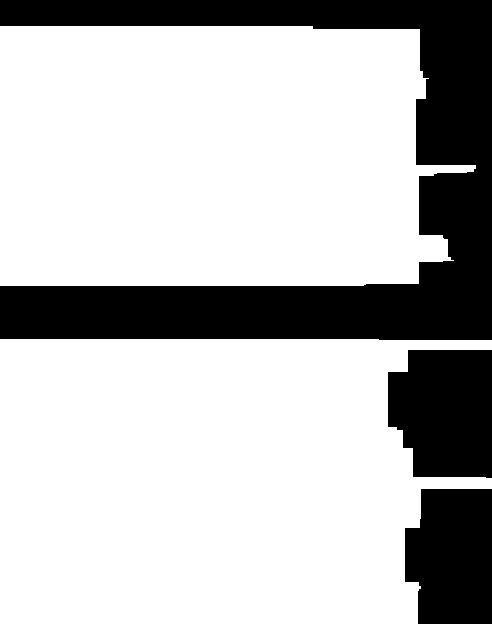
  • Apply closing vertically - create two large clusters.
    The size of the vertical kernel should be tuned according to the typical gap.
  • Finding connected components with statistics.
  • Iterate the connected components and crop the relevant area in the vertical direction.

Complete code sample:

import cv2
import numpy as np

img = cv2.imread('scanned_image.png', cv2.IMREAD_GRAYSCALE)  # Read image as grayscale

thesh = cv2.threshold(img, 0, 255, cv2.THRESH_OTSU + cv2.THRESH_BINARY_INV)[1]  # Apply automatic thresholding with inversion.

thesh = cv2.morphologyEx(thesh, cv2.MORPH_OPEN, np.ones((1, 3), np.uint8))  # Apply opening morphological operation for removing small artifacts.

thesh = cv2.dilate(thesh, np.ones((1, img.shape[1]), np.uint8))  # Dilate horizontally - make horizontally  lines out of the text.

thesh = cv2.morphologyEx(thesh, cv2.MORPH_CLOSE, np.ones((50, 1), np.uint8))  # Apply closing vertically - create two large clusters

nlabel, labels, stats, centroids = cv2.connectedComponentsWithStats(thesh, 4)  # Finding connected components with statistics

parts_list = []

# Iterate connected components:
for i in range(1, nlabel):
    top = int(stats[i, cv2.CC_STAT_TOP])  # Get most top y coordinate of the connected component
    height = int(stats[i, cv2.CC_STAT_HEIGHT])  # Get the height of the connected component

    roi = img[top-5:top+height+5, :]  # Crop the relevant part of the image (add 5 extra rows from top and bottom).
    parts_list.append(roi.copy()) # Add the cropped area to a list

    cv2.imwrite(f'part{i}.png', roi)  # Save the image part for testing
    cv2.imshow(f'part{i}', roi)  # Show part for testing

# Show image and thesh testing
cv2.imshow('img', img)
cv2.imshow('thesh', thesh)

cv2.waitKey()
cv2.destroyAllWindows()

Results:

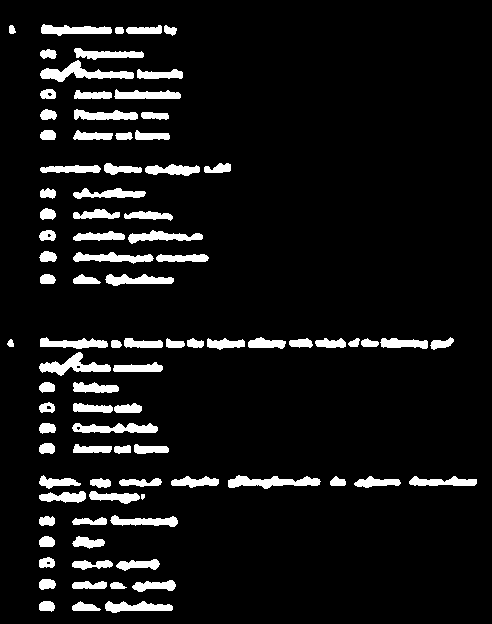
Stage 1:
enter image description here

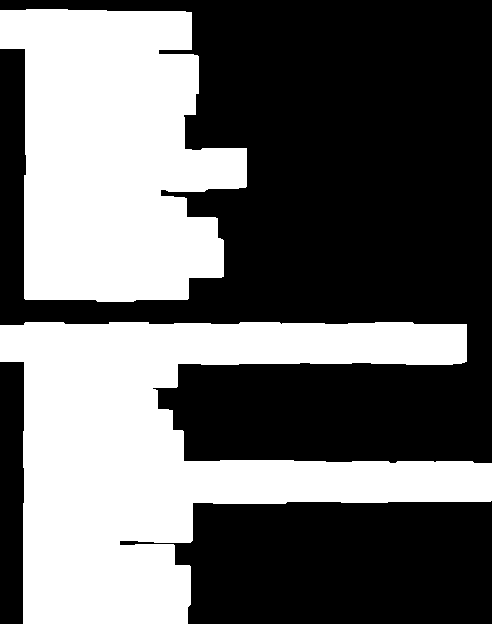
Stage 2:
enter image description here

Stage 3:
enter image description here

Stage 4:
enter image description here

Top area:
enter image description here

Bottom area:
enter image description here

Information answered 15/4, 2022 at 10:10 Comment(7)
I am getting the following error . error Traceback (most recent call last) /tmp/ipykernel_54419/2799728070.py in <module> 24 parts_list.append(roi.copy()) # Add the cropped area to a list 25 ---> 26 cv2.imwrite(f'part{i}.png', roi) # Save the image part for testing 27 cv2.imshow(f'part{i}', roi) # Show part for testing 28 error: OpenCV(4.5.5) /io/opencv/modules/imgcodecs/src/loadsave.cpp:801: error: (-215:Assertion failed) !_img.empty() in function 'imwrite'Creasy
I tested it with the image from your post. I don't know why you are getting an empy image.Information
I have uploading a new image . Could you please try with it .Creasy
Even for me the given PNG works .. But next one isnt workingCreasy
You are absolutely right. I messed up with the PNG . I saved a screenshot in the middle and it messed us ... Testing and continung ... Give me little bit more timeCreasy
I think I found out the issue. This is purely my understanding . I have no knowledge of Image Processing . Some times what happens is that it returns 5 roi and one of which is negligibly small to be written or shown . So , what I did was , I added a if(roi.size>0): before cv2.imwrite(f'part{i}.png', roi) # Save the image part for testing cv2.imshow(f'part{i}', roi) # Show part for testing And skipped the ones with bad Roi . And it workedCreasy
I am marking this as more suitable one for me . DUe to testing with many inputs which suited my requirement . And both approaches just bamboozled me .Creasy
F
9

This is a classic situation for dilate. The idea is that adjacent text corresponds with the same question while text that is farther away is part of another question. Whenever you want to connect multiple items together, you can dilate them to join adjacent contours into a single contour. Here's a simple approach:

  1. Obtain binary image. Load the image, convert to grayscale, Gaussian blur, then Otsu's threshold to obtain a binary image.

  2. Remove small noise and artifacts. We create a rectangular kernel and morph open to remove small noise and artifacts in the image.

  3. Connect adjacent words together. We create a larger rectangular kernel and dilate to merge individual contours together.

  4. Detect questions. From here we find contours, sort contours from top-to-bottom using imutils.sort_contours(), filter with a minimum contour area, obtain the rectangular bounding rectangle coordinates and highlight the rectangular contours. We then crop each question using Numpy slicing and save the ROI image.


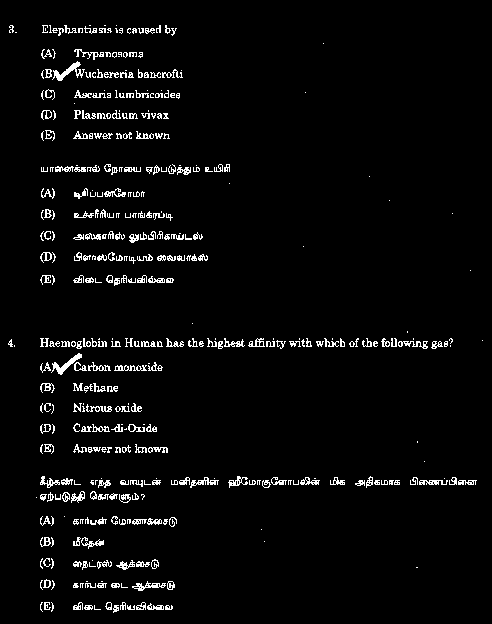
Otsu's threshold to obtain a binary image

enter image description here

Here's where the interesting section happens. We assume that adjacent text/characters are part of the same question so we merge individual words into a single contour. A question is a section of words that are close together so we dilate to connect them all together.

enter image description here

Individual questions highlighted in green

enter image description here

Top question

enter image description here

Bottom question

enter image description here

Saved ROI questions (assumption is from top-to-bottom)

enter image description here

Code

import cv2
from imutils import contours

# Load image, grayscale, Gaussian blur, Otsu's threshold
image = cv2.imread('1.png')
original = image.copy()
gray = cv2.cvtColor(image, cv2.COLOR_BGR2GRAY)
blur = cv2.GaussianBlur(gray, (7,7), 0)
thresh = cv2.threshold(blur, 0, 255, cv2.THRESH_BINARY_INV + cv2.THRESH_OTSU)[1]

# Remove small artifacts and noise with morph open
open_kernel = cv2.getStructuringElement(cv2.MORPH_RECT, (5,5))
opening = cv2.morphologyEx(thresh, cv2.MORPH_OPEN, open_kernel, iterations=1)

# Create rectangular structuring element and dilate
kernel = cv2.getStructuringElement(cv2.MORPH_RECT, (9,9))
dilate = cv2.dilate(opening, kernel, iterations=4)

# Find contours, sort from top to bottom, and extract each question
cnts = cv2.findContours(dilate, cv2.RETR_EXTERNAL, cv2.CHAIN_APPROX_SIMPLE)
cnts = cnts[0] if len(cnts) == 2 else cnts[1]
(cnts, _) = contours.sort_contours(cnts, method="top-to-bottom")

# Get bounding box of each question, crop ROI, and save
question_number = 0
for c in cnts:
    # Filter by area to ensure its not noise
    area = cv2.contourArea(c)
    if area > 150:
        x,y,w,h = cv2.boundingRect(c)
        cv2.rectangle(image, (x, y), (x + w, y + h), (36,255,12), 2)
        question = original[y:y+h, x:x+w]
        cv2.imwrite('question_{}.png'.format(question_number), question)
        question_number += 1

cv2.imshow('thresh', thresh)
cv2.imshow('dilate', dilate)
cv2.imshow('image', image)
cv2.waitKey()
Fennelflower answered 15/4, 2022 at 9:58 Comment(12)
The program is excellent . I have still not marked it as answer as I am doing testing . Once I finish it , will mark it as answer .Creasy
Also , I have a small suggestion . Though I dont know how to include it programmatically .Shouldnt we remove small artifacts ? As in some cases , dots are recognised and processed .Whats your thought ?Creasy
I have another doubt . If you can see the output , Question_0 is acutally the second question and Question_1 is the first one . Why does it return that way ?Creasy
@sibikanagaraj Yes if there is noise then you can remove small artifacts with morphological opening. By default there's no ordering on how the ROI's are selected. You can use the imutils library to sort contours from top-to-bottom. I've updated the code to remove noise and collect questions based on top to bottom. You can install that convenience library with pip install imutilsFennelflower
Thanks a lot . WIll do the testing and get backCreasy
If i am going to loop it for several files in a directory , where do you think we might get an issue ?Creasy
:-) True . I asked it because , i am afraid to touch the code. You have put years of experience and thought process and slightly changing anything hits errors out of now where .. Really thankful for the solution. Testing it , will get backCreasy
Coming back to the question , in certain image files the code produces many "questions "(boxes) . Thats an exception not norm , so what happens is it just floods with images . So , shall we handle that alone as an special case and skip by returning the image name when number of "questions" is greater than 5. ?Creasy
I asked the looping question because , instead of returning question_(number) , if it writes as imagename_question_number do you think it would solve ? That line I was not able to write:-(Creasy
Sure will do it .Creasy
I am confused with both the answers of yours and @rotem ,Both are excellent .. Switching between marking the correct answers .:(Creasy
@Fennelflower your code produces excellent result, any hints how to improve it to support questions that spans multiple pages ? I am trying to achieve some thing similar to OPJuvenility
I
8

We may solve it using (mostly) morphological operations:

  • Read the input image as grayscale.
  • Apply thresholding with inversion.
    Automatic thresholding using cv2.THRESH_OTSU is working well.
  • Apply opening morphological operation for removing small artifacts (using the kernel np.ones(1, 3))
  • Dilate horizontally with very long horizontal kernel - make horizontal lines out of the text lines.
  • Apply closing vertically - create two large clusters.
    The size of the vertical kernel should be tuned according to the typical gap.
  • Finding connected components with statistics.
  • Iterate the connected components and crop the relevant area in the vertical direction.

Complete code sample:

import cv2
import numpy as np

img = cv2.imread('scanned_image.png', cv2.IMREAD_GRAYSCALE)  # Read image as grayscale

thesh = cv2.threshold(img, 0, 255, cv2.THRESH_OTSU + cv2.THRESH_BINARY_INV)[1]  # Apply automatic thresholding with inversion.

thesh = cv2.morphologyEx(thesh, cv2.MORPH_OPEN, np.ones((1, 3), np.uint8))  # Apply opening morphological operation for removing small artifacts.

thesh = cv2.dilate(thesh, np.ones((1, img.shape[1]), np.uint8))  # Dilate horizontally - make horizontally  lines out of the text.

thesh = cv2.morphologyEx(thesh, cv2.MORPH_CLOSE, np.ones((50, 1), np.uint8))  # Apply closing vertically - create two large clusters

nlabel, labels, stats, centroids = cv2.connectedComponentsWithStats(thesh, 4)  # Finding connected components with statistics

parts_list = []

# Iterate connected components:
for i in range(1, nlabel):
    top = int(stats[i, cv2.CC_STAT_TOP])  # Get most top y coordinate of the connected component
    height = int(stats[i, cv2.CC_STAT_HEIGHT])  # Get the height of the connected component

    roi = img[top-5:top+height+5, :]  # Crop the relevant part of the image (add 5 extra rows from top and bottom).
    parts_list.append(roi.copy()) # Add the cropped area to a list

    cv2.imwrite(f'part{i}.png', roi)  # Save the image part for testing
    cv2.imshow(f'part{i}', roi)  # Show part for testing

# Show image and thesh testing
cv2.imshow('img', img)
cv2.imshow('thesh', thesh)

cv2.waitKey()
cv2.destroyAllWindows()

Results:

Stage 1:
enter image description here

Stage 2:
enter image description here

Stage 3:
enter image description here

Stage 4:
enter image description here

Top area:
enter image description here

Bottom area:
enter image description here

Information answered 15/4, 2022 at 10:10 Comment(7)
I am getting the following error . error Traceback (most recent call last) /tmp/ipykernel_54419/2799728070.py in <module> 24 parts_list.append(roi.copy()) # Add the cropped area to a list 25 ---> 26 cv2.imwrite(f'part{i}.png', roi) # Save the image part for testing 27 cv2.imshow(f'part{i}', roi) # Show part for testing 28 error: OpenCV(4.5.5) /io/opencv/modules/imgcodecs/src/loadsave.cpp:801: error: (-215:Assertion failed) !_img.empty() in function 'imwrite'Creasy
I tested it with the image from your post. I don't know why you are getting an empy image.Information
I have uploading a new image . Could you please try with it .Creasy
Even for me the given PNG works .. But next one isnt workingCreasy
You are absolutely right. I messed up with the PNG . I saved a screenshot in the middle and it messed us ... Testing and continung ... Give me little bit more timeCreasy
I think I found out the issue. This is purely my understanding . I have no knowledge of Image Processing . Some times what happens is that it returns 5 roi and one of which is negligibly small to be written or shown . So , what I did was , I added a if(roi.size>0): before cv2.imwrite(f'part{i}.png', roi) # Save the image part for testing cv2.imshow(f'part{i}', roi) # Show part for testing And skipped the ones with bad Roi . And it workedCreasy
I am marking this as more suitable one for me . DUe to testing with many inputs which suited my requirement . And both approaches just bamboozled me .Creasy

© 2022 - 2024 — McMap. All rights reserved.