You can use the following steps:
with MKMapSnapshotter you will get an image of the map without annotations
you can retrieve the annotations from your MKMapView
for each annotations determine its position in the coordinate space of the image
draw a custom pin there (may look like Apple's pins)
determine the text and size of the annotation title and draw it centered below the position of the pin
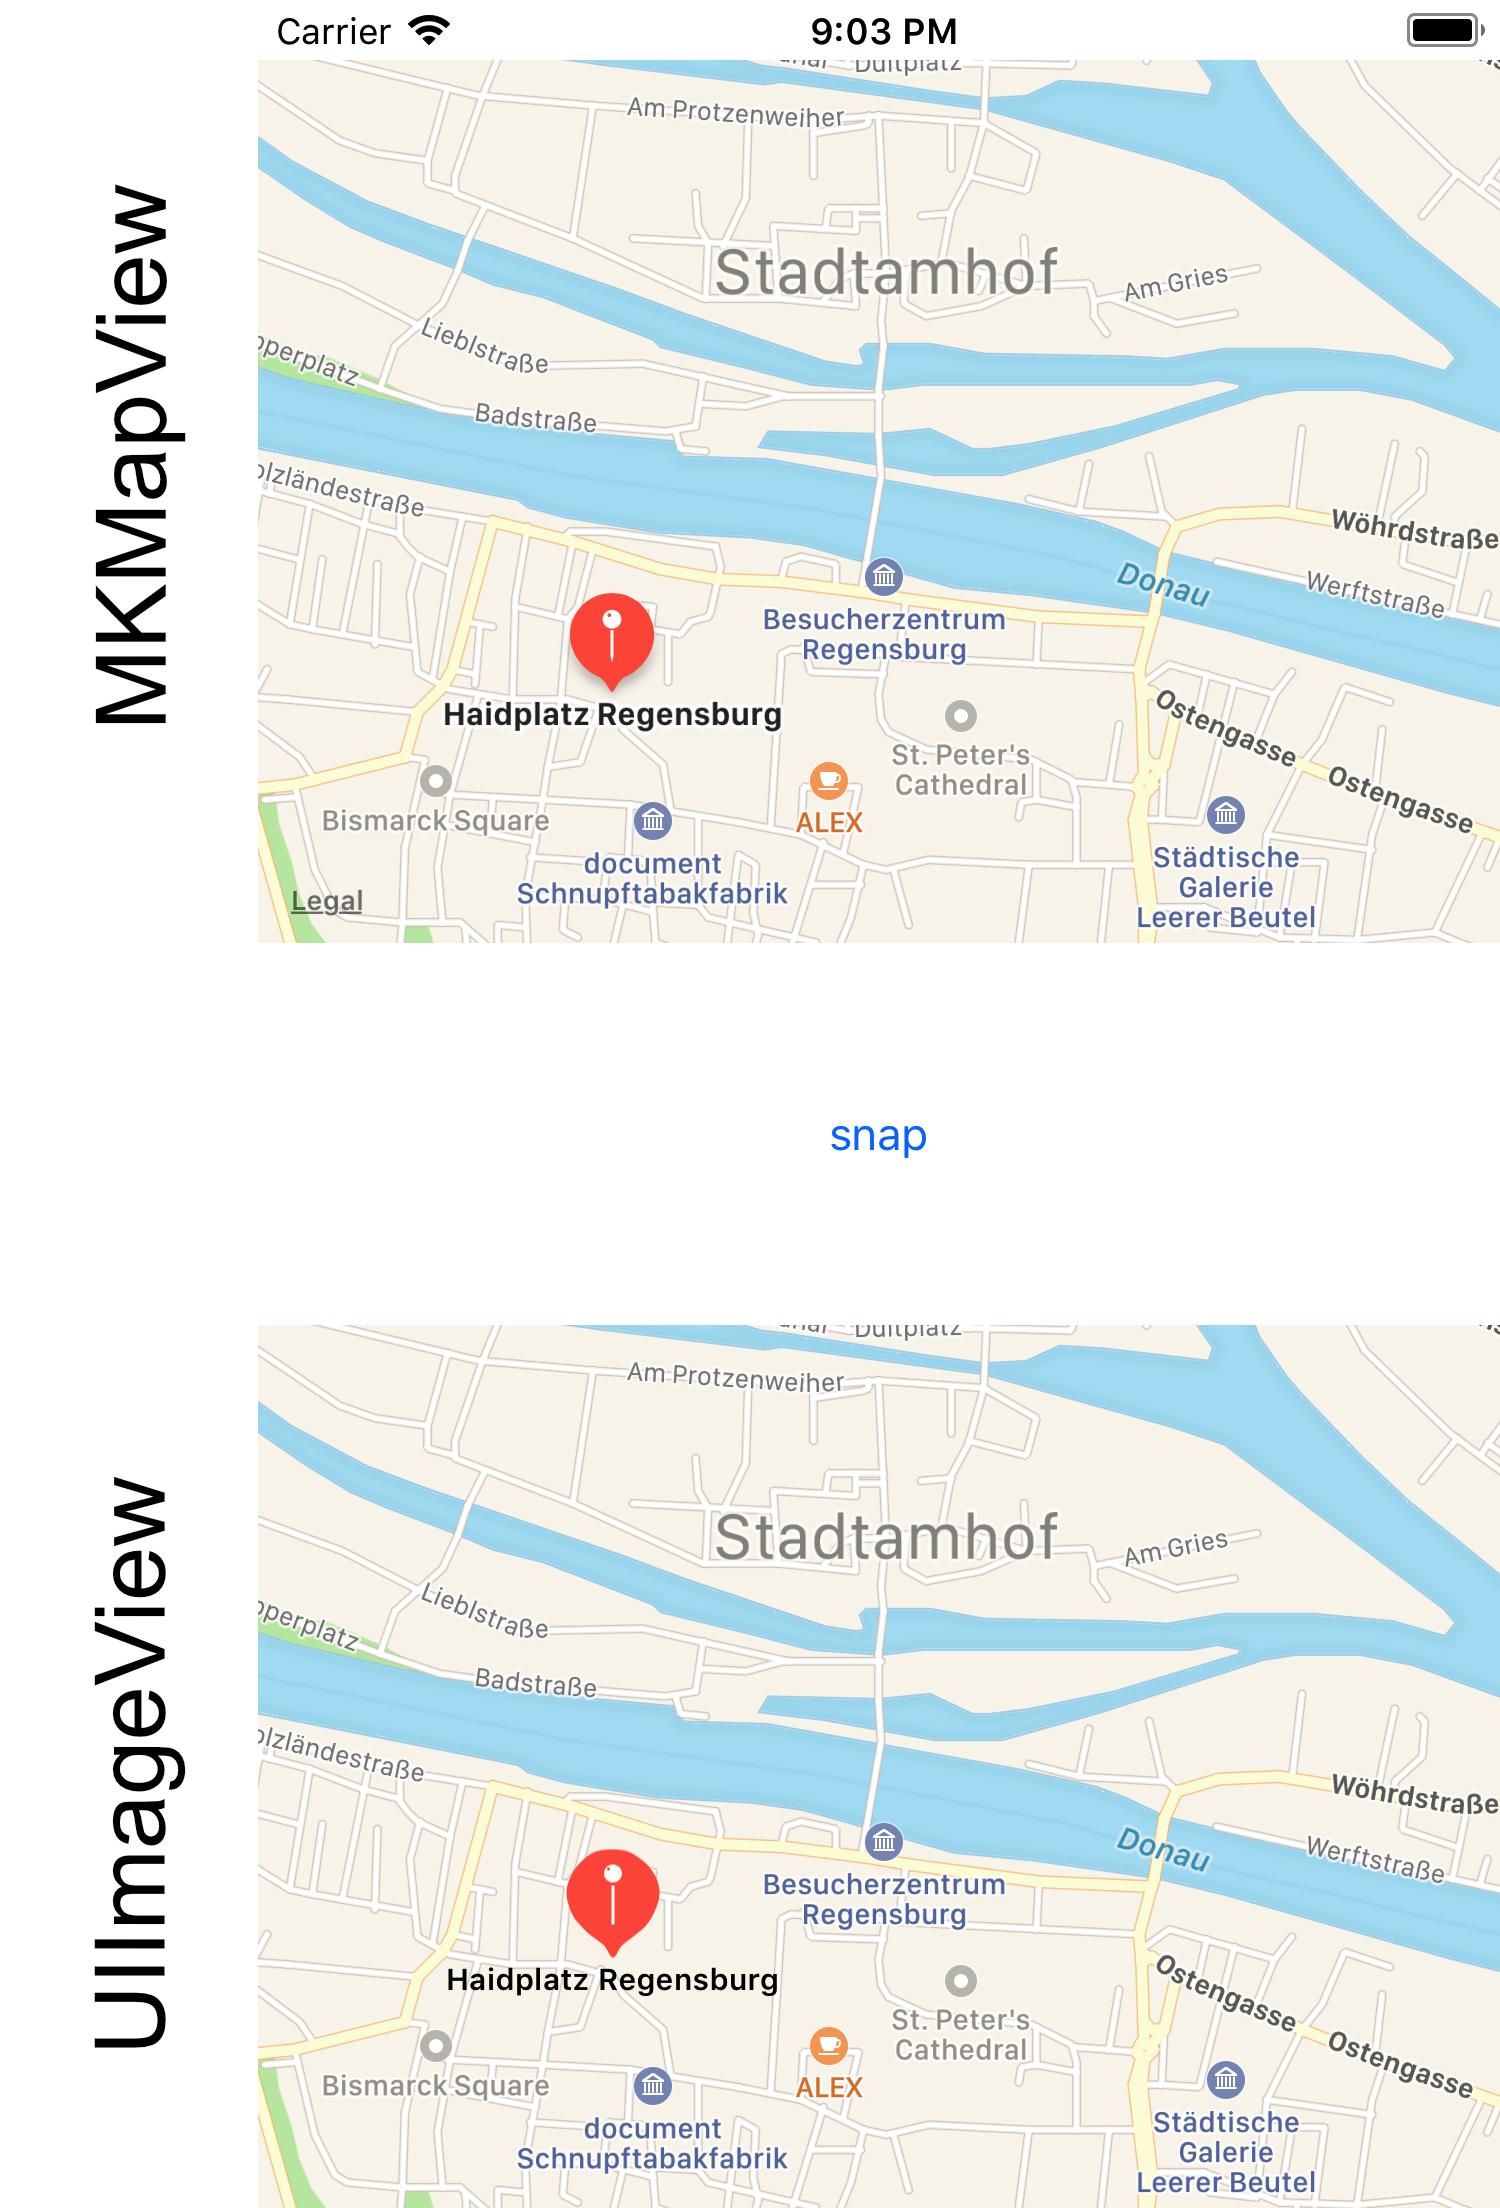
The result can look very similar to what MKMapView displays. In the attached screenshot there is a MKMapView in the upper area and an UIImageView with the resulting image in the lower area. Looks similar, doesn't it?
![enter image description here]()
Here the Swift 4 code for the screenshot above:
    @IBOutlet weak var imageView: UIImageView!

    @IBAction func onSnap(_ sender: Any) {
        let options: MKMapSnapshotOptions = MKMapSnapshotOptions()
        options.region = self.mapView.region
        options.size = self.mapView.frame.size
        options.scale = UIScreen.main.scale

        let customPin = UIImage(named: "customPin.pdf")

        let snapshotter = MKMapSnapshotter(options: options)
        snapshotter.start { [weak self] (snapshot: MKMapSnapshot?, error: Error?) -> Void in
            guard error == nil, let snapshot = snapshot else { return }

            UIGraphicsBeginImageContextWithOptions(snapshot.image.size, true, snapshot.image.scale)
            snapshot.image.draw(at: CGPoint.zero)

            let titleAttributes = self?.titleAttributes()
            for annotation in (self?.mapView.annotations)! {
                let point: CGPoint = snapshot.point(for: annotation.coordinate)
                if let customPin = customPin {
                    self?.drawPin(point: point, customPin: customPin)
                }
                if let title = annotation.title as? String {
                    self?.drawTitle(title: title,
                                    at: point,
                                    attributes: titleAttributes!)
                }
            }
            let compositeImage = UIGraphicsGetImageFromCurrentImageContext()
            self?.imageView.image = compositeImage
        }
    }

    private func drawTitle(title: String,
                           at point: CGPoint,
                           attributes: [NSAttributedStringKey: NSObject]) {
        let titleSize = title.size(withAttributes: attributes)
        title.draw(with: CGRect(
            x: point.x - titleSize.width / 2.0,
            y: point.y + 1,
            width: titleSize.width,
            height: titleSize.height),
                   options: .usesLineFragmentOrigin,
                   attributes: attributes,
                   context: nil)
    }

    private func titleAttributes() -> [NSAttributedStringKey: NSObject] {
        let paragraphStyle = NSMutableParagraphStyle()
        paragraphStyle.alignment = .center
        let titleFont = UIFont.systemFont(ofSize: 10, weight: UIFont.Weight.semibold)
        let attrs = [NSAttributedStringKey.font: titleFont,
                     NSAttributedStringKey.paragraphStyle: paragraphStyle]
        return attrs
    }

    private func drawPin(point: CGPoint, customPin: UIImage) {
        let pinPoint = CGPoint(
            x: point.x - customPin.size.width / 2.0,
            y: point.y - customPin.size.height)
        customPin.draw(at: pinPoint)
    }
}
Alternative
If you prefer to draw a MKMarkerAnnotationView (e.g. to get the nice shadow for free) you can change the drawPin to this:
private func drawPin(point: CGPoint, annotation: MKAnnotation) {
    let annotationView = MKMarkerAnnotationView(annotation: annotation, reuseIdentifier: "test")
    annotationView.contentMode = .scaleAspectFit
    annotationView.bounds = CGRect(x: 0, y: 0, width: 40, height: 40)
    annotationView.drawHierarchy(in: CGRect(
        x: point.x - annotationView.bounds.size.width / 2.0,
        y: point.y - annotationView.bounds.size.height,
        width: annotationView.bounds.width,
        height: annotationView.bounds.height),
                                 afterScreenUpdates: true)
}
Don't forget to change the call to
self?.drawPin(point: point, annotation: annotation)
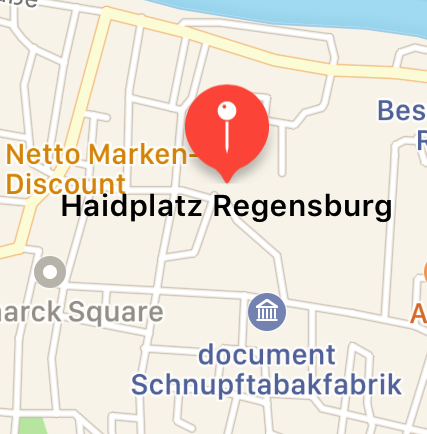
The result looks like this then:
![enter image description here]()


