Tone mapping a HDR image using OpenCV 4.0
Asked Answered
L

1

7

I want to create a script which takes a .HDR file and tonemaps it into a .JPG. I have looked at a few OpenCV tutorials and it seems it should be able to do this.

I have written this script:

import cv2
import numpy as np

filename = "image/gg.hdr"
im = cv2.imread(filename)

cv2.imshow('', im.astype(np.uint8))
cv2.waitKey(0)

tonemapDurand = cv2.createTonemapDurand(2.2)
ldrDurand = tonemapDurand.process(im.copy())

new_filename = filename + ".jpg"
im2_8bit = np.clip(ldrDurand * 255, 0, 255).astype('uint8')
cv2.imwrite(new_filename, ldrDurand)

cv2.imshow('', ldrDurand.astype(np.uint8))

Which according to the tutorials should work. I am getting a black image in the end though. I have verified that the result it saves is .JPG, as well as that the input image (a 1.6 megapixel HDR envrionment map) is a valid .HDR.

OpenCV should be able to load .HDRs according to the documentation.

I have tried reproducing the tutorial linked and that worked correctly, so the issue is in the .HDR image, anybody know what to do?

Thanks

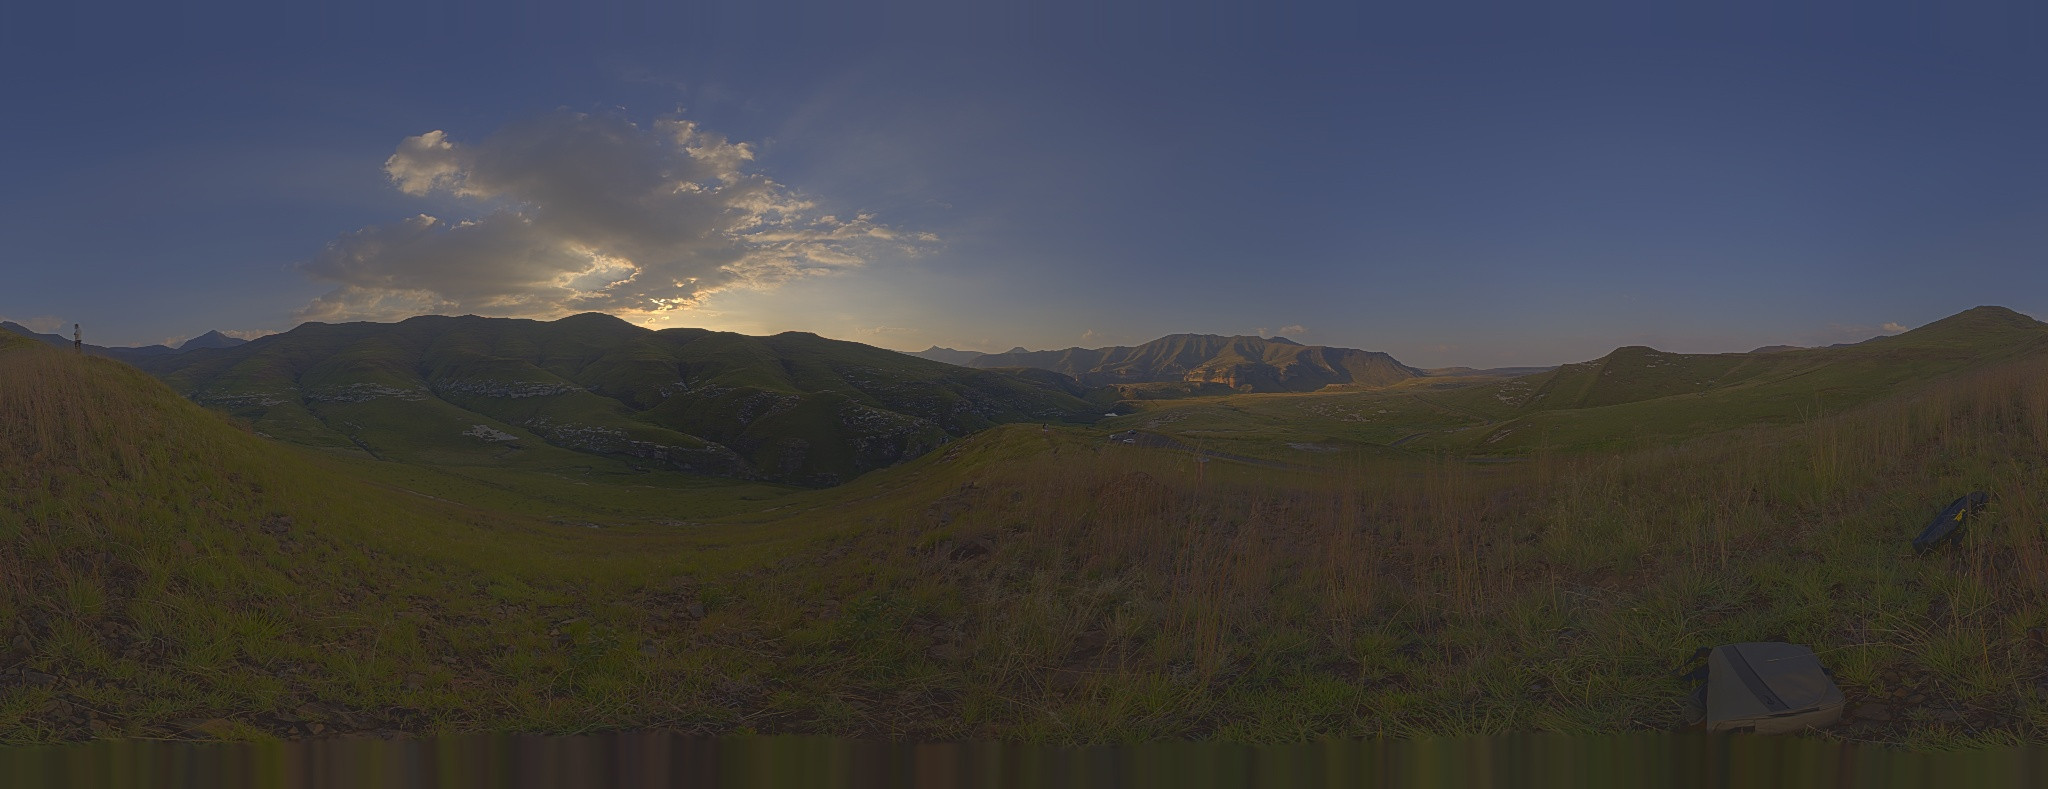
EDIT: I used this HDR image. Providing a link rather than a direct download due to copyright etc.

Levity answered 12/2, 2019 at 20:23 Comment(2)
Could you provide a sample HDR input image we can reproduce this with?Ertha
@DanMašek edited the original post with the link to the HDR I am trying it with. thank youLevity
J
8

You were almost there, except for two small mistakes.

The first mistake is using cv2.imread to load the HDR image without specifying any flags. Unless you call it with IMREAD_ANYDEPTH, the data will be downscaled to 8-bit and you lose all that high dynamic range.

When you do specify IMREAD_ANYDEPTH, the image will be loaded as 32bit floating point format. This would normally have intensities in range [0.0, 1.0], but due to being HDR, the values exceed 1.0 (in this particular case they go up to about 22). This means that you won't be able to visualize it (in a useful way) by simply casting the data to np.uint8. You could perhaps normalize it first into the nominal range, or use the scale and clip method... whatever you find appropriate. Since the early visualization is not relevant to the outcome, I'll skip it.

The second issue is trivial. You correctly scale and clip the tone-mapped image back to np.uint8, but then you never use it.


Script

import cv2
import numpy as np

filename = "GoldenGate_2k.hdr"
im = cv2.imread(filename, cv2.IMREAD_ANYDEPTH)

tonemapDurand = cv2.createTonemapDurand(2.2)
ldrDurand = tonemapDurand.process(im)

im2_8bit = np.clip(ldrDurand * 255, 0, 255).astype('uint8')

new_filename = filename + ".jpg"
cv2.imwrite(new_filename, im2_8bit)

Output

Sample Output

Joist answered 12/2, 2019 at 21:41 Comment(1)
Thank you. I read the imread options, but I probably missed the IMREAD_ANYDEPTH. I was using IMREAD_ANYCOLOR to get what I thought was IMREAD_ANYDEPTH. The second issue was, of course, caused by copy+paste, since I was trying the two tutorials and was trying to combine them since no single worked (because of the first issue). Thank you very much.Levity

© 2022 - 2024 — McMap. All rights reserved.