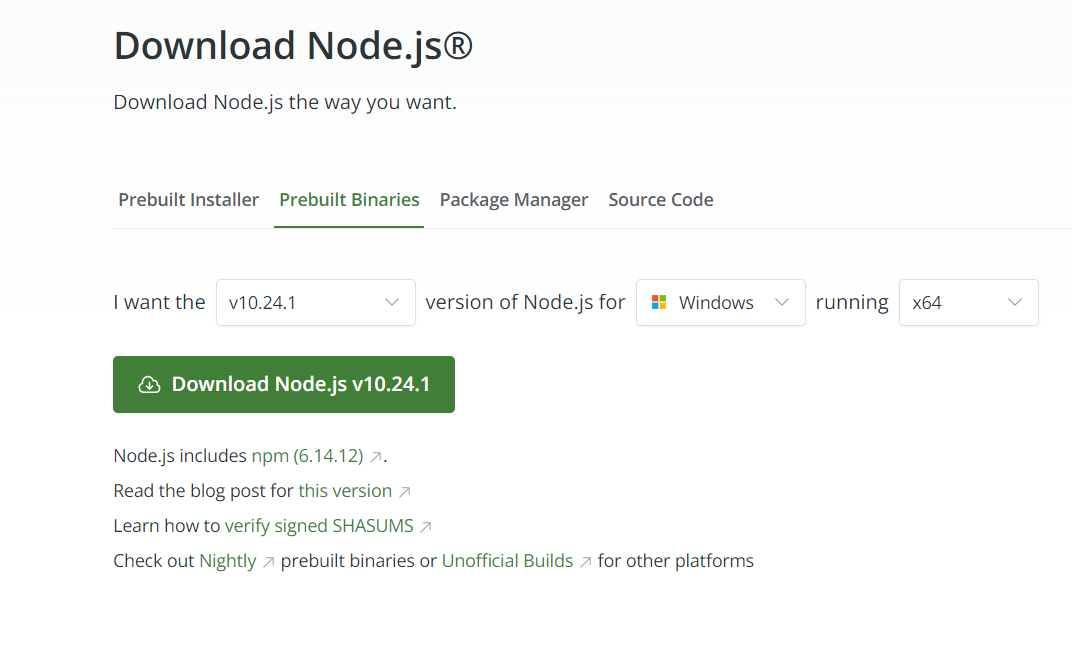
I have no admin rights in my windows machine. Can I install NVM without admin rights? I tried using the environment variable path setup, but its not working in my case.
(You're talking about https://github.com/coreybutler/nvm-windows right?)
Whether you can install it without admin rights aside, the actual act of switching node versions with it requires them so you're going to have trouble.
Your best bet is to install different versions of node into different paths manually, and then configure your environment variables to point to the right one whenever you need to use it.
eg. prefix your cmd script with PATH=C:\node\v10;%PATH% to have any node or npm calls in that script use whatever node is sitting in v10
volta instead of nvm. It creates a shim that can switch node versions on the fly without any admin rights. –
Official winget install Volta.Volta . Not sure if there is another way to install without admin access. referring : docs.volta.sh/guide/getting-started –
Flounce I have the same need and couldn't find one, so I created one base on another simple nvm:
https://www.npmjs.com/package/@jchip/nvm
Requires powershell 4+ and permission to execute scripts.
try this
create a bat file like below
@cd C:\Users\testuser\AppData\Roaming\nvm

@SET PATH=C:\Users\testuser\AppData\Roaming\nvm\v14.21.1;%PATH%

cd c:\users\testuser\Desktop\Project

@cmd.exe /K
Run bat file and type
code .
It's open with VSCode
go to the terminal and type node and you can see the node version that you set in the bat file.
You can apply any node version as above bat file
NVM's drawback is that it requires administrative rights to transition between node versions. When you work for a corporate, it could be difficult to obtain it. I advise copying the NVM folder to any folder that the user has access to. (Alternatively, obtain several Node versions for Windows from a different source). Add the profile.ps1 file to the location specified.
C:\Users\<user>\Documents\WindowsPowerShell\profile.ps1
Change the directory path and then paste these lines into the file.
# $env:PATH += ";C:\Users\<user>\Documents\nvm\v14.21.3"
$env:PATH += ";C:\Users\<user>\Documents\nvm\v16.20.1"
# $env:PATH += ";C:\Users\<user>\Documents\nvm\v18.17.0"
# $env:PATH += ";C:\Users\<user>\Documents\nvm\v20.5.0"
Execute the line given below in "PowerShell" after that. Execution should be from "C:\Users\<user>\Documents\WindowsPowerShell" directory only. This is for obtaining the necessary rights to run the "profile.ps1" file.
Set-ExecutionPolicy -Scope CurrentUser -ExecutionPolicy Unrestricted
powershell -ExecutionPolicy Bypass -File .\profile.ps1
This file acts like a ".bashrc" file in unix systems. Therefore, it will run each time you open PowerShell and contains the uncommented node version.
Update:
Here is the link for few node version executable. https://www.mediafire.com/file/2msfjc09b81ok3v/node_versions.zip/file
Find the node versions that you want to use on your projects and download the prebuilt binaries e.g. let me give an example we want version 18.19.1 and 10.9.0 prebuilt binaries.
Then the next step is create a folder somewhere in a working directory, copy the zip files there and extract them.
C:\
│
└───Users
    └───UserX
        └───Documents
            └───node-versions // Newly created directory with extracted node versions
                ├───node-v10.24.1-win-x64
                │   ├───bin
                │   ├───include
                │   ├───lib
                │   ├───share
                │   └───...
                │
                └───node-v18.19.1-win-x64
                    ├───bin
                    ├───include
                    ├───lib
                    ├───share
                    └───...
For example, you have a project which uses node 18.19.1 then navigate to the project and in the root, directory create a bat script e.g. load-node-env.bat add the following:
Windows
@echo off
set "NODE_PATH=C:\Users\UserX\Documents\nvm\node-v18.19.1-win-x64"
set "PATH=%NODE_PATH%;%PATH%"
NOTE: The path will differ depending on where the extracted node versions were extracted.
Do the same on the other project and change path.
If you use Git Bash on Windows, you can add this to your bash.bashrc to switch node versions:
export PATH=/c/path/to/node/dir:$PATH
Then just restart your terminal to pick up the updated PATH.
It will prepend your path with your desired node version. It's the only way I've found to override the installed node version if you don't have admin rights on your machine.
© 2022 - 2025 — McMap. All rights reserved.


voltainstead ofnvm. It creates a shim that can switch node versions on the fly without any admin rights. – Official