How to show report data in center of RDLC report?
Asked Answered
G

1

7

I am using RDLC to generate product receipt but facing issue with layout and design in RDLC.All my report contents are not coming in the center.

My page size is 7.30 centimeter and I want this content to be in center of the report

This is what I am trying to achieve(Expected Output) :

https://i.sstatic.net/eV8Mc.png

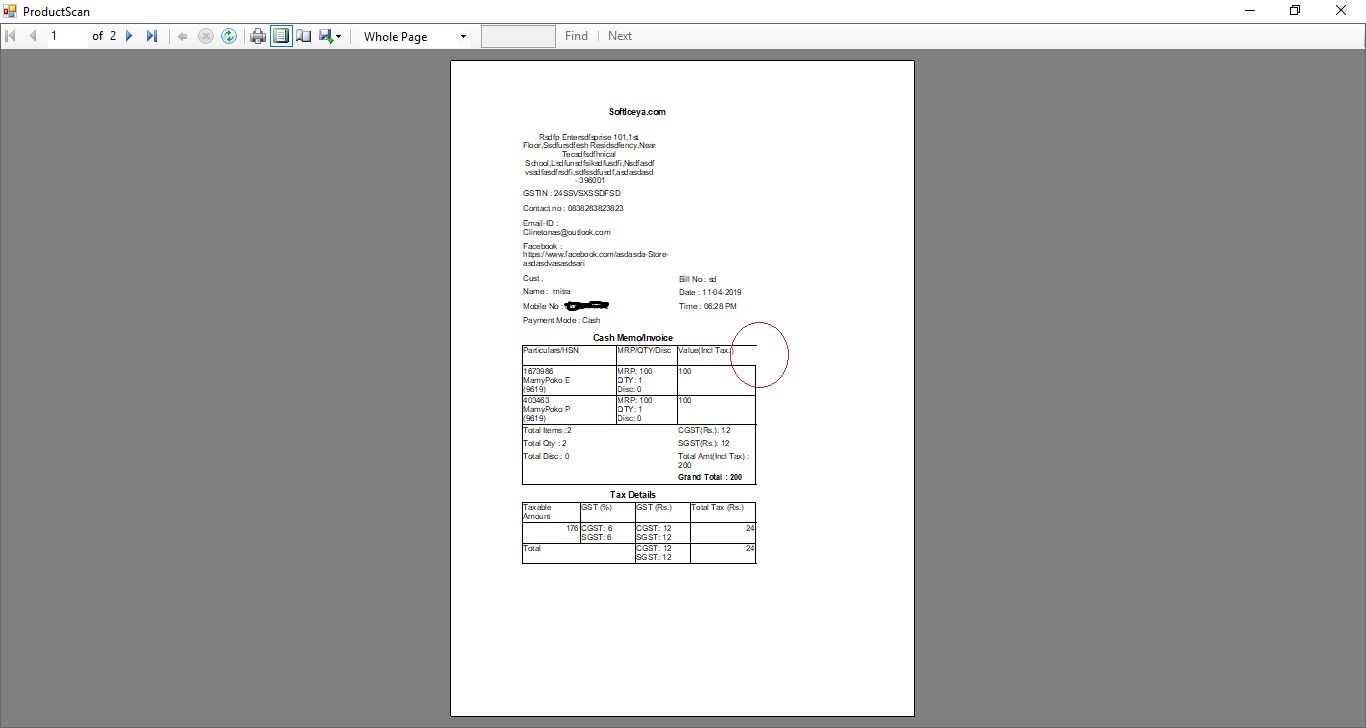
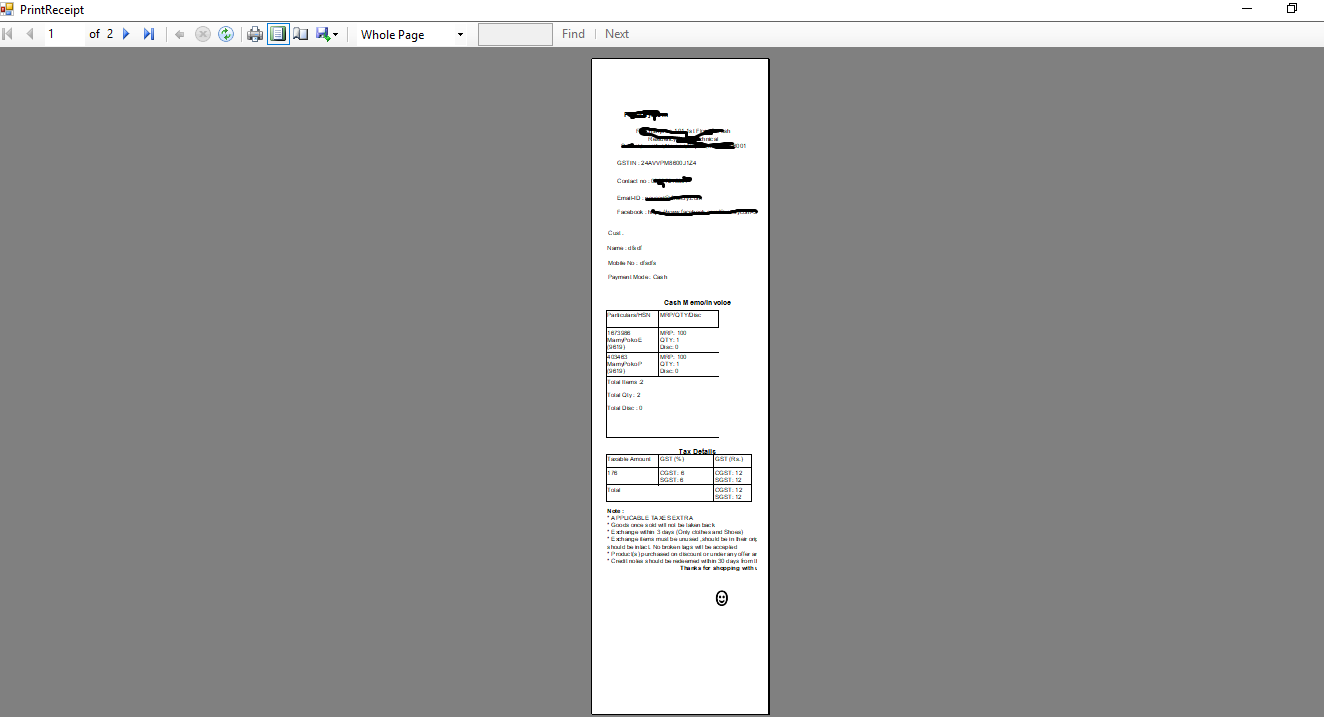
This is what I am getting :

enter image description here

Also my first table side border is cut as shown with red circle.

How do I make all my contents in center of the rdlc report ?

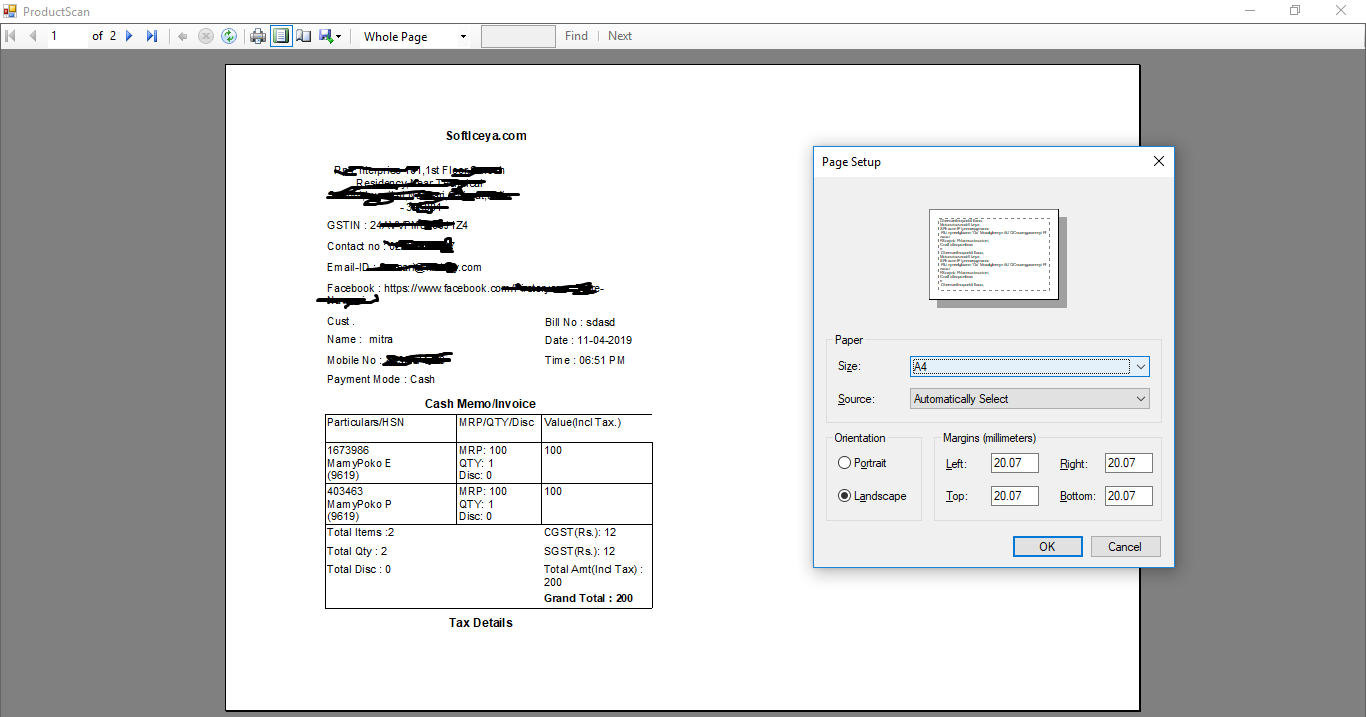
Updated : Print Layout setting of reportviewer with A4 size and Landscape:

enter image description here

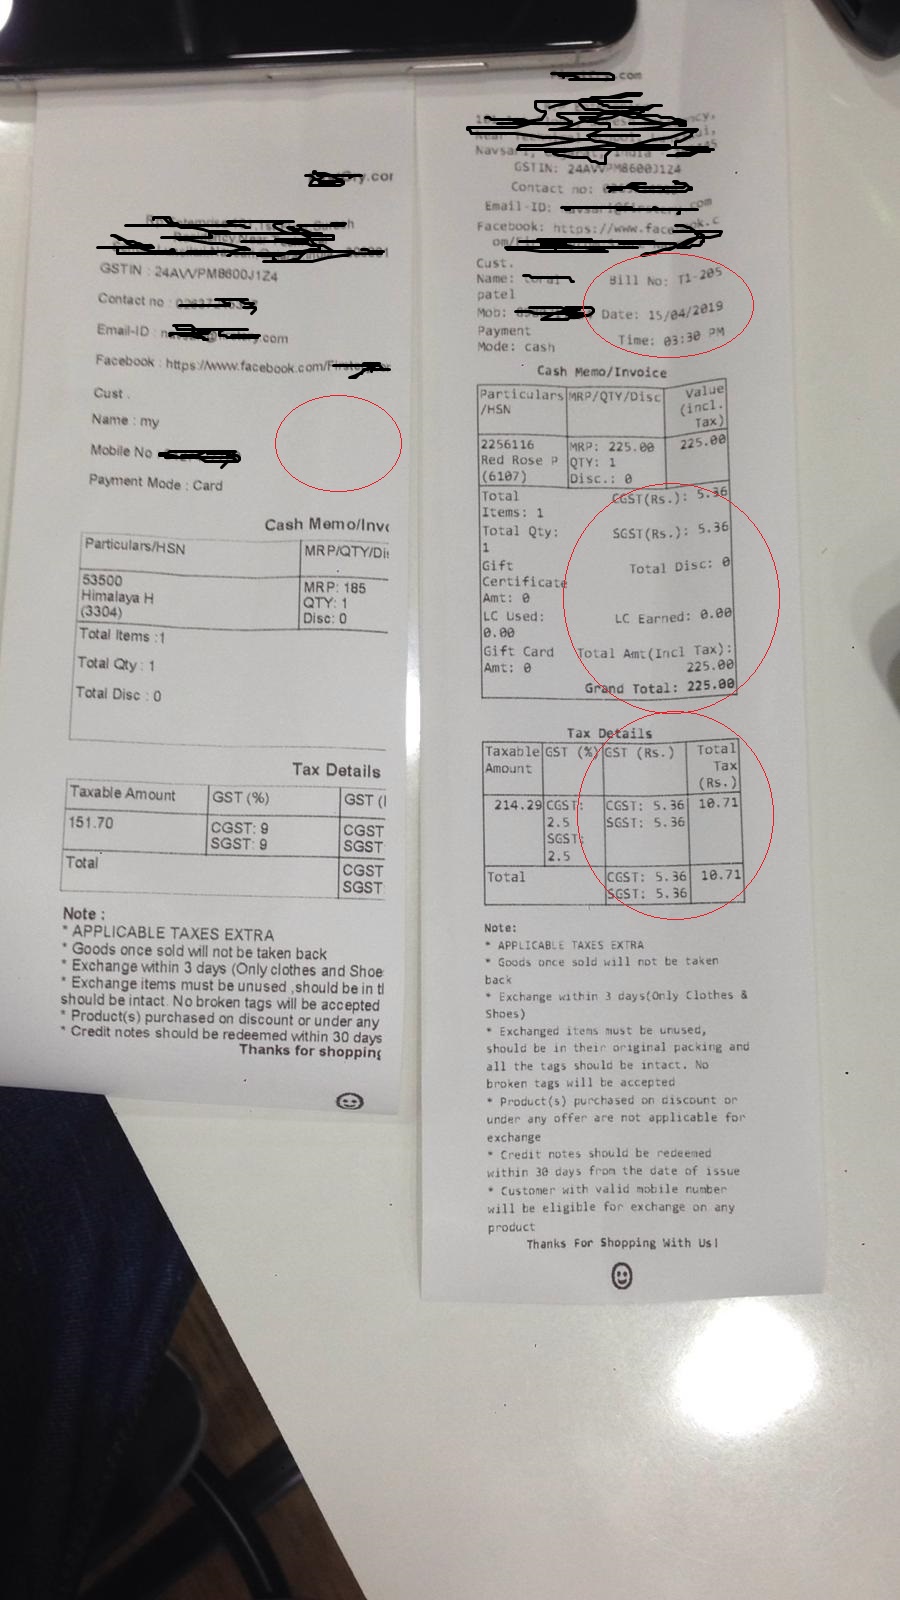
This is what it looks like when I print receipt using Thermal Printer :

enter image description here

There are 2 receipt in above image : Original company generated receipt(right side) and the one generated by rdlc(Left one).

Left side : That receipt is generated by my winform application using RDLC report.As you can see there are lots of content that is cut(removed) in the receipt.

Right side : This is the original receipt and output I am trying to achieve and the red circle indicates things that are being cut(removed) in my reciept(Left one).As you can see BillNo,Date,Time,Title as well as both the table contents are cut(removed in my left side receipt).

I have measured the size of table in Original receipt and it is as below : enter image description here
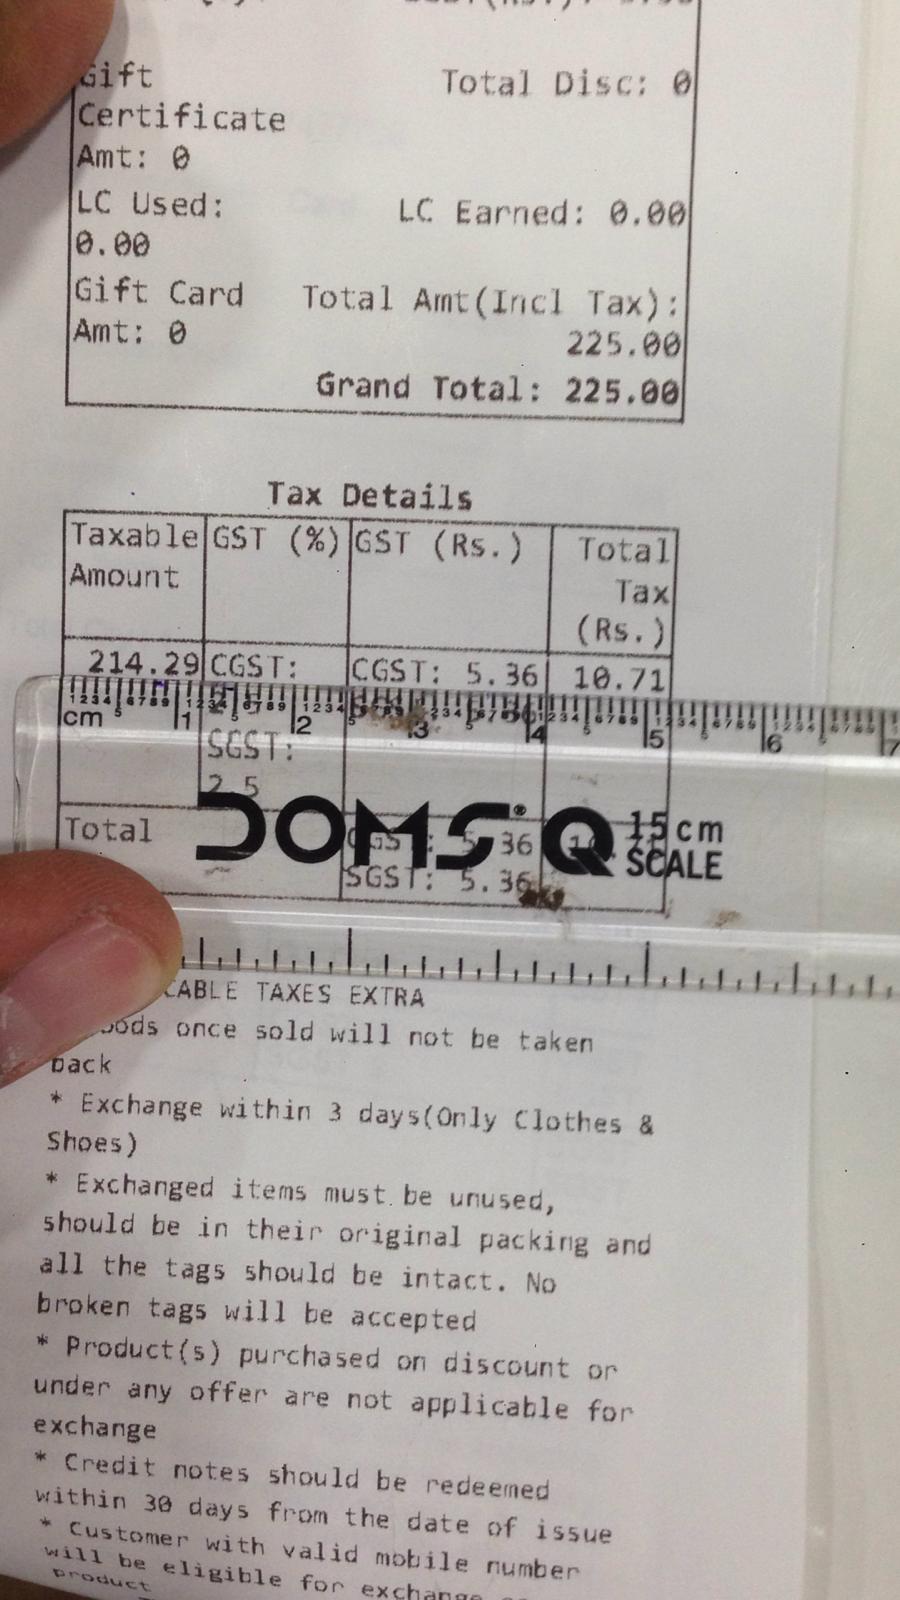
I have tried to set the size of table i.e 5.2 centimeter in my rdlc report but there is no such option available.

Update 2 : Based on my current RDLC setting this is what I have got :

enter image description here

enter image description here

I have manage to got the receipt size as per company original receipt but now only problem here is data is not coming in center and tables are being removed(cut).

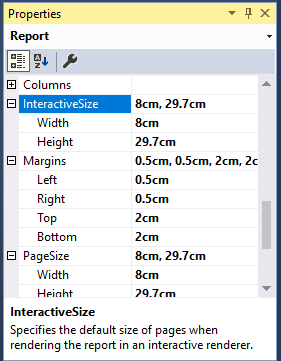
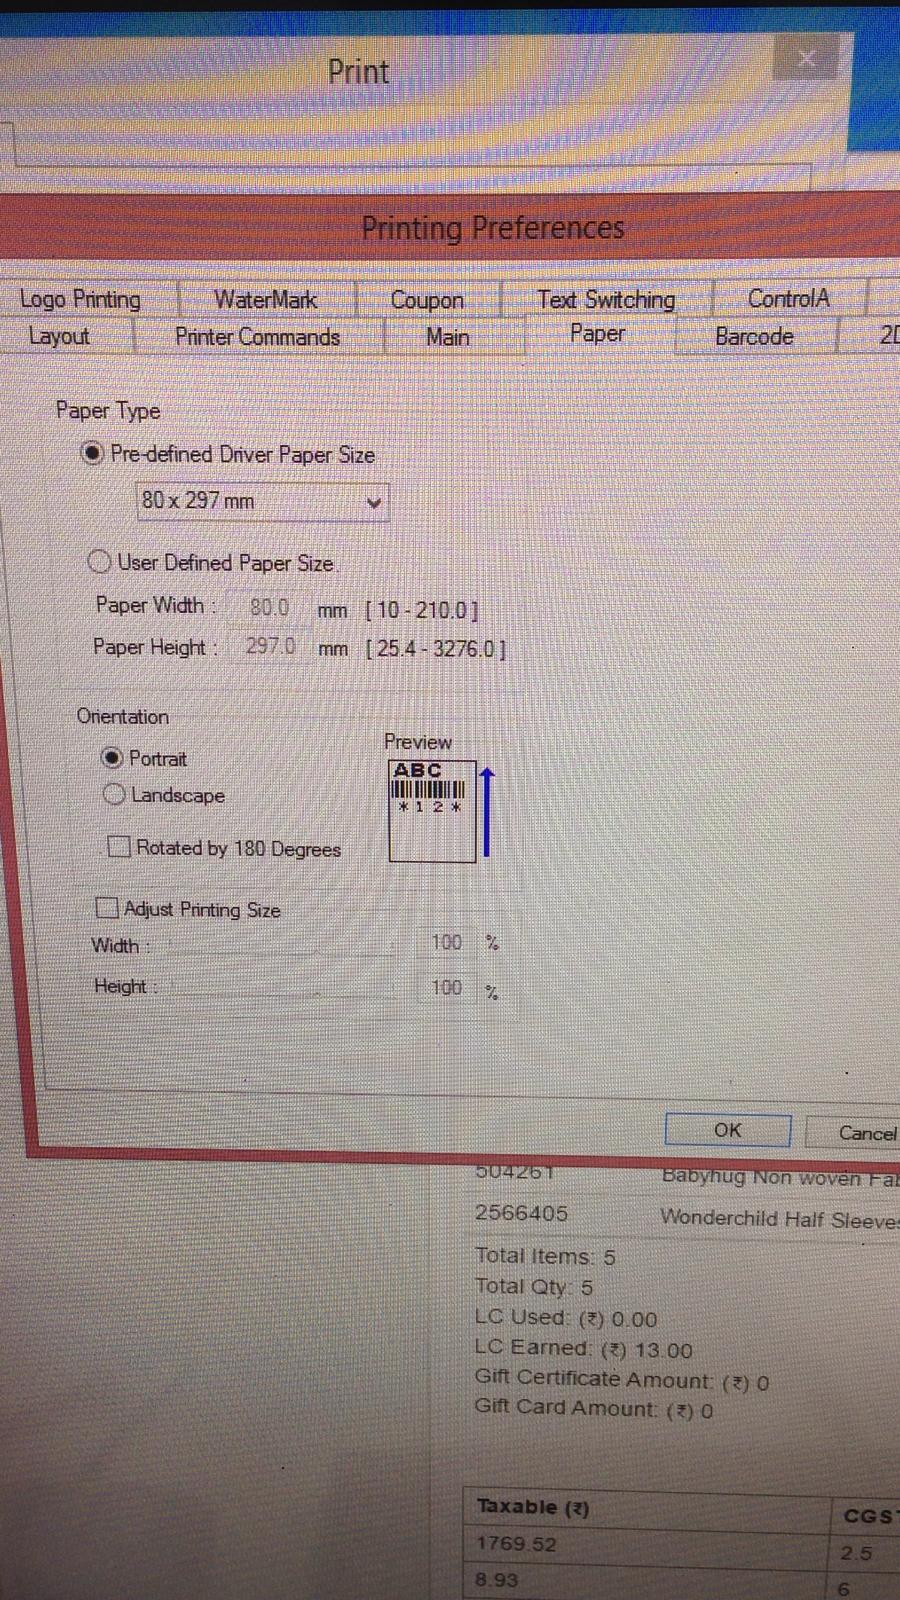
Here is the Thermal Printer setting used for original receipt :

enter image description here

Based on above image,that is why I have kept report Width : 8cm and Height as 29.7 cm

Galipot answered 11/4, 2019 at 13:13 Comment(25)
The upper left corner on viewer is showing 1 of 2. Try landscape.Birth
That looks like a Letter/A4 format. Check the page settings, margins, physical limits/edges etc.Bacteriostat
@Birth I have updated question with the setting you said but still same issueGalipot
@Bacteriostat I have tried with A4 size and Landscape mode and updated question with output but still same issueGalipot
Maybe the Border is not being added. Look at source RDLC in Notepad (it is html format which is text) and see if the boarder are being added correctly. Where is the data coming from. Is it an excel output?Birth
@jdweng:How do i see the source code of RDLC in Notepad?There are 2 datatables that are being used to display 2 tables in RDLC and yes they are coming from excel.Other data like Customer name etc are displayed through report field parametersGalipot
First make sure Excel has the missing border added. The SQL Report Manager will show location of the rdlc file. It is text using html format.Birth
@Birth But i am generating rdlc using code as shown here :#55454573Galipot
That is just a tool to generate RDLC. The output of the tool is a rdlc file (rdlc extension) that is text. I don't know if the border is being added by excel or in the rdlc.Birth
Let us continue this discussion in chat.Galipot
@Bacteriostat I have updated question with more details and with sample receipt generated by printerGalipot
@Learning-Overthinker-Confused From personal experience this usually happened because the width of the report was too large. My margins were causing issues. Just for a test, try removing your margins completely while remaining at your 7.3cm widthIsocrates
@Isocrates Removing margins completely means setting to 0 and all the margins parameters like left,right,top,bottom?Galipot
@Learning-Overthinker-Confused Yes exactly. I know this is not ideal for your issue. But just for testing purposes, verify if that will still make your receipt print on a second page. If your receipt width ends up fitting on the page, you will determine your margins are the issue. Then you can start playing around by slightly increasing them. I've had this happen to me in the past.Isocrates
Using this setup, I'm getting this printed result. So I suggest setting margins to 0 and also showing the ruler in design mode and design the tables and textboxes having a specific size (in my example I used 5.5 as width of the table. Here is my report in design mode.Review
@RezaAghaei Thank you so much.I have updated my question and added original thermal printer setting used for original receipt generated by companyGalipot
Set margins. It's important. Also try to set table width by showing the ruler in design mode.Review
@RezaAghaei Thank you so much for giving the brilliant idea of using ruler in design.Its really brilliant.As thermal printer is using 8 cm width and 29.7cm height (setting used by company for original receipt),Shall i use the same width and height and also I am confused with what should be the margin with this height and width setting?Galipot
Sometimes printers don't work well with margins. See my setup image in my first comment and start by setting margins as 0 and see the result. You may need to play with the margins a bit to make it center. Also set the paper size to 8 cm and 29.7 cm. See my design mode image in the first comment to see where did I put the contents in the report.Review
@RezaAghaei Suppose if i set left margin as 0.5 then i should also set right margin as 0.5(same as left margin) right in order to make report data in center?Galipot
@RezaAghaei Shall i design every control from the left align and then use margin left and right to set all the content in center?Galipot
Let's say you have only a single TextBox on the design surface and you want to put TextBox in middle of the 7 cm report. First set the width of report to 7 cm and height to something and set the margin of report to 0,0,0,0. Then show the ruler. Drop the TextBox on design surface and set its borders to solid. Then set the left side of it 1 cm from left and set its size to 5 cm ...Review
... Then print the report on paper. Since usually the printer device has a margin from paper sides the TextBox most likely will not be shown in middle. Then play with the size and location of TextBox or Margin of report to find out the correct location and size of TextBox. Then drop other controls on design surface.Review
@RezaAghaei I have tried your set up and based on that I have got some output that I have send you here so If you could just take a look at it once please : chat.stackoverflow.com/rooms/191365/…Galipot
@Learning-Overthinker-Confused Try smaller page height.Review
R
4

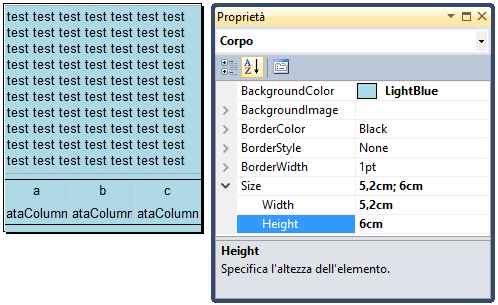
Looking at your photo it seems that you have a 8cm receipt with 1.4cm left/right margin and 5.2 body.

So you can use this settings in Report > Report properties > Page setup:

  • paper size: custom
  • width: 8cm
  • left/right margin: 1,4cm

The body width must be 5.2cm and you could fill it without using margins.

body width

This is the output with light blue body and white margins.

enter image description here

Roller answered 16/4, 2019 at 7:25 Comment(1)
Thank you so much for the answer and for your kind efforts towards helping me.Appreciated.I have updated question and added original thermal printer setting used for original receipt generated by companyGalipot

© 2022 - 2024 — McMap. All rights reserved.