How to fill a CAShapeLayer with an angled gradient
Asked Answered
A

5

17

How do I fill a CAShapeLayer() with a gradient and on an angle of 45 degrees?

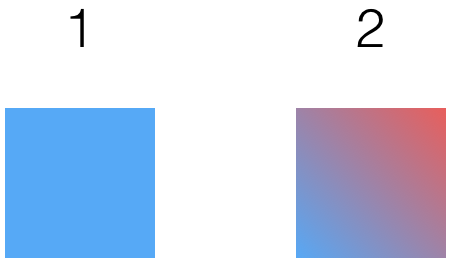
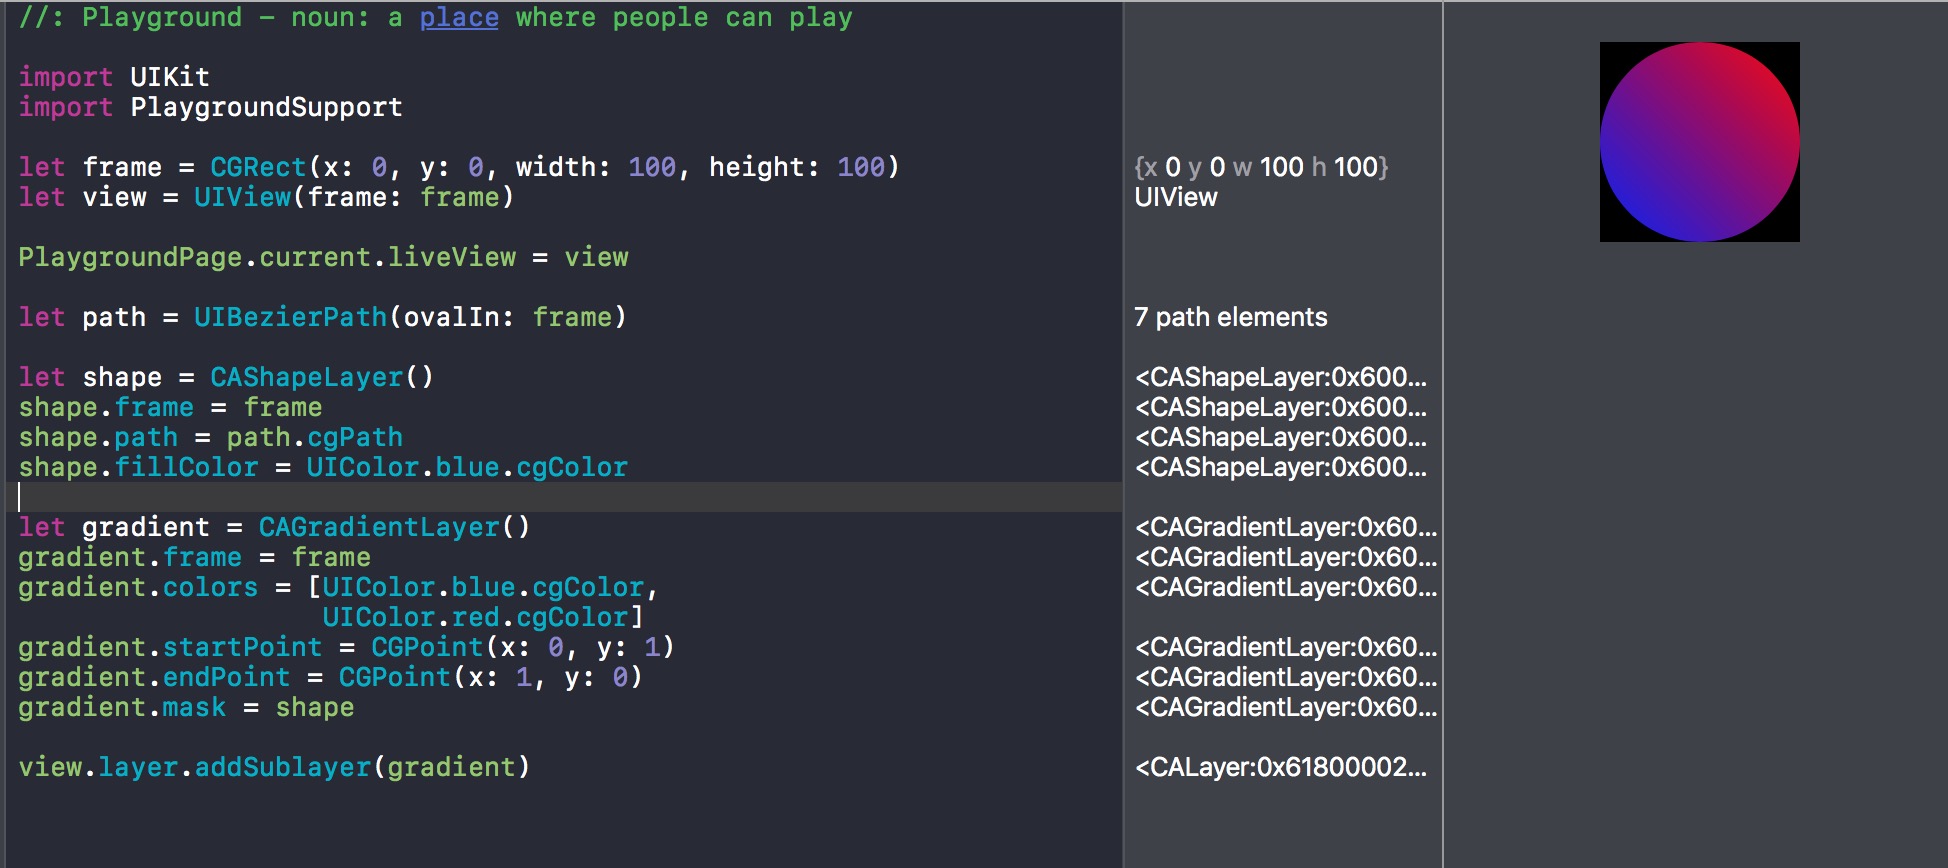
For example, in Image 1, the below code draws a square and fills the layer blue (UIColor.blueColor().CGColor).

But, how do I fill it with a gradient on a 45 degree angle from blue to red like in Image 2 (i.e. UIColor.blueColor().CGColor to UIColor.redColor().CGColor)?

Code:

let path = UIBezierPath()
path.moveToPoint(CGPoint(x: 0, y: 0))
path.addLineToPoint(CGPoint(x: 0, y: 100))
path.addLineToPoint(CGPoint(x: 100, y: 100))
path.addLineToPoint(CGPoint(x: 100, y: 0))
path.closePath()

let shape = CAShapeLayer()
shape.path = path.CGPath
shape.fillColor = UIColor.blueColor().CGColor

Solid-color square next to square with gradient

Askins answered 7/12, 2016 at 14:14 Comment(0)
H
37

Why not use CAGradientLayer which has startPoint and endPoint properties.

You can do:

import UIKit
import PlaygroundSupport

let frame = CGRect(x: 0, y: 0, width: 100, height: 100)
let view = UIView(frame: frame)

PlaygroundPage.current.liveView = view

let path = UIBezierPath(ovalIn: frame)

let shape = CAShapeLayer()
shape.frame = frame
shape.path = path.cgPath
shape.fillColor = UIColor.blue.cgColor

let gradient = CAGradientLayer()
gradient.frame = frame
gradient.colors = [UIColor.blue.cgColor,
                   UIColor.red.cgColor]
gradient.startPoint = CGPoint(x: 0, y: 1)
gradient.endPoint = CGPoint(x: 1, y: 0)
gradient.mask = shape

view.layer.addSublayer(gradient)

enter image description here

Note: Added a bezier path for a circle, because it would work without the mask for the square.

Haematoxylin answered 7/12, 2016 at 14:20 Comment(6)
I like the playground screenshot showing the code plus the resulting image. Nice touch (voted.) Why not provide the entire code for the playground, though? That way readers can reproduce your running code with a simple copy-paste and expirement with it.Deel
I thought about it, but I assumed this is for an app, and just provided the part to paste in the app.Haematoxylin
Remember, SO posts are useful for more than just the original SO. Other people (like me) come along and want to work with/learn from the code you posted. I thought "Cool. A working playground with a gradient layer. It would be fun to add a rotation animation that spins the gradient in a circle..." but your code was an image, not text. I didn't fell like that much typing, so the urge to tinker died.Deel
Edited to your suggestionHaematoxylin
Thanks, @Haematoxylin this looks promising. I'll have a look and try it out shortly. +1.Askins
@DuncanC urge to tinker died, so you've wrote that comment :)Beardless
S
10

Easily Apply Gradient to CALayer

Swift 4.2, Xcode 10.0

While the above solutions only really work with trivial angles like 45°, my code is able to set a gradient to any given angle.

public extension CALayer {

    public func applyGradient(of colors: UIColor..., atAngle angle: CGFloat) -> CAGradientLayer {
        let gradient = CAGradientLayer()
        gradient.frame = frame
        gradient.colors = colors
        gradient.calculatePoints(for: angle)
        gradient.mask = self
        return gradient
    }

}


public extension CAGradientLayer {

    /// Sets the start and end points on a gradient layer for a given angle.
    ///
    /// - Important:
    /// *0°* is a horizontal gradient from left to right.
    ///
    /// With a positive input, the rotational direction is clockwise.
    ///
    ///    * An input of *400°* will have the same output as an input of *40°*
    ///
    /// With a negative input, the rotational direction is clockwise.
    ///
    ///    * An input of *-15°* will have the same output as *345°*
    ///
    /// - Parameters:
    ///     - angle: The angle of the gradient.
    ///
    public func calculatePoints(for angle: CGFloat) {


        var ang = (-angle).truncatingRemainder(dividingBy: 360)

        if ang < 0 { ang = 360 + ang }

        let n: CGFloat = 0.5

        let tanx: (CGFloat) -> CGFloat = { tan($0 * CGFloat.pi / 180) }

        switch ang {

        case 0...45, 315...360:
            let a = CGPoint(x: 0, y: n * tanx(ang) + n)
            let b = CGPoint(x: 1, y: n * tanx(-ang) + n)
            startPoint = a
            endPoint = b

        case 45...135:
            let a = CGPoint(x: n * tanx(ang - 90) + n, y: 1)
            let b = CGPoint(x: n * tanx(-ang - 90) + n, y: 0)
            startPoint = a
            endPoint = b

        case 135...225:
            let a = CGPoint(x: 1, y: n * tanx(-ang) + n)
            let b = CGPoint(x: 0, y: n * tanx(ang) + n)
            startPoint = a
            endPoint = b

        case 225...315:
            let a = CGPoint(x: n * tanx(-ang - 90) + n, y: 0)
            let b = CGPoint(x: n * tanx(ang - 90) + n, y: 1)
            startPoint = a
            endPoint = b

        default:
            let a = CGPoint(x: 0, y: n)
            let b = CGPoint(x: 1, y: n)
            startPoint = a
            endPoint = b

        }
    }

}

Usage:

let layer = CAShapeLayer()

// Setup layer...

// Gradient Direction: →
let gradientLayer1 = layer.applyGradient(of: UIColor.yellow, UIColor.red, at: 0)

// Gradient Direction: ↗︎
let gradientLayer2 = layer.applyGradient(of: UIColor.purple, UIColor.yellow, UIColor.green, at: -45)

// Gradient Direction: ←
let gradientLayer3 = layer.applyGradient(of: UIColor.yellow, UIColor.blue, UIColor.green, at: 180)

// Gradient Direction: ↓
let gradientLayer4 = layer.applyGradient(of: UIColor.red, UIColor.blue, at: 450)

Mathematical Explanation

So I actually just recently spent a lot of time trying to answer this myself. Here are some example angles just to help understand and visualize the clockwise direction of rotation.

Example Angles

If you are interested in how I figured it out, I made a table to visualize essentially what I am doing from - 360°.

Table

Selectee answered 26/1, 2019 at 0:20 Comment(0)
N
2

I think it's

shape.startPoint = CGPoint(x: 1.0, y: 0.0)
shape.endPoint = CGPoint(x: 0.0, y: 1.0)

, which is the first color at the bottom-right to the second color at the top-left. If you want the first color at the top-right and second color at the bottom-left, then you should have

shape.startPoint = CGPoint(x: 1.0, y: 1.0)
shape.endPoint = CGPoint(x: 0.0, y: 0.0)

First color at top-left, second color at bottom-right

shape.startPoint = NSMakePoint(x: 0.0, y: 1.0)
shape.endPoint = NSMakePoint(x: 1.0, y: 0.0)

first color at bottom-left, second color at top-right

shape.startPoint = CGPoint(x: 0.0, y: 0.0)
shape.endPoint = CGPoint(x: 1.0, y: 1.0)
Narbonne answered 7/12, 2016 at 14:23 Comment(0)
A
1

@Alistra answer works if you have your shape in the top left hand corner of the screen. If you attempt to move the location of your shape you'll notice that the shape gets cut off (if it even shows up at all depending on your x and y values)

To fix this use two different frames for both the gradient layer and the shape layer. Set the x,y coordinates of your shape layer to 0,0. Then set the x,y coordinates of your gradient layer to where you would like it positioned on screen.

    let gradientFrame = CGRect(x: 100,
                               y: 150,
                               width: 150,
                               height: 150)
    let circleFrame = CGRect(x: 0,
                             y: 0,
                             width: 150,
                             height: 150)
    let circle = CAShapeLayer()
    circle.frame = circleFrame
    circle.path = UIBezierPath(ovalIn: circleFrame).cgPath

    let gradient = CAGradientLayer()
    gradient.frame = gradientFrame
    gradient.startPoint = CGPoint(x: 0, y: 0)
    gradient.endPoint = CGPoint(x: 1, y: 1)
    gradient.colors = [UIColor.blue.cgColor,
                       UIColor.red.cgColor]
    gradient.mask = circle
    view.layer.addSublayer(gradient)
Antinode answered 9/5, 2018 at 12:27 Comment(0)
K
0

If you don't want to use CAGradientLayer, based on Noah Wilder's answer, for Objective-C:

-(void)drawRect:(CGRect)rect {

//create theoretical circle
float w = self.frame.size.width;
float h = self.frame.size.height;

NSDictionary * points = [self pointsForAngle:angle width:w height:h];
CGPoint start = [points[@"start"] CGPointValue];
CGPoint end = [points[@"end"] CGPointValue];

//1. create vars
float increment = 1.0f / (colours.count-1);
CGFloat * locations = (CGFloat *)malloc((int)colours.count*sizeof(CGFloat));
CFMutableArrayRef mref = CFArrayCreateMutable(kCFAllocatorDefault, 0, &kCFTypeArrayCallBacks);

//2. go through the colours, creating cgColors and locations
for (int n = 0; n < colours.count; n++){
    CFArrayAppendValue(mref, (id)[colours[n] CGColor]);
    locations[n]=(n*increment);
}

//3. create gradient
CGContextRef ref = UIGraphicsGetCurrentContext();
CGColorSpaceRef spaceRef = CGColorSpaceCreateDeviceRGB();
CGGradientRef gradientRef = CGGradientCreateWithColors(spaceRef, mref, locations);

CGContextDrawLinearGradient(ref, gradientRef, start, end, kCGGradientDrawsAfterEndLocation);
free(locations);
CFRelease(mref);
CGColorSpaceRelease(spaceRef);
CGGradientRelease(gradientRef);
}

-(NSDictionary *)pointsForAngle:(float)angle width:(float)width height:(float)height{
    
    float n = 0.5f;
    
    CGPoint start = CGPointZero;
    CGPoint end = CGPointZero;
    
    if (angle >= 315 || angle < 45){
        
        start = CGPointMake(n * [self tanThis:angle] + n, 0);
        end = CGPointMake(n * [self tanThis:-angle] + n, 1);
        
    } else if (angle >= 45 && angle < 135){
        
        start = CGPointMake(0, n * [self tanThis:angle-90] + n);
        end = CGPointMake(1, n * [self tanThis:-angle-90] + n);
        
    } else if (angle >= 135 && angle < 225){
        
        start = CGPointMake(n * [self tanThis:-angle] + n, 1);
        end = CGPointMake(n * [self tanThis:angle] + n, 0);
        
    } else if (angle >= 225 && angle < 315){
        
        start = CGPointMake(1, n * [self tanThis:-angle-90] + n);
        end = CGPointMake(0, n * [self tanThis:angle-90] + n);

    }
    
    start = CGPointMake(start.x * width, start.y * height);
    end = CGPointMake(end.x * width, end.y * height);
    return @{@"start":@(start), @"end":@(end)};
    
}
-(float)tanThis:(float)angle{
    return tan(angle * M_PI / 180);
}
Kobold answered 14/10, 2021 at 9:30 Comment(0)

© 2022 - 2024 — McMap. All rights reserved.