Activity indicator in SwiftUI
Asked Answered
A

15

268

Trying to add a full screen activity indicator in SwiftUI.

I can use .overlay(overlay: ) function in View Protocol.

With this, I can make any view overlay, but I can't find the iOS default style UIActivityIndicatorView equivalent in SwiftUI.

How can I make a default style spinner with SwiftUI?

NOTE: This is not about adding activity indicator in UIKit framework.

Armand answered 7/6, 2019 at 14:51 Comment(3)
I tried to find it also, and failed, guess it will be added later :)Haematoma
Make sure to file a feedback issue with Apple using the Feedback Assistant. Getting requests in early during the beta process is the best way to see what you want in the framework.Conall
You can find a Fully customizable Native Standard version hereCathey
H
463

As of Xcode 12 beta (iOS 14), a new view called ProgressView is available to developers, and that can display both determinate and indeterminate progress.

Its style defaults to CircularProgressViewStyle, which is exactly what we're looking for.

var body: some View {
    VStack {
        ProgressView()
           // and if you want to be explicit / future-proof...
           // .progressViewStyle(CircularProgressViewStyle())
    }
}

Xcode 11.x

Quite a few views are not yet represented in SwiftUI, but it's easily to port them into the system. You need to wrap UIActivityIndicator and make it UIViewRepresentable.

(More about this can be found in the excellent WWDC 2019 talk - Integrating SwiftUI)

struct ActivityIndicator: UIViewRepresentable {

    @Binding var isAnimating: Bool
    let style: UIActivityIndicatorView.Style

    func makeUIView(context: UIViewRepresentableContext<ActivityIndicator>) -> UIActivityIndicatorView {
        return UIActivityIndicatorView(style: style)
    }

    func updateUIView(_ uiView: UIActivityIndicatorView, context: UIViewRepresentableContext<ActivityIndicator>) {
        isAnimating ? uiView.startAnimating() : uiView.stopAnimating()
    }
}

Then you can use it as follows - here's an example of a loading overlay.

Note: I prefer using ZStack, rather than overlay(:_), so I know exactly what's going on in my implementation.

struct LoadingView<Content>: View where Content: View {

    @Binding var isShowing: Bool
    var content: () -> Content

    var body: some View {
        GeometryReader { geometry in
            ZStack(alignment: .center) {

                self.content()
                    .disabled(self.isShowing)
                    .blur(radius: self.isShowing ? 3 : 0)

                VStack {
                    Text("Loading...")
                    ActivityIndicator(isAnimating: .constant(true), style: .large)
                }
                .frame(width: geometry.size.width / 2,
                       height: geometry.size.height / 5)
                .background(Color.secondary.colorInvert())
                .foregroundColor(Color.primary)
                .cornerRadius(20)
                .opacity(self.isShowing ? 1 : 0)

            }
        }
    }

}

To test it, you can use this example code:

struct ContentView: View {

    var body: some View {
        LoadingView(isShowing: .constant(true)) {
            NavigationView {
                List(["1", "2", "3", "4", "5"], id: \.self) { row in
                    Text(row)
                }.navigationBarTitle(Text("A List"), displayMode: .large)
            }
        }
    }

}

Result:

enter image description here

Hayseed answered 7/6, 2019 at 15:5 Comment(17)
But how to stop it?Chophouse
@Chophouse you can interact with the isAnimating binding inside ActivityIndicatorHayseed
Hi @MatteoPacini, Thanks for your answer. But, can you please help me how can i hide the activity indicator. Can you please put down the code for this?Somnifacient
This worked almost great, but when I tap the button, in this case to perform a network operation the button gets stuck in tapped state, everything else works great, the network operation is being executed in a separate threadLoftin
@Annu see peacemoon.de/blog/2019/06/10/activity-indicator-with-swiftuiDeign
@Matteo Pacini please give us more detail of stopping this thing! how to bind it? bind it with what? how?Ziska
@Alfi in his code it says isShowing: .constant(true). That means the indicator is always showing. What you need to do is have an @State variable that is true when you want the loading indicator to appear (when the data is loading), and then change that to false when you want the loading indicator to disappear (when the data is done loading). If the variable is called isDataLoading for example, you would do isShowing: $isDataLoading instead of where Matteo put isShowing: .constant(true).Retrusion
There are other ways to do it too (like making a custom binding that checks other conditions), but the scenario I mentioned above is the easiest to explain and most likely to occur.Retrusion
@MatteoPacini you do not actually need a Binding for this as it is not being modified inside ActivityIndicator or in LoadingView. Just a regular boolean variable works. Binding is useful for when you want to modify the variable inside the view and pass that change back out to the parent.Dansby
Do you know why tintColor has no effect with this implementation of ActivityIndicator ? When I do ActivityIndicator(isAnimating: .constant(true), style: .large).tintColor(.red), it stay black.Stockist
@nelsonPARRILLA I suspect that tintColor only works on pure Swift UI views - not on bridged (UIViewRepresentable) ones.Hayseed
How can we put a bool in the new ProgressView? smth like ProgressView($showing) { Content() }Barnardo
UIViewRepresentable is. not working for widgetsCathey
Great post! In the ActivityIndicator you can remove the return statement for makeUIView so that it uses implicit return for both functions, for code symmetry. I tried to do an edit, but was rejected :(Mckenna
@MatteoPacini Hi, how do you pass a dummy value for the content in the preview LoadingOverlayView(isShowing: .constant(true), content: <#() -> _#>)?Natal
@MatteoPacini @nelsonPARRILLA if you adapt makeUIView as follows you can color the spinner let indicator = UIActivityIndicatorView(style: style) indicator.color = .orange return indicatorCorwun
You can set @State isShowing in your view where you are using and toggle when you finished loading.Valenzuela
C
147

iOS 14

it's just a simple view.

ProgressView()

Currently, it's defaulted to CircularProgressViewStyle but you can manually set the style of it by adding the following modifer:

.progressViewStyle(CircularProgressViewStyle())

Also, the style could be anything that conforms to ProgressViewStyle


iOS 13 and above

Fully customizable Standard UIActivityIndicator in SwiftUI: (Exactly as a native View):

You can build and configure it (as much as you could in the original UIKit):

ActivityIndicator(isAnimating: loading)
    .configure { $0.color = .yellow } // Optional configurations (🎁 bouns)
    .background(Color.blue)

Result


Just implement this base struct and you will be good to go:

struct ActivityIndicator: UIViewRepresentable {
    
    typealias UIView = UIActivityIndicatorView
    var isAnimating: Bool
    fileprivate var configuration = { (indicator: UIView) in }

    func makeUIView(context: UIViewRepresentableContext<Self>) -> UIView { UIView() }
    func updateUIView(_ uiView: UIView, context: UIViewRepresentableContext<Self>) {
        isAnimating ? uiView.startAnimating() : uiView.stopAnimating()
        configuration(uiView)
    }
}

🎁 Bouns Extension:

With this little helpful extension, you can access the configuration through a modifier like other SwiftUI views:

extension View where Self == ActivityIndicator {
    func configure(_ configuration: @escaping (Self.UIView)->Void) -> Self {
        Self.init(isAnimating: self.isAnimating, configuration: configuration)
    }
}

The classic way:

Also you can configure the view in a classic initializer:

ActivityIndicator(isAnimating: loading) { 
    $0.color = .red
    $0.hidesWhenStopped = false
    //Any other UIActivityIndicatorView property you like
}

This method is fully adaptable. For example, you can see How to make TextField become the first responder with the same method here

Cathey answered 26/11, 2019 at 17:30 Comment(4)
How to change color of ProgressView?Chophouse
.progressViewStyle(CircularProgressViewStyle(tint: Color.red)) will change the colorChophouse
Your "Bonus Extension: configure()" calls init for the second time, taking up memory. Am I right? or is it so highly optimized that we are allowed to do such a chain invocation of init?Postdiluvian
It’s a sugar, this is not very expensive for this case but i didn’t measure the performance hit for big views. You can measure and change the implementation to something more efficient (since it is a class) but initializing a struct is not that much expensive to be worried aboutCathey
B
108

If you want to a swift-ui-style solution, then this is the magic:

import Foundation
import SwiftUI

struct ActivityIndicator: View {
    
    @State private var isAnimating: Bool = false
    
    var body: some View {
        GeometryReader { (geometry: GeometryProxy) in
            ForEach(0..<5) { index in
                Group {
                    Circle()
                        .frame(width: geometry.size.width / 5, height: geometry.size.height / 5)
                        .scaleEffect(calcScale(index: index))
                        .offset(y: calcYOffset(geometry))
                }.frame(width: geometry.size.width, height: geometry.size.height)
                    .rotationEffect(!self.isAnimating ? .degrees(0) : .degrees(360))
                    .animation(Animation
                                .timingCurve(0.5, 0.15 + Double(index) / 5, 0.25, 1, duration: 1.5)
                                .repeatForever(autoreverses: false))
            }
        }
        .aspectRatio(1, contentMode: .fit)
        .onAppear {
            self.isAnimating = true
        }
    }
    
    func calcScale(index: Int) -> CGFloat {
        return (!isAnimating ? 1 - CGFloat(Float(index)) / 5 : 0.2 + CGFloat(index) / 5)
    }
    
    func calcYOffset(_ geometry: GeometryProxy) -> CGFloat {
        return geometry.size.width / 10 - geometry.size.height / 2
    }
    
}

Simply to use:

ActivityIndicator()
.frame(width: 50, height: 50)

Hope it helps!

Example Usage:

ActivityIndicator()
    .frame(width: 200, height: 200)
    .foregroundColor(.orange)

enter image description here

Bridoon answered 4/12, 2019 at 7:50 Comment(9)
This helped me so much, thanks a lot! You can define functions to create the Circles and add view modifier for the animations to make it more readable.Tenuto
Love this solution!Portray
how would i remove animation if the isAnimating is a State , may a @Binding instead?Verleneverlie
Error In newest Xcode and Swift: "The compiler is unable to type-check this expression in reasonable time; try breaking up the expression into distinct sub-expressions"Gautama
How to add background view?Vish
That looks great. Only problem is that the animaiton broken when I present it modally using a .fullScreenCover and it's inside a NavigationView... Then all the dots fly in from the top left of the screen...Koralle
there is a strange visual effect: instead of the circle animating in the middle of the screen, it starts in the upper-left side of the screen, then animates to the center, back and forth. any solution for this.Interphone
A great solution. Now there is an apple deprecation, though. Solved with: .animation( Animation .timingCurve(0.5, 0.15 + Double(index) / 5, 0.25, 1, duration: 1.5) .repeatForever(autoreverses: false), value: isAnimating)Porosity
@Koralle I have the same problem with NavigationView. Did you find a solution?Datura
C
35

Custom Indicators

Although Apple supports native Activity Indicator now from the SwiftUI 2.0, You can Simply implement your own animations. These are all supported on SwiftUI 1.0. Also it is working in widgets.

Arcs

struct Arcs: View {
    @Binding var isAnimating: Bool
    let count: UInt
    let width: CGFloat
    let spacing: CGFloat

    var body: some View {
        GeometryReader { geometry in
            ForEach(0..<Int(count)) { index in
                item(forIndex: index, in: geometry.size)
                    .rotationEffect(isAnimating ? .degrees(360) : .degrees(0))
                    .animation(
                        Animation.default
                            .speed(Double.random(in: 0.2...0.5))
                            .repeatCount(isAnimating ? .max : 1, autoreverses: false)
                    )
            }
        }
        .aspectRatio(contentMode: .fit)
    }

    private func item(forIndex index: Int, in geometrySize: CGSize) -> some View {
        Group { () -> Path in
            var p = Path()
            p.addArc(center: CGPoint(x: geometrySize.width/2, y: geometrySize.height/2),
                     radius: geometrySize.width/2 - width/2 - CGFloat(index) * (width + spacing),
                     startAngle: .degrees(0),
                     endAngle: .degrees(Double(Int.random(in: 120...300))),
                     clockwise: true)
            return p.strokedPath(.init(lineWidth: width))
        }
        .frame(width: geometrySize.width, height: geometrySize.height)
    }
}

Demo of different variations Arcs


Bars

struct Bars: View {
    @Binding var isAnimating: Bool
    let count: UInt
    let spacing: CGFloat
    let cornerRadius: CGFloat
    let scaleRange: ClosedRange<Double>
    let opacityRange: ClosedRange<Double>

    var body: some View {
        GeometryReader { geometry in
            ForEach(0..<Int(count)) { index in
                item(forIndex: index, in: geometry.size)
            }
        }
        .aspectRatio(contentMode: .fit)
    }

    private var scale: CGFloat { CGFloat(isAnimating ? scaleRange.lowerBound : scaleRange.upperBound) }
    private var opacity: Double { isAnimating ? opacityRange.lowerBound : opacityRange.upperBound }

    private func size(count: UInt, geometry: CGSize) -> CGFloat {
        (geometry.width/CGFloat(count)) - (spacing-2)
    }

    private func item(forIndex index: Int, in geometrySize: CGSize) -> some View {
        RoundedRectangle(cornerRadius: cornerRadius,  style: .continuous)
            .frame(width: size(count: count, geometry: geometrySize), height: geometrySize.height)
            .scaleEffect(x: 1, y: scale, anchor: .center)
            .opacity(opacity)
            .animation(
                Animation
                    .default
                    .repeatCount(isAnimating ? .max : 1, autoreverses: true)
                    .delay(Double(index) / Double(count) / 2)
            )
            .offset(x: CGFloat(index) * (size(count: count, geometry: geometrySize) + spacing))
    }
}

Demo of different variations Bars


Blinkers

struct Blinking: View {
    @Binding var isAnimating: Bool
    let count: UInt
    let size: CGFloat

    var body: some View {
        GeometryReader { geometry in
            ForEach(0..<Int(count)) { index in
                item(forIndex: index, in: geometry.size)
                    .frame(width: geometry.size.width, height: geometry.size.height)

            }
        }
        .aspectRatio(contentMode: .fit)
    }

    private func item(forIndex index: Int, in geometrySize: CGSize) -> some View {
        let angle = 2 * CGFloat.pi / CGFloat(count) * CGFloat(index)
        let x = (geometrySize.width/2 - size/2) * cos(angle)
        let y = (geometrySize.height/2 - size/2) * sin(angle)
        return Circle()
            .frame(width: size, height: size)
            .scaleEffect(isAnimating ? 0.5 : 1)
            .opacity(isAnimating ? 0.25 : 1)
            .animation(
                Animation
                    .default
                    .repeatCount(isAnimating ? .max : 1, autoreverses: true)
                    .delay(Double(index) / Double(count) / 2)
            )
            .offset(x: x, y: y)
    }
}

Demo of different variations Blinkers


For the sake of preventing walls of code, you can find more elegant indicators in this repo hosted on the git.

Note that all these animations have a Binding that MUST toggle to be run.

Cathey answered 9/10, 2020 at 17:22 Comment(8)
This is great! I've found one bug though - there is a really strange animation for iActivityIndicator(style: .rotatingShapes(count: 10, size: 15))Paver
what is the issue with the iActivityIndicator().style(.rotatingShapes(count: 10, size: 15)) by the way? @Paver ?Cathey
If you set the count to 5 or less, the animation looks fine (looks similar to this answer). However, if you set the count to 15, the leading dot doesn't stop at the top of the circle. It starts doing another cycle, then comes back to the top and then starts the cycle again. I'm not sure if it's intended. Tested on simulator only, Xcode 12.0.1.Paver
Hmmmm. That's because animations are not serialized. I should add a serializing option to the framework for that. Thanks for sharing your opinion.Cathey
@MojtabaHosseini how do you toggle the binding to run?Ticklish
Just assign it to a bool and a button. There is an issue with SwiftUI animation so you need to wrap it inside another view if you need an autoplay version. I explained in a demo at the repo. @TicklishCathey
there is a strange visual effect: instead of the circle animating in the middle of the screen, it starts in the upper-left side of the screen, then animates to the center, back and forth. any solution for this. @mInterphone
Seems like at least the Bars could use some updates to recent syntax.Astarte
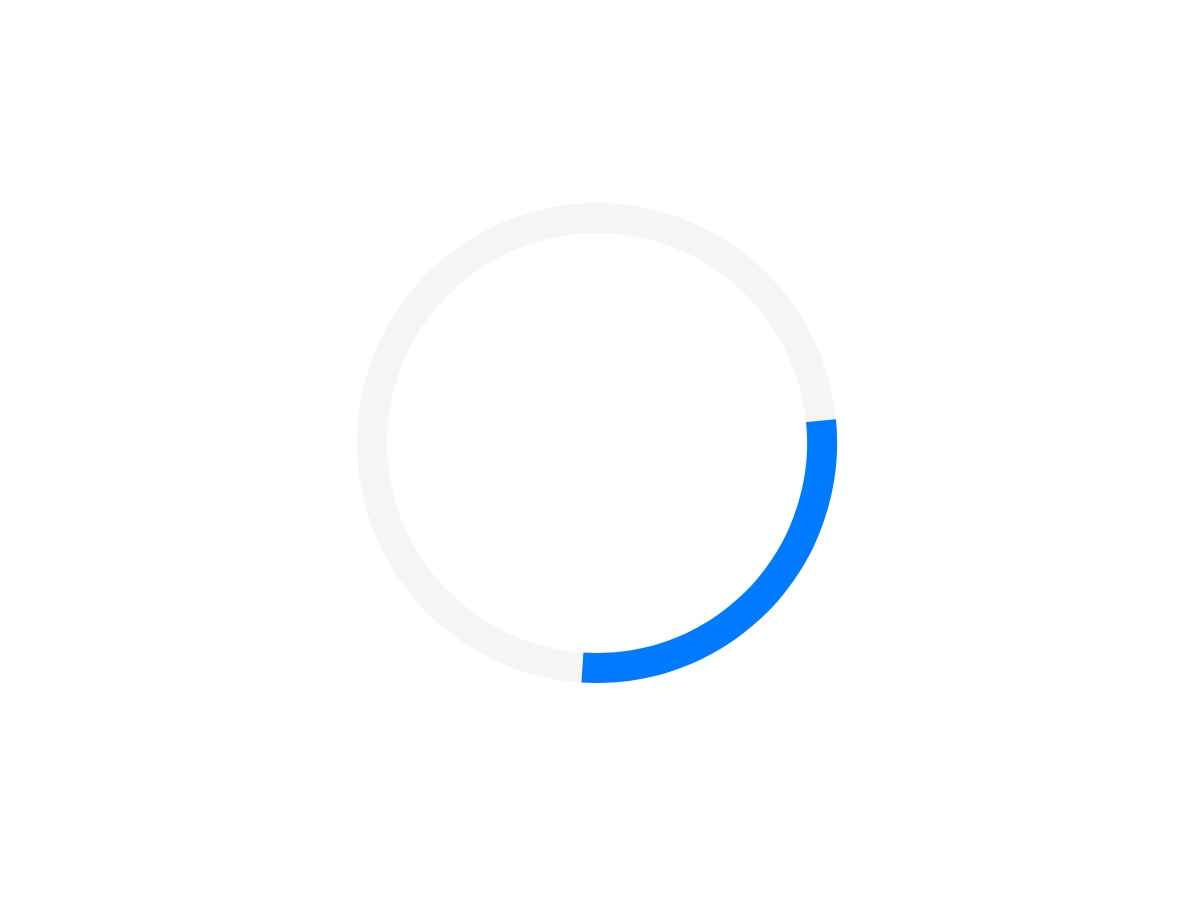
L
14
struct ContentView: View {
    
    @State private var isCircleRotating = true
    @State private var animateStart = false
    @State private var animateEnd = true
    
    var body: some View {
        
        ZStack {
            Circle()
                .stroke(lineWidth: 10)
                .fill(Color.init(red: 0.96, green: 0.96, blue: 0.96))
                .frame(width: 150, height: 150)
            
            Circle()
                .trim(from: animateStart ? 1/3 : 1/9, to: animateEnd ? 2/5 : 1)
                .stroke(lineWidth: 10)
                .rotationEffect(.degrees(isCircleRotating ? 360 : 0))
                .frame(width: 150, height: 150)
                .foregroundColor(Color.blue)
                .onAppear() {
                    withAnimation(Animation
                                    .linear(duration: 1)
                                    .repeatForever(autoreverses: false)) {
                        self.isCircleRotating.toggle()
                    }
                    withAnimation(Animation
                                    .linear(duration: 1)
                                    .delay(0.5)
                                    .repeatForever(autoreverses: true)) {
                        self.animateStart.toggle()
                    }
                    withAnimation(Animation
                                    .linear(duration: 1)
                                    .delay(1)
                                    .repeatForever(autoreverses: true)) {
                        self.animateEnd.toggle()
                    }
                }
        }
    }
}

enter image description here

Lawyer answered 29/12, 2020 at 8:12 Comment(0)
I
5

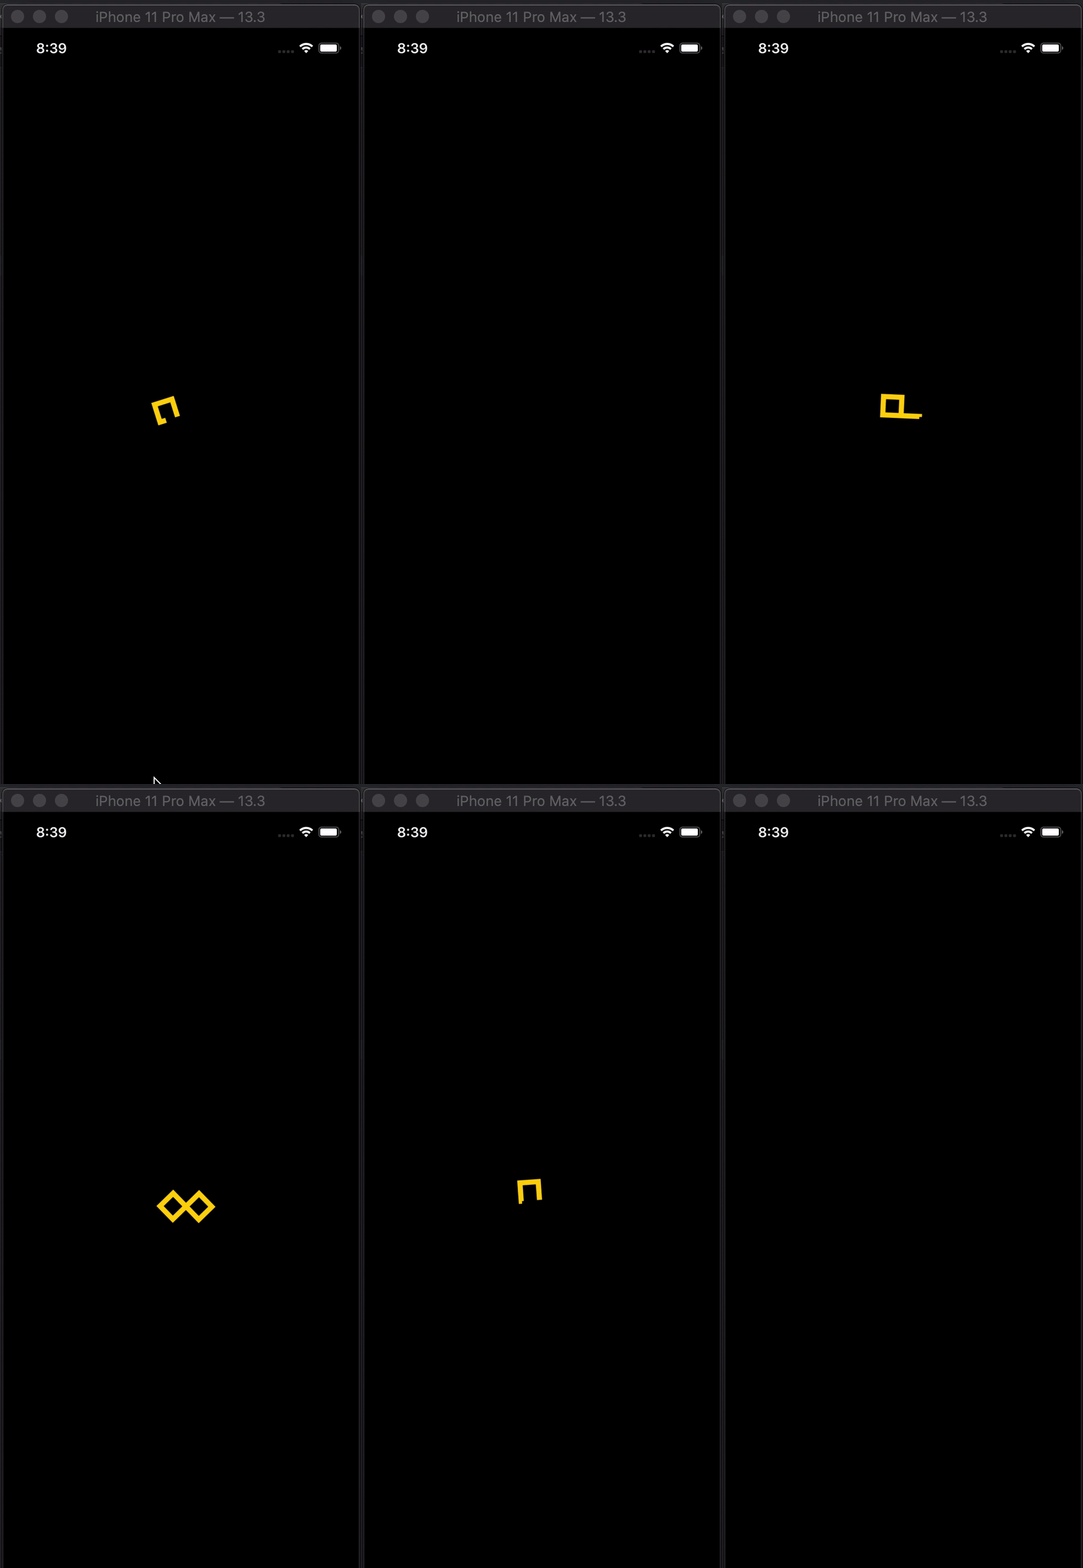
Activity indicator in SwiftUI


import SwiftUI

struct Indicator: View {

    @State var animateTrimPath = false
    @State var rotaeInfinity = false

    var body: some View {

        ZStack {
            Color.black
                .edgesIgnoringSafeArea(.all)
            ZStack {
                Path { path in
                    path.addLines([
                        .init(x: 2, y: 1),
                        .init(x: 1, y: 0),
                        .init(x: 0, y: 1),
                        .init(x: 1, y: 2),
                        .init(x: 3, y: 0),
                        .init(x: 4, y: 1),
                        .init(x: 3, y: 2),
                        .init(x: 2, y: 1)
                    ])
                }
                .trim(from: animateTrimPath ? 1/0.99 : 0, to: animateTrimPath ? 1/0.99 : 1)
                .scale(50, anchor: .topLeading)
                .stroke(Color.yellow, lineWidth: 20)
                .offset(x: 110, y: 350)
                .animation(Animation.easeInOut(duration: 1.5).repeatForever(autoreverses: true))
                .onAppear() {
                    self.animateTrimPath.toggle()
                }
            }
            .rotationEffect(.degrees(rotaeInfinity ? 0 : -360))
            .scaleEffect(0.3, anchor: .center)
            .animation(Animation.easeInOut(duration: 1.5)
            .repeatForever(autoreverses: false))
            .onAppear(){
                self.rotaeInfinity.toggle()
            }
        }
    }
}

struct Indicator_Previews: PreviewProvider {
    static var previews: some View {
        Indicator()
    }
}

Activity indicator in SwiftUI

Imparity answered 24/12, 2019 at 16:46 Comment(0)
L
4

I implemented the classic UIKit indicator using SwiftUI. See the activity indicator in action here

struct ActivityIndicator: View {
  @State private var currentIndex: Int = 0

  func incrementIndex() {
    currentIndex += 1
    DispatchQueue.main.asyncAfter(deadline: .now() + .milliseconds(50), execute: {
      self.incrementIndex()
    })
  }

  var body: some View {
    GeometryReader { (geometry: GeometryProxy) in
      ForEach(0..<12) { index in
        Group {
          Rectangle()
            .cornerRadius(geometry.size.width / 5)
            .frame(width: geometry.size.width / 8, height: geometry.size.height / 3)
            .offset(y: geometry.size.width / 2.25)
            .rotationEffect(.degrees(Double(-360 * index / 12)))
            .opacity(self.setOpacity(for: index))
        }.frame(width: geometry.size.width, height: geometry.size.height)
      }
    }
    .aspectRatio(1, contentMode: .fit)
    .onAppear {
      self.incrementIndex()
    }
  }

  func setOpacity(for index: Int) -> Double {
    let opacityOffset = Double((index + currentIndex - 1) % 11 ) / 12 * 0.9
    return 0.1 + opacityOffset
  }
}

struct ActivityIndicator_Previews: PreviewProvider {
  static var previews: some View {
    ActivityIndicator()
      .frame(width: 50, height: 50)
      .foregroundColor(.blue)
  }
}

Liana answered 12/6, 2020 at 3:37 Comment(0)
R
4

A convenient way in SwiftUI that I found useful is 2 step approach:

  1. Create a ViewModifier that will embed your view into ZStack and add progress indicator on top. Could be something like this:

     struct LoadingIndicator: ViewModifier {
     let width = UIScreen.main.bounds.width * 0.3
     let height =  UIScreen.main.bounds.width * 0.3
    
     func body(content: Content) -> some View {
         return ZStack {
             content
                 .disabled(true)
                 .blur(radius: 2)
    
             //gray background
             VStack{}
                 .frame(width: UIScreen.main.bounds.width, height: UIScreen.main.bounds.height)
                 .background(Color.gray.opacity(0.2))
                 .cornerRadius(20)
                 .edgesIgnoringSafeArea(.all)
    
             //progress indicator
             ProgressView()
                 .frame(width: width, height: height)
                 .background(Color.white)
                 .cornerRadius(20)
                 .opacity(1)
                 .shadow(color: Color.gray.opacity(0.5), radius: 4.0, x: 1.0, y: 2.0)
           }
    }
    
  2. Create view extension that will make conditional modifier application available to any view:

     extension View {
     /// Applies the given transform if the given condition evaluates to `true`.
     /// - Parameters:
     ///   - condition: The condition to evaluate.
     ///   - transform: The transform to apply to the source `View`.
     /// - Returns: Either the original `View` or the modified `View` if the condition is `true`.
     @ViewBuilder func `if`<Content: View>(_ condition: Bool, transform: (Self) -> Content) -> some View {
         if condition {
             transform(self)
         } else {
             self
         }
       }
    }
    
  3. Usage is very intuitive. Suppose that myView() returns whatever your view is. You just conditionally apply the modifier using .if view extension from step 2:

     var body: some View {
         myView()
           .if(myViewModel.isLoading){ view in
             view.modifier(LoadingIndicator())
         }
     }
    

In case that myViewModel.isLoading is false, no modifier will be applied, so loading indicator won't show.

Of course, you can use any kind of progress indicator you wish - default or your own custom one.

Rollie answered 22/6, 2021 at 11:32 Comment(0)
I
4

Activity Indicator or Loader

enter image description here

struct LoaderView: View {
    
 @State var isAnimating = false
    
    var body: some View {
        ZStack {
            Circle()
                .trim(from: 0, to: 0.7)
                .stroke(Color("Blue"), lineWidth: 4)
                .frame(width: 80, height: 80)
                .rotationEffect(.degrees(isAnimating ? 360 : 0))
                .foregroundColor(Color.blue)
                .onAppear() {
                    withAnimation(Animation
                                    .linear(duration: 1)
                                    .repeatForever(autoreverses: false)) {
                        self.isAnimating = true
                    }
                }
        }
    }
}

Usage:

struct HomeView: View {

  @State var isShowLoader : Bool = false
  
    var body: some View {
        ZStack {
           Button(action: {
                  isShowLoader.toggle()
                   }) {
                   Text("Loader")
                   }
                   .buttonStyle(.plain)
           if isShowLoader {
             LoaderView()
        }
     }
  }
} 

SwiftUI Activity indicator for macOS and iOS.

Impregnate answered 13/12, 2023 at 9:50 Comment(0)
K
3

In addition to Mojatba Hosseini's answer,

I've made a few updates so that this can be put in a swift package:

Activity indicator:

import Foundation
import SwiftUI
import UIKit

public struct ActivityIndicator: UIViewRepresentable {

  public typealias UIView = UIActivityIndicatorView
  public var isAnimating: Bool = true
  public var configuration = { (indicator: UIView) in }

 public init(isAnimating: Bool, configuration: ((UIView) -> Void)? = nil) {
    self.isAnimating = isAnimating
    if let configuration = configuration {
        self.configuration = configuration
    }
 }

 public func makeUIView(context: UIViewRepresentableContext<Self>) -> UIView {
    UIView()
 }

 public func updateUIView(_ uiView: UIView, context: 
    UIViewRepresentableContext<Self>) {
     isAnimating ? uiView.startAnimating() : uiView.stopAnimating()
     configuration(uiView)
}}

Extension:

public extension View where Self == ActivityIndicator {
func configure(_ configuration: @escaping (Self.UIView) -> Void) -> Self {
    Self.init(isAnimating: self.isAnimating, configuration: configuration)
 }
}
Kudos answered 7/2, 2020 at 19:14 Comment(1)
how can i use this?Beauty
R
2

It's really easy with SwiftUI 2.0 I made this simple and easy custom view with ProgressView

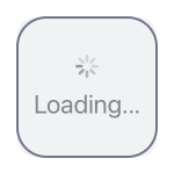
Here is how it looks:

enter image description here

Code:

import SwiftUI

struct ActivityIndicatorView: View {
    @Binding var isPresented:Bool
    var body: some View {
        if isPresented{
            ZStack{
                RoundedRectangle(cornerRadius: 15).fill(CustomColor.gray.opacity(0.1))
                ProgressView {
                    Text("Loading...")
                        .font(.title2)
                }
            }.frame(width: 120, height: 120, alignment: .center)
            .background(RoundedRectangle(cornerRadius: 25).stroke(CustomColor.gray,lineWidth: 2))
        }
    }
}
Ricebird answered 7/1, 2021 at 10:42 Comment(0)
C
2

I have modified Matteo Pacini's Answer for macOS using AppKit and SwiftUI. This allows you to use NSProgressIndicator in SwiftUI while retaining capability for macOS 10.15.

import AppKit
import SwiftUI

struct ActivityIndicator: NSViewRepresentable {
    
    @Binding var isAnimating: Bool
    let style: NSProgressIndicator.Style

    func makeNSView(context: NSViewRepresentableContext<ActivityIndicator>) -> NSProgressIndicator {
        let progressIndicator = NSProgressIndicator()
        progressIndicator.style = self.style
        return progressIndicator
    }

    func updateNSView(_ nsView: NSProgressIndicator, context: NSViewRepresentableContext<ActivityIndicator>) {
        isAnimating ? nsView.startAnimation(nil) : nsView.stopAnimation(nil)
    }
    
}

Usage is as follows:

ActivityIndicator(isAnimating: .constant(true), style: .spinning)
Corn answered 6/2, 2022 at 10:35 Comment(0)
E
1

Try this:

import SwiftUI

struct LoadingPlaceholder: View {
    var text = "Loading..."
    init(text:String ) {
        self.text = text
    }
    var body: some View {
        VStack(content: {
            ProgressView(self.text)
        })
    }
}

More information about at SwiftUI ProgressView

Evans answered 15/7, 2020 at 20:52 Comment(0)
B
1

my 2 cents for nice and simpler code of batuhankrbb, showing use of isPresented in timer... or other stuff... (I will use it in url callback..)

//
//  ContentView.swift
//
//  Created by ing.conti on 27/01/21.


import SwiftUI

struct ActivityIndicatorView: View {
    @Binding var isPresented:Bool
    var body: some View {
        if isPresented{
            ZStack{
                RoundedRectangle(cornerRadius: 15).fill(Color.gray.opacity(0.1))
                ProgressView {
                    Text("Loading...")
                        .font(.title2)
                }
            }.frame(width: 120, height: 120, alignment: .center)
            .background(RoundedRectangle(cornerRadius: 25).stroke(Color.gray,lineWidth: 2))
        }
    }
}


struct ContentView: View {
    @State var isPresented = false
    @State var counter = 0
    var body: some View {
        
        VStack{
            Text("Hello, world! \(counter)")
                .padding()
            
            ActivityIndicatorView(isPresented: $isPresented)
        }.onAppear(perform: {
            _ = startRefreshing()
        })
    }


    func startRefreshing()->Timer{
        
        let timer = Timer.scheduledTimer(withTimeInterval: 1, repeats: true) { timer in
            
            counter+=1
            print(counter)
            if counter>2{
                isPresented = true
            }
            
            if counter>4{
                isPresented = false
                timer.invalidate()
            }
        }
        return timer
    }
}

struct ContentView_Previews: PreviewProvider {
    static var previews: some View {
        ContentView()
    }
}
Better answered 27/1, 2021 at 10:26 Comment(0)
V
0
// Activity View

struct ActivityIndicator: UIViewRepresentable {

    let style: UIActivityIndicatorView.Style
    @Binding var animate: Bool

    private let spinner: UIActivityIndicatorView = {
        $0.hidesWhenStopped = true
        return $0
    }(UIActivityIndicatorView(style: .medium))

    func makeUIView(context: UIViewRepresentableContext<ActivityIndicator>) -> UIActivityIndicatorView {
        spinner.style = style
        return spinner
    }

    func updateUIView(_ uiView: UIActivityIndicatorView, context: UIViewRepresentableContext<ActivityIndicator>) {
        animate ? uiView.startAnimating() : uiView.stopAnimating()
    }

    func configure(_ indicator: (UIActivityIndicatorView) -> Void) -> some View {
        indicator(spinner)
        return self
    }   
}

// Usage
struct ContentView: View {

    @State var animate = false

    var body: some View {
            ActivityIndicator(style: .large, animate: $animate)
                .configure {
                    $0.color = .red
            }
            .background(Color.blue)
    }
}
Vish answered 8/2, 2020 at 9:48 Comment(0)

© 2022 - 2024 — McMap. All rights reserved.