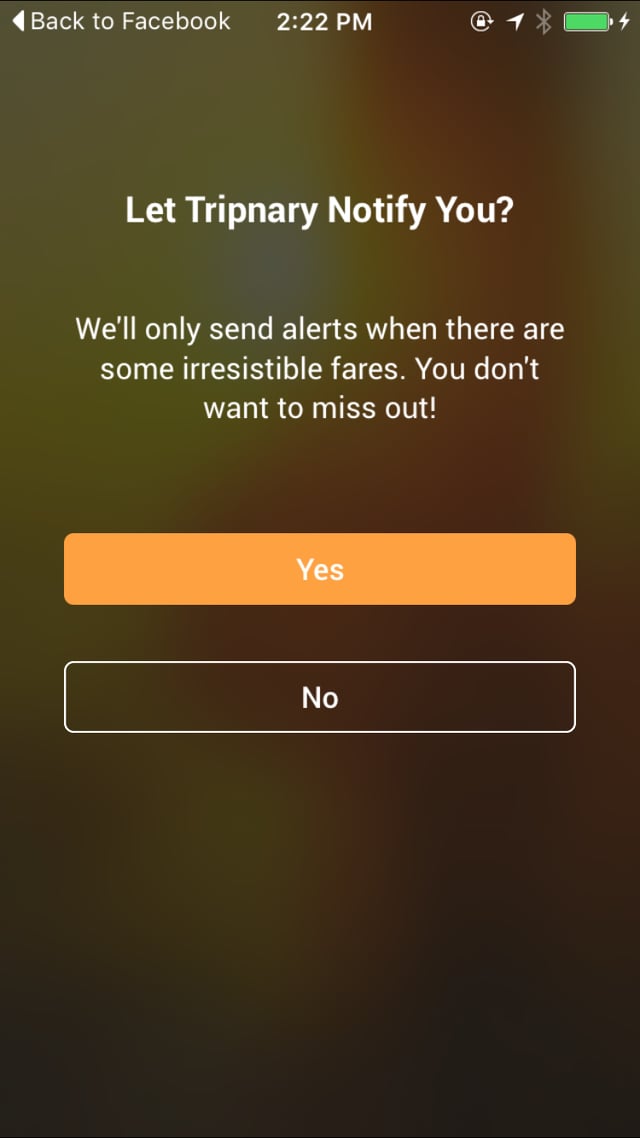
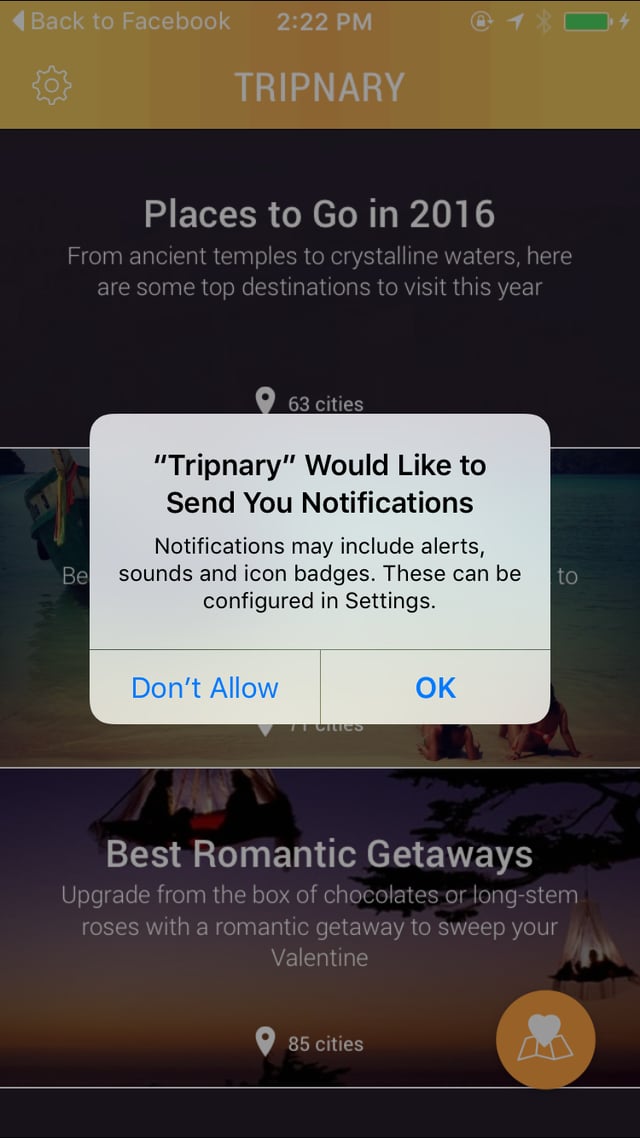
I just managed to solve this very same issue and would be more than happy to share how I did it (as of iOS 9.3).
In my case, I am using a single custom button to enable notifications with three possible states: default (meaning that the user hasn't been prompted yet to enable notifications), completed (the user has been prompted and agreed to get notifications) and failed (the user rejected the notifications prompt). The button is only enabled while in the default state.
Now, I am not using a single technique here but a combination of a few (albeit related) calls.
The logic is as follows: even if the user rejects the notifications prompt (which only appears once until the user deletes and reinstalls the App), we still register for remote notifications. The process will continue as usual, the device will get registered but the user won't get any notice when a new notification is posted. We can then take advantage of knowing both the current notification settings and whether the user is already registered for remote notifications to know if they have ever been prompted (so the button gets the default status).
This method isn't flawless. If the user initially agrees to get notifications, but later on decides to manually turn them off from Settings, then the button will be set to the default state but, upon activation, won't prompt the user for notifications to be enabled again. But in most cases this shouldn't matter, as this kind of UI is usually shown once during the onboarding/sign up process only.
As for the code itself (Swift 2.2):
func updateButtonStatus() {
    // as currentNotificationSettings() is set to return an optional, even though it always returns a valid value, we use a sane default (.None) as a fallback
    let notificationSettings: UIUserNotificationSettings = UIApplication.sharedApplication().currentUserNotificationSettings() ?? UIUserNotificationSettings(forTypes: [.None], categories: nil)
    if notificationSettings.types == .None {
        if UIApplication.sharedApplication().isRegisteredForRemoteNotifications() {
            // set button status to 'failed'
        } else {
            // set button status to 'default'
        }
    } else {
        // set button status to 'completed'
    }
}
We call this method from our view controller's viewWillAppear(animated) implementation.
At this point a few more other things need to happen: first, whenever the button is touched (which will only occur while in its default state) we must prompt the user to either accept or reject notifications, and we also want our UI to react properly, whatever the user chooses:
@IBAction func notificationsPermissionsButtonTouched(sender: AnyObject) {
    let settings = UIUserNotificationSettings(forTypes: [.Alert, .Badge, .Sound], categories: nil)
    UIApplication.sharedApplication().registerUserNotificationSettings(settings)
}
And then, we need to implement the proper UIApplicationDelegate methods to handle the event. Since there are no global UIApplication notifications for these, we send our own ones:
// AppDelegate.swift

func application(application: UIApplication, didRegisterUserNotificationSettings notificationSettings: UIUserNotificationSettings) {
    application.registerForRemoteNotifications()
    if notificationSettings.types == .None {
        NSNotificationCenter.defaultCenter().postNotificationName("ApplicationDidFailToRegisterUserNotificationSettingsNotification", object: self)
    }
}

func application(application: UIApplication, didRegisterForRemoteNotificationsWithDeviceToken deviceToken: NSData) {
    NSNotificationCenter.defaultCenter().postNotificationName("ApplicationDidRegisterForRemoteNotificationsNotification", object: self)
}
Now back to our view controller, we need to handle those notifications. So, in our viewWillAppear(animated) and viewWillDisappear(animated) implementations, we do:
override func viewWillAppear(animated: Bool) {
    super.viewWillAppear(animated)
    NSNotificationCenter.defaultCenter().addObserver(self, selector: #selector(PermissionsViewController.applicationDidRegisterForRemoteNotificationsNotification(_:)), name: "ApplicationDidRegisterForRemoteNotificationsNotification", object: nil)
    NSNotificationCenter.defaultCenter().addObserver(self, selector: #selector(PermissionsViewController.applicationDidFailToRegisterUserNotificationSettingsNotification(_:)), name: "ApplicationDidFailToRegisterUserNotificationSettingsNotification", object: nil)
    updateButtonStatus()
}

override func viewWillDisappear(animated: Bool) {
    super.viewWillDisappear(animated)
    NSNotificationCenter.defaultCenter().removeObserver(self, name: "ApplicationDidRegisterForRemoteNotificationsNotification", object: nil)
    NSNotificationCenter.defaultCenter().removeObserver(self, name: "ApplicationDidFailToRegisterUserNotificationSettingsNotification", object: nil)
}
And the notification handlers themselves:
func applicationDidRegisterForRemoteNotificationsNotification(notification: NSNotification) {
    let notificationSettings: UIUserNotificationSettings = UIApplication.sharedApplication().currentUserNotificationSettings() ?? UIUserNotificationSettings(forTypes: [.None], categories: nil)
    if notificationSettings.types != .None {
        // set button status to 'completed'
    }
}

func applicationDidFailToRegisterUserNotificationSettingsNotification(notification: NSNotification) {
    // set button status to 'failed'
}
Bonus
What if the user rejected the notifications prompt and we want to have a button to guide them to the Settings panel where they can re-enable it, and make our UI react accordingly? Well, I'm glad you asked.
There is a very little known mechanism to deep-link to your App section inside Settings (it's been there since iOS 8, but I hadn't had the chance to learn about it until a few hours ago). In our settings button touch handler we do this:
@IBAction func settingsButtonTouched(sender: AnyObject) {
    if let settingsURL = NSURL(string: UIApplicationOpenSettingsURLString) {
        UIApplication.sharedApplication().openURL(settingsURL)
    }
}
Since we want to update our UI to reflect whatever changes the user might have made, we add a notification listener for UIApplicationDidBecomeActiveNotification in our viewWillAppear(animated) implementation (don't forget to remove the listener from viewWillDisapper(animated). And finally, from inside the corresponding notification handler method we just call our existing updateButtonStatus().


UserNotificationsframework then you can find out if the user clicked yes/no using a callback. See here – Veronikaveronike