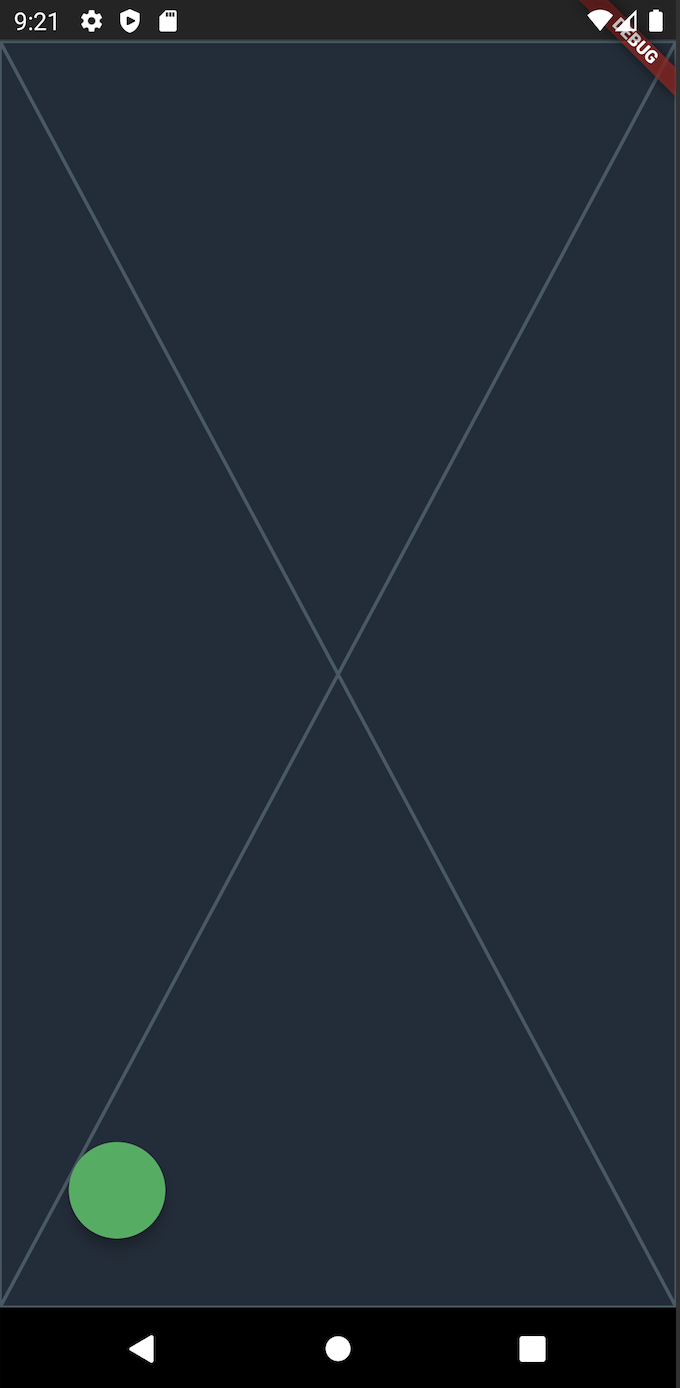
By default floating action button is at the right side of the screen. I know about the floatingActionButtonLocation and its properties like endDocked, startDocked, centerDocked, but none of them helped me in moving it to the left side of the screen.
Basically suggested by @E.Bradford in the comment above, but I wanted to provide some code, if needed. You can place the FloatingActionButton pretty much anywhere you want by stacking it into a positioned widget.
Stack(
  children: [
    Placeholder(),
    Positioned(
      left: 40,
      bottom: 40,
      child: FloatingActionButton(
        onPressed: () {},
      ),
    ),
  ],
)
You can just add into your Scaffold the named constructor:
floatingActionButtonLocation: FloatingActionButtonLocation.startFloat
or
floatingActionButtonLocation: FloatingActionButtonLocation.startDocked
Take the getting started app for example:
import 'package:flutter/material.dart';

void main() {
  runApp(MyApp());
}

class MyApp extends StatelessWidget {
  @override
  Widget build(BuildContext context) {
    return MaterialApp(
      title: 'Flutter Demo',
      theme: ThemeData(
        primarySwatch: Colors.blue,
      ),
      home: MyHomePage(title: 'Flutter Demo Home Page'),
    );
  }
}

class MyHomePage extends StatefulWidget {
  MyHomePage({Key key, this.title}) : super(key: key);
  final String title;

  @override
  _MyHomePageState createState() => _MyHomePageState();
}

class _MyHomePageState extends State<MyHomePage> {
  int _counter = 0;

  void _incrementCounter() {
    setState(() {
      _counter++;
    });
  }

  @override
  Widget build(BuildContext context) {
    return Scaffold(
      appBar: AppBar(
        title: Text(widget.title),
      ),
      body: Center(
        child: Column(
          mainAxisAlignment: MainAxisAlignment.center,
          children: <Widget>[
            Text(
              'You have pushed the button this many times:',
            ),
            Text(
              '$_counter',
              style: Theme.of(context).textTheme.headline4,
            ),
          ],
        ),
      ),
      floatingActionButton: FloatingActionButton(
        onPressed: _incrementCounter,
        tooltip: 'Increment',
        child: Icon(Icons.add),
      ),
    //##########################################################################
       floatingActionButtonLocation: FloatingActionButtonLocation.startFloat,
    //##########################################################################
/*
or

`floatingActionButtonLocation: FloatingActionButtonLocation.startDocked`
*/
    );
  }
}
I believe this previously provided answer provides the closest "Easy to Implement" set of options to your problem.
https://mcmap.net/q/274215/-flutter-floatingactionbutton-in-the-center
The answer basically says to use something similar to the following on your Scaffold component of your Widget tree:
, floatingActionButtonLocation: FloatingActionButtonLocation.centerFloat
Based on the descriptions of the options it doesn't look like there is an align to the left.
Also take a look at the available options here:
https://api.flutter.dev/flutter/material/FloatingActionButtonLocation-class.html
This will place your FAB in the lower lefthand corner:
 @override
 Widget build(BuildContext context) {
   return Scaffold(
      floatingActionButtonLocation: FloatingActionButtonLocation.startDocked,
      floatingActionButton:
          FloatingActionButton(heroTag: null, onPressed: () {}),
   );
See https://api.flutter.dev/flutter/material/FloatingActionButtonLocation/startDocked-constant.html
I used following code to make the floatingActionButton on left side by using padding on right side of FAB.
floatingActionButton: Padding(
    padding: const EdgeInsets.only(right: 275.0),
    child: FloatingActionButton(
      child: Icon(
        Icons.add,
        color: Colors.black,
      ),
      backgroundColor: Colors.orange,
      onPressed: (){},
    ),
  ),
Basically suggested by @E.Bradford in the comment above, but I wanted to provide some code, if needed. You can place the FloatingActionButton pretty much anywhere you want by stacking it into a positioned widget.
Stack(
  children: [
    Placeholder(),
    Positioned(
      left: 40,
      bottom: 40,
      child: FloatingActionButton(
        onPressed: () {},
      ),
    ),
  ],
)
You can wrap your floatingActionButton with Row() and give crossAxisAlignment to center:
floatingActionButton: Row(
  crossAxisAlignment: CrossAxisAlignment.start,
  children: [
    Padding(
      padding: const EdgeInsets.only(left:25.0),
      child: FloatingActionButton(
        onPressed: () {
          // Add your onPressed code here!
        },
        child: Icon(Icons.message,color: Colors.white,),
        backgroundColor: Colors.green,
      ),
    ),
  ],
),
You can use this code
floatingActionButton: Align(
            alignment: Alignment.centerLeft,
            child: FloatingActionButton(

              onPressed: (){},
            ),
          ),
© 2022 - 2024 — McMap. All rights reserved.

